Microsoft Office allows you to use any font that you like in your documents. However, it doesn’t save your font settings when you close those Office programs. This then requires you to select your preferred font each time you create a new document.
If you tend to use a certain font in your Office documents, it’s a good idea to set that font as the default font in all your Office applications. There are ways to change the default font in various applications including Word, Excel, PowerPoint, and Outlook.
How To Change The Default Font In Microsoft Word
Setting a default font in Microsoft Word is fairly easy, and you don’t need to edit configuration files to do this.
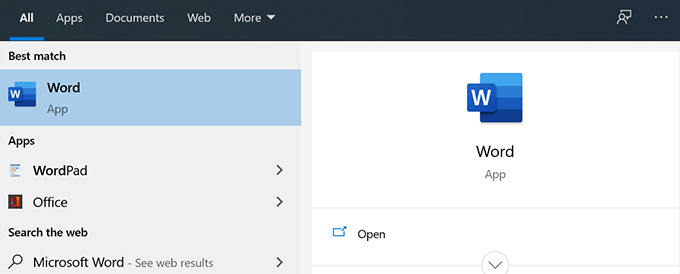
- Launch Microsoft Word.
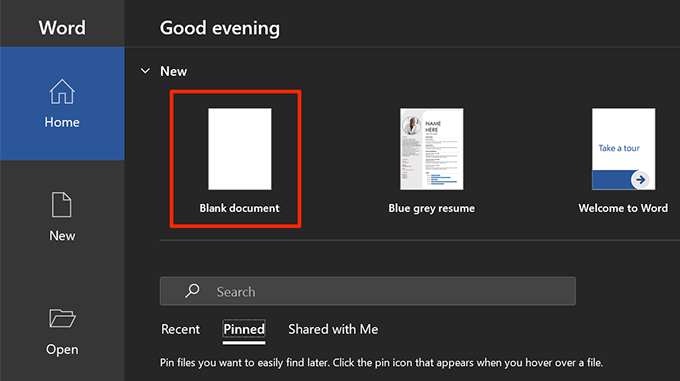
- Click the option that says Blank document on the right-hand side pane to create a new document.
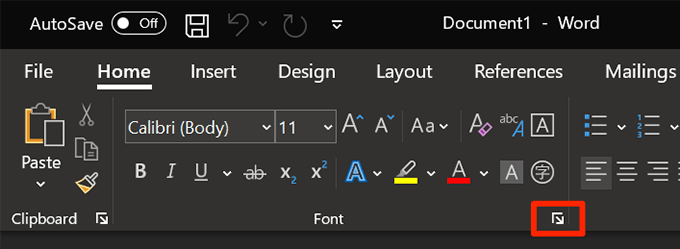
- On the document editing screen, click the arrow icon in the font section to open the font settings menu.
- You can now select your preferred font that you want to set as the default font. Use the dropdown menus to set custom styling as well for your font. Then click the Set As Default button at the bottom.
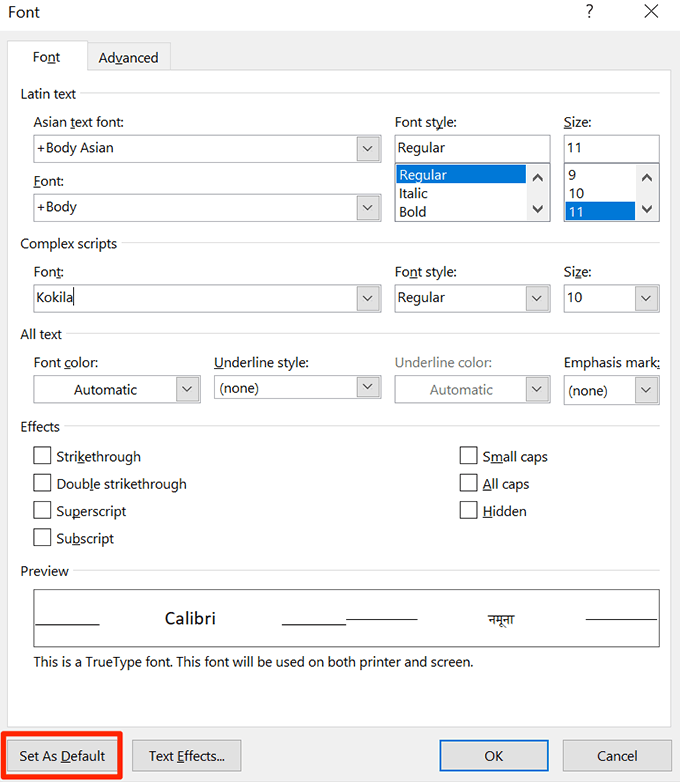
- Word will ask what type of documents you want to set the selected font as the default for. Select the All documents based on the Normal.dotm template option and click OK.

- Click OK once again.
Microsoft Word will now use your selected font as the default for all your blank template documents. If you use any other templates, Word will use the default font for those.
How To Change The Default Font In Microsoft Excel
Microsoft Excel lets you configure several options for your new spreadsheets. These options include the font size, default view for the sheets, the number of sheets to create, and the font style.
To change the default font in Excel:
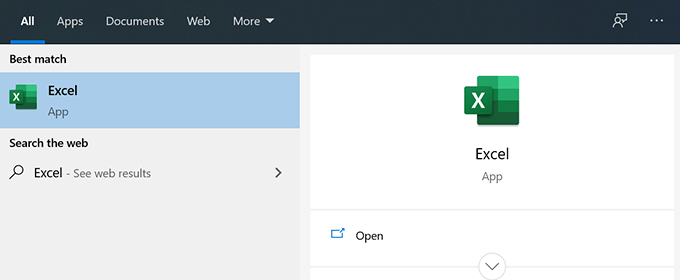
- Launch Excel and create a new spreadsheet.
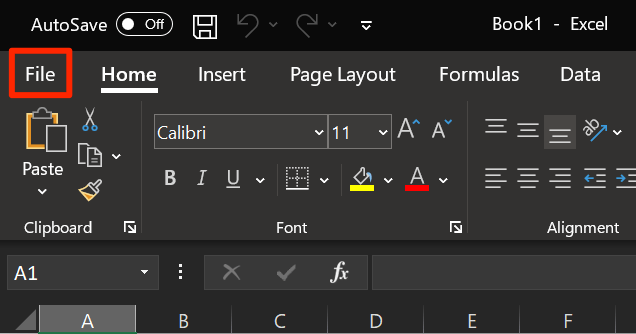
- Click the File tab at the top-left corner.
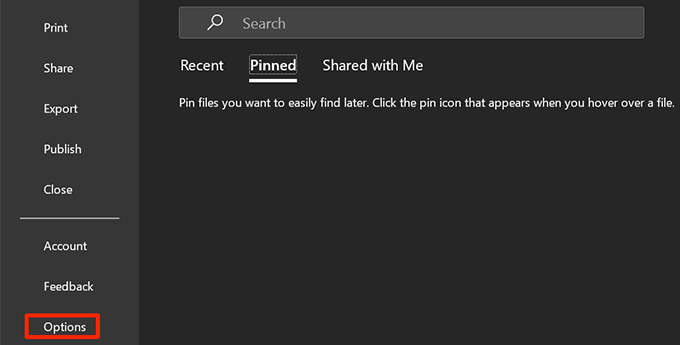
- At the bottom in the left sidebar, you have an option that says Options. Click it to open the Excel settings menu.
- Select General from the options available in the left sidebar.
- Scroll down the right-hand side pane until you see the When creating new workbooks section. Under this section, click the Use this as the default font dropdown menu and select your new default font.

- Click OK at the bottom to save your changes.
How To Change The Default Font In Microsoft PowerPoint
Microsoft PowerPoint lets you apply a specific font to all slides in your current presentation but you can’t set a default for all new presentations. You can, however, create a template that’ll use your chosen font on all presentations based on this template.
Set a Default Font For Your Entire Current Presentation
- Open your presentation with PowerPoint.
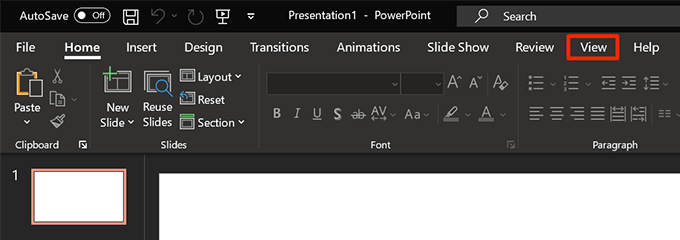
- Click the View tab at the top.
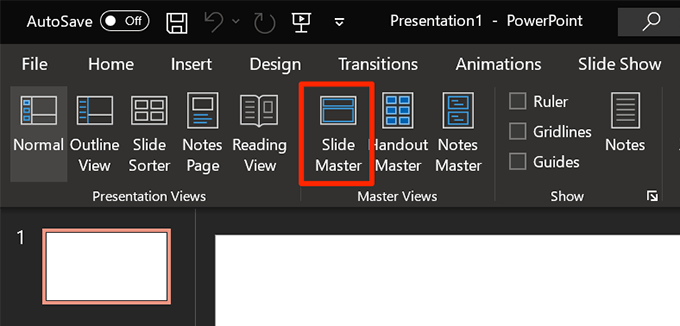
- Select Slide Master on the following screen.
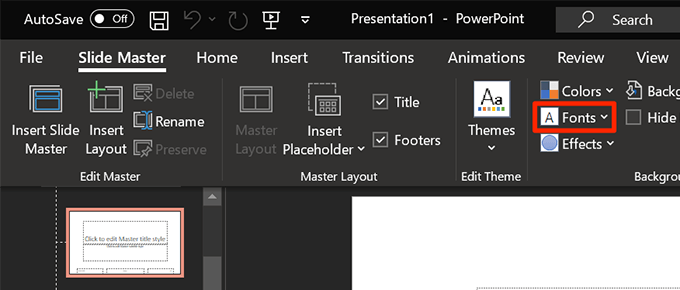
- Make sure you’re inside the Slide Master tab. Then click Fonts under the Background section.
- You can now select a default font for your current presentation.
- Click Customize Fonts at the bottom to view more options.
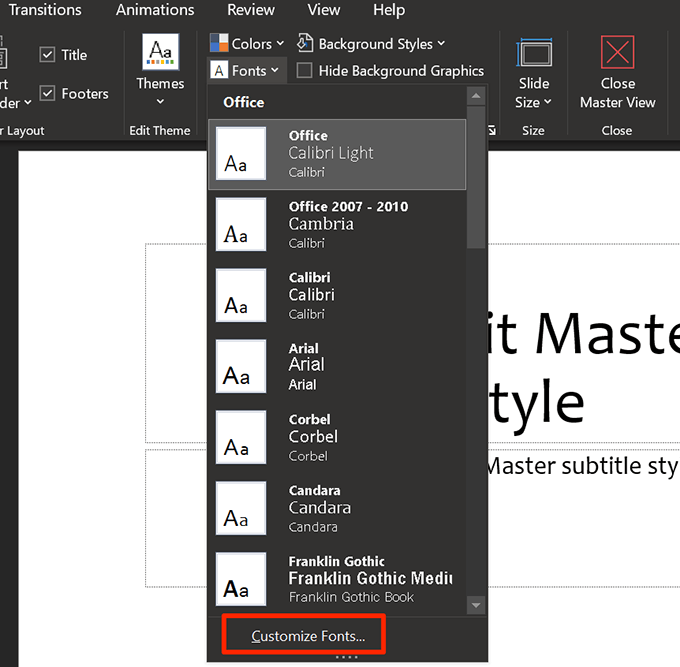
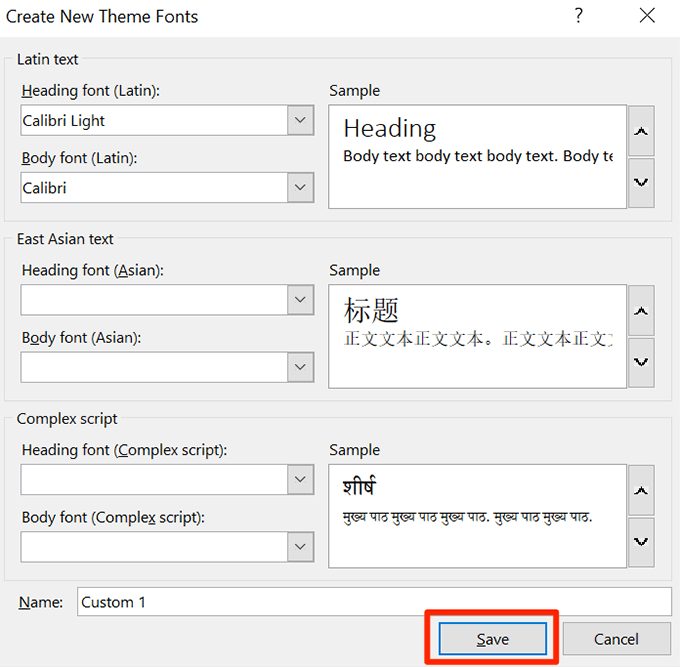
- PowerPoint will now let you specify a few more options for your default font. Enter a name for this font style at the bottom and click Save to save the customizations.
Create a Template With a Default Font
You can make a presentation template with your chosen font and all your future presentations using this template will use your selected font.
- Open PowerPoint, click the View tab, and select Slide Master.
- Click Fonts under the Slide Master tab and specify your default font.
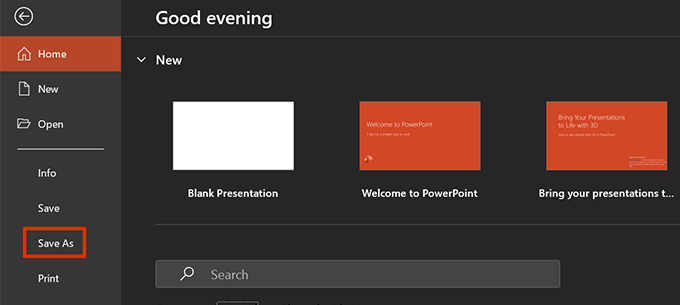
- You now need to save these settings as a template. Click File at the top and select Save As from the left sidebar.
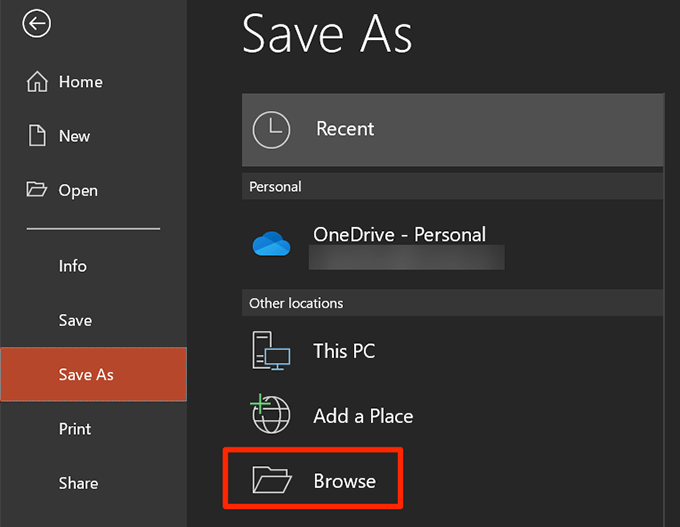
- Click Browse on the right-hand side pane.
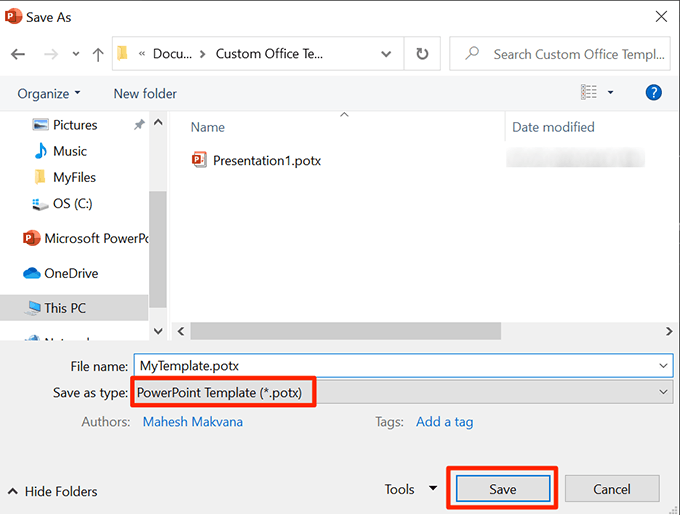
- Navigate to your Documents folder and select the Custom Office Templates folder.
Enter a name for your template, select PowerPoint Template from the Save as type dropdown menu, and click Save.
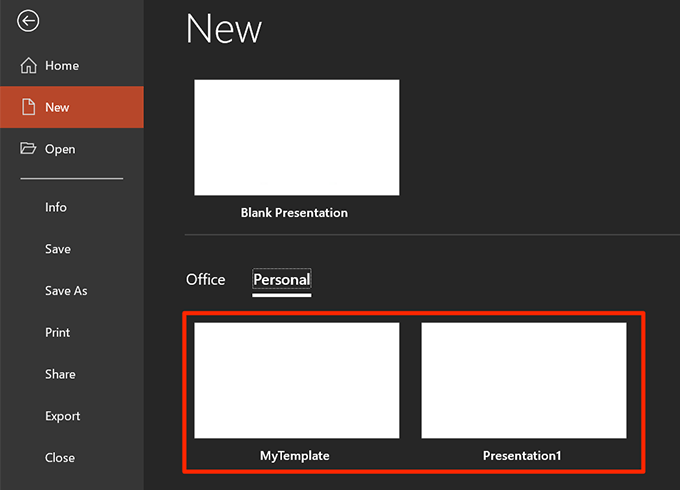
- To use this template to create new presentations, click New on PowerPoint’s main interface and choose Personal followed by your template name.
How To Change The Default Font In Microsoft Outlook
One good thing about Outlook is that it lets you set a default font for various purposes. You can set a default font for new emails or you can set a default font for replying to or forwarding emails.
Change The Default Font In Outlook For Desktop
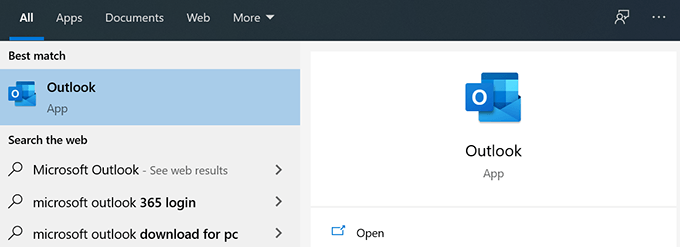
- Open Microsoft Outlook.
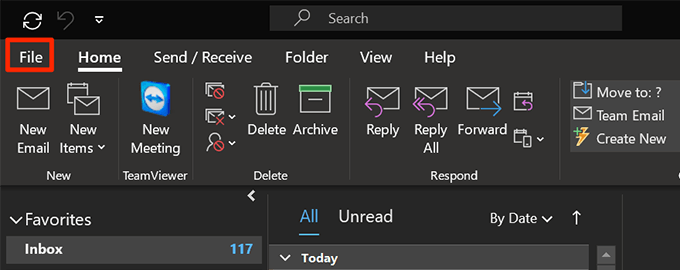
- Click the File tab at the top.
- Select Options from the left sidebar.
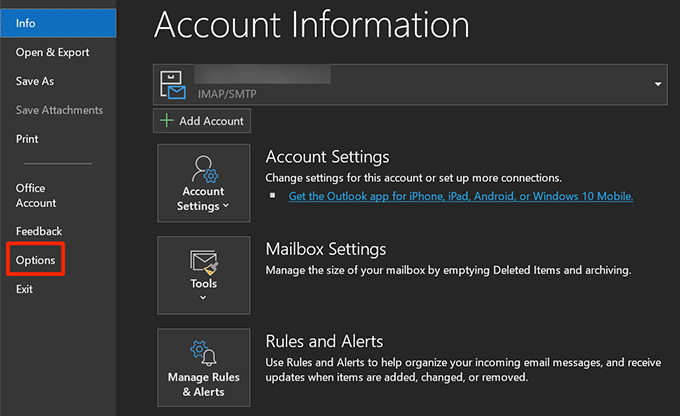
- Click the Mail tab in the box that opens on your screen.
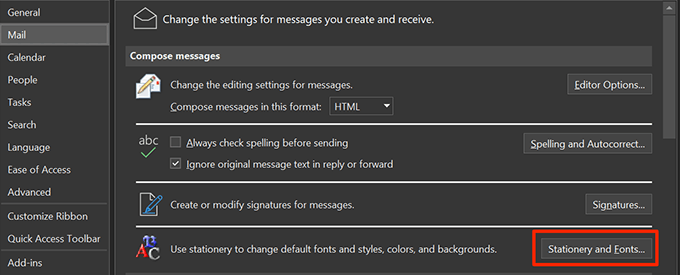
- From the right-hand side pane, choose the Stationery and Fonts button.
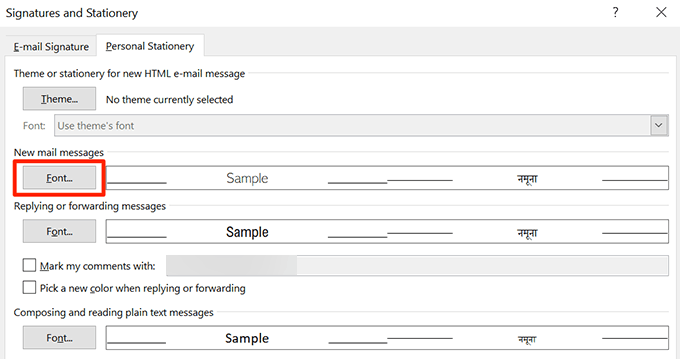
- You can now set a default font for Outlook. Click Font under the New mail messages section to choose a font from your system.
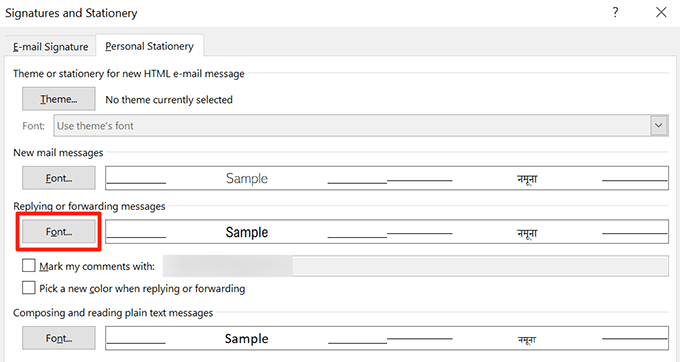
- Click Font under the Replying or forwarding messages section to set a different default font for your email replies and forwards.
- Finally, click OK at the bottom to save your changes.
Change The Default Font In Outlook For Web
You can’t choose from fonts stored on your computer when using Outlook for web, but it does have a good number of pre-installed fonts to choose from.
- Open the Outlook web in your browser.
- Log-in to your Outlook account.
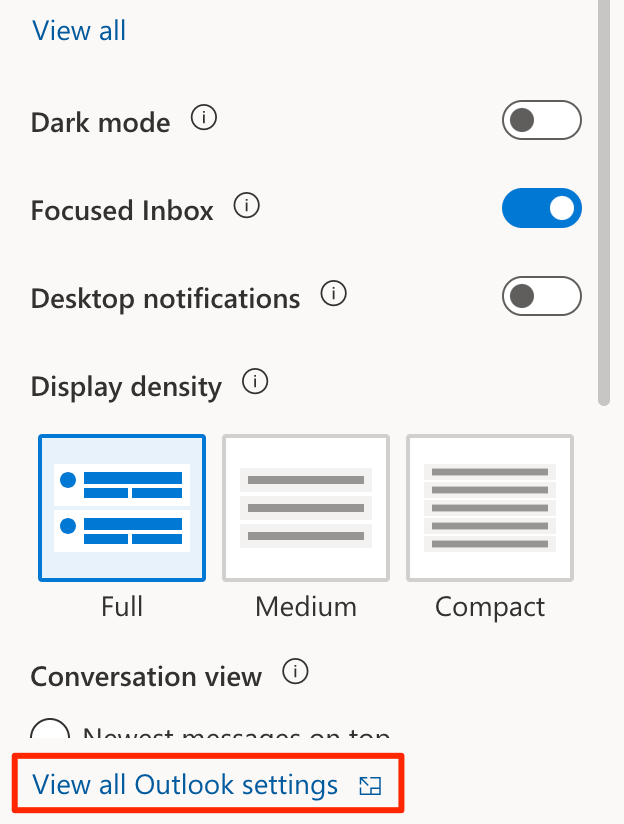
- Click the settings icon at the top-right corner and select View all Outlook settings.
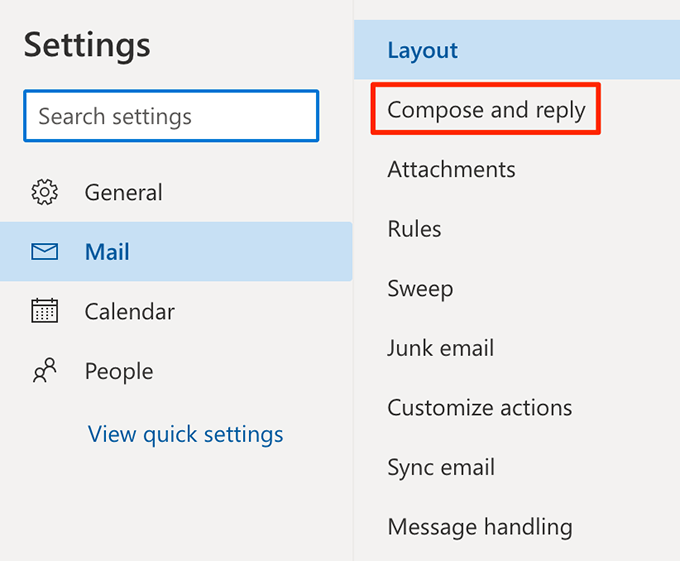
- Click Compose and reply.
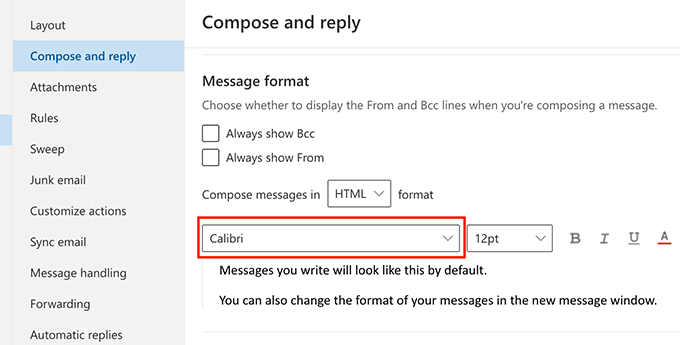
- Scroll down the right-hand side pane until you see the Message format section. Under this section, click the fonts dropdown menu and choose a new default font for the Outlook web.
- Click Save at the bottom to save your settings.
Changing the default font in your frequently used Office applications can save a lot of time. In case the font you’re looking for isn’t available, you can add fonts to Microsoft Word and other applications on your computer.
What’s your favorite font for your Office documents? Is it the default Calibri font or do you still use Times New Roman? Let us know in the comments below.
Related Posts
Mahesh has been obsessed with technology since he got his first gadget a decade or so ago. Over the last few years, he’s written a number of tech articles on various online publications including but not limited to MakeTechEasier and Android AppStorm. Read Mahesh’s Full Bio
