The text of a Word document isn’t the only thing that’s important. If your document isn’t formatted correctly, it could be difficult to read, making it harder for the information to be received. In particular, the size, font, color, and spacing of your text are just as important as the text itself.
That’s why it’s important to consider adjusting the spacing between letters and text in your Word document. If you want to change the spaces between letters and text in Microsoft Word, follow the steps below.
How to Increase or Decrease the Text Spacing in Word
If you want to increase or decrease the space between all the letters in a word or a sentence, you can use the Spacing option in the Font settings menu.
- To start, open your Word document and select the text that you want to change.
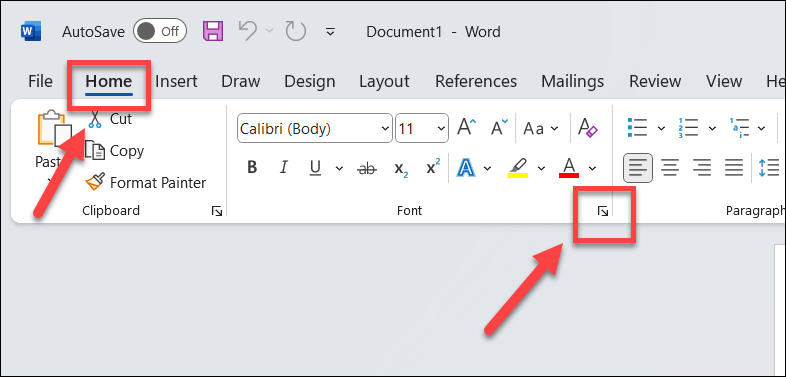
- On the Home tab, press the Font settings button in the lower-right corner of the Font section.
- In the Font settings menu, press the Advanced tab.
- Select either Expanded or Condensed using the Spacing drop-down menu and then specify how much space you want in the By box beside it. You can use positive or negative values to expand or condense the space, respectively.
- Check how the text looks using the Preview section at the bottom. If you’re happy, press OK to apply the changes.
How to Apply Custom Character Kerning Settings in Word
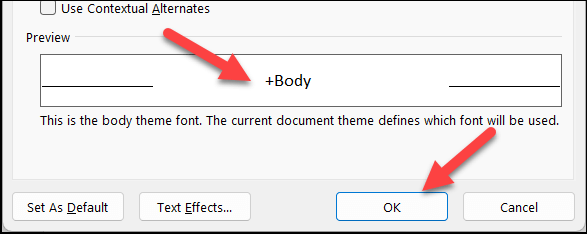
Kerning is a technique that adjusts the spacing between specific pairs of letters, depending on their shapes and sizes. For example, certain letters (like A or W, for example) can fit together more closely than others. Kerning can help to make your text look more balanced and consistent across your document.
To apply kerning to your text in Word, follow these steps.
- Open your Word document and select the text that you want to change.
- On the Home tab, press the Font settings button in the lower-right corner of the Font section.
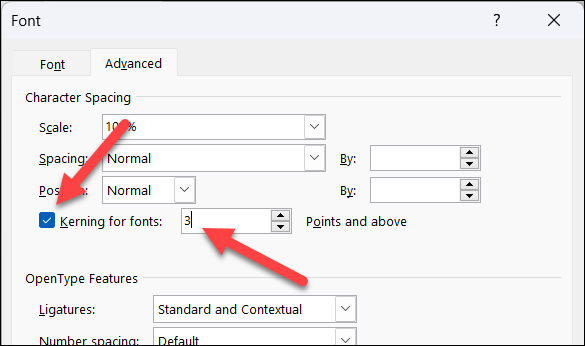
- Select the Advanced tab in the Font settings menu.
- Select the Kerning for fonts checkbox, and then enter the point size in the Points and above box. This means that only the characters that are above that size will be kerned.
- Confirm you’re happy with the changes using the Preview box then select OK to save your changes.
How to Stretch or Scale Text Horizontally in Word
Another way you can change the spacing between letters and text in Word is to stretch or scale them horizontally. This means that you can make your text wider or narrower by changing its shape.
To stretch or scale your text in Word horizontally, follow these steps.
- Open your Word document and select your text.
- Press the Font settings button (lower-right) in the Font section on the Home tab.
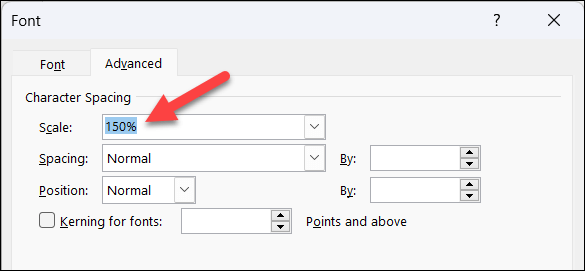
- Press the Advanced tab in the Font settings menu.
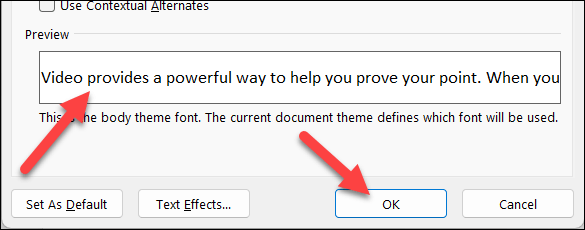
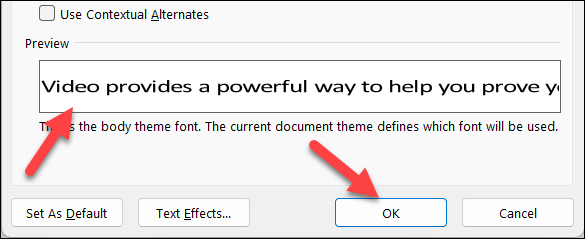
- In the Scale box, enter a percentage value. Percentage values above 100% will stretch the text, while percentages below 100% compress the text.
- Confirm you’re happy with the changes in the Preview box.
- If you are, press OK to save your changes.
How to Change Line Spacing in Word
Finally, you can also change the spacing between lines of text within a paragraph. This can help you create more white space on your pages, making it much easier to read and understand large text-heavy documents.
To change the line spacing in Word, follow these steps.
- Open your Word document and select the text that you’re looking to change.
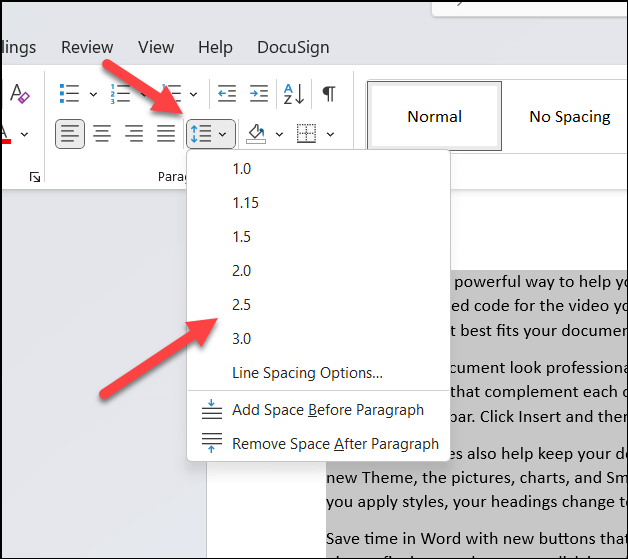
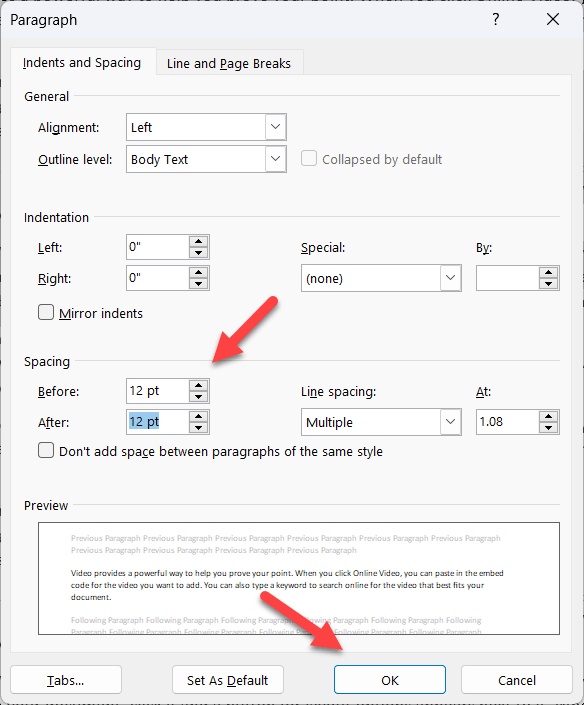
- On the Home tab, press the Line and Paragraph Spacing button. From the drop-down menu, choose one of the preset options (such as 1.5) or press Line Spacing Options to set a custom spacing value.
- If you choose Line Spacing Options, a dialog box will appear where you can enter your desired values for Before and After in the Line spacing section.
- Press OK to save your changes.
Formatting Your Microsoft Word Documents
By using the steps above to change the spaces between letters and text in Microsoft Word, you can make a big difference in how a text-heavy document can be read and understood. There are other Word tricks you can try to help improve the formatting in your document further, such as setting a different background color for your pages.
Having trouble digesting a large document? You could always make Word read aloud for you to help you. If you want to try something different, you could also try some Word add-ins to expand its functionality, such as the ability to import images into Word.

