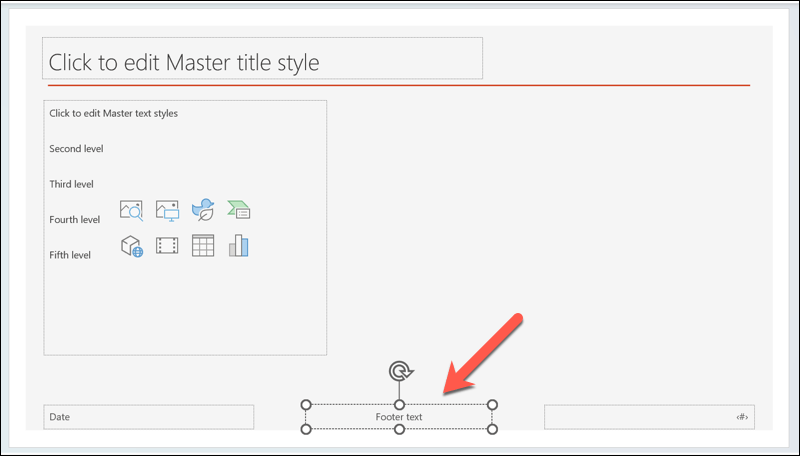
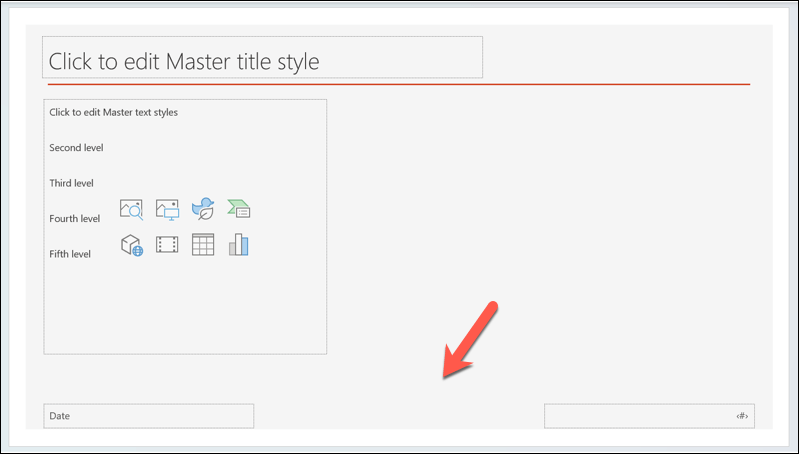
The footer text at the bottom of your PowerPoint slides has several potential uses. It can be used as a place to number your slides or as a way to place a topic or brand on the slide without distracting from the content.
However, what happens if you want to remove the footer from your PowerPoint slides? You may want to keep the slide clean from any extra content. Thankfully, you can easily remove the footer from your PowerPoint slides using the steps below.
How to Remove the Footer from a PowerPoint Slide
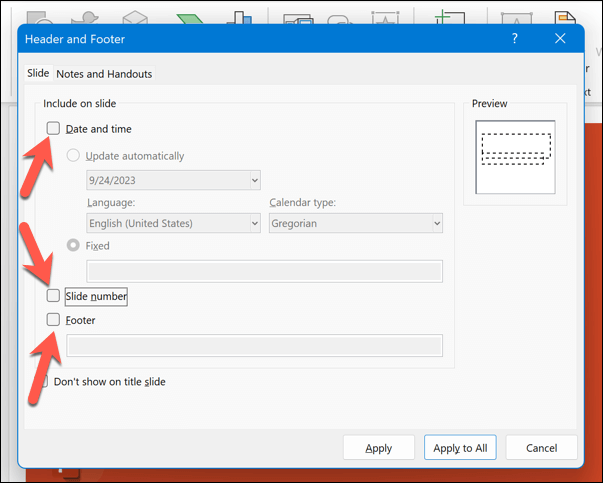
If you want to remove the footer from your PowerPoint slides, you’ll need to access the Header and Footer menu. This is where you can see and edit your slides’ header and footer options. You can also remove or hide other elements such as slide numbers and the date or time from your slides.
To remove the footer from your PowerPoint slides, follow these steps.
- Open your PowerPoint presentation and press the Insert tab on the ribbon bar.
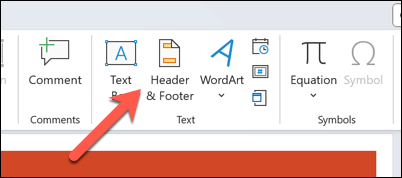
- Next, press the Header and Footer icon in the Text group. This will open a menu box where you’ll be able to edit the header and footer options for your slides.
- To remove the footer, uncheck the Footer box under the Slide tab. You can also uncheck the Slide number and Date and time checkboxes if you don’t want them to appear on your slides.
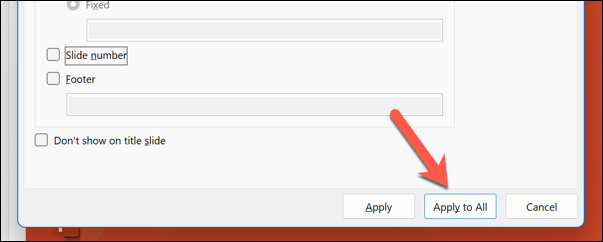
- Once you uncheck the boxes, you can choose whether to apply the changes to all slides or only to the selected slides. If you want to remove the footer from all slides, press Apply to All.
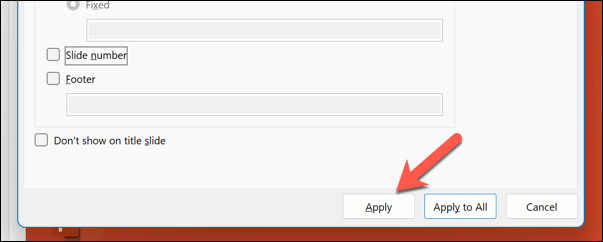
- If you want to remove it from only some slides, select those slides first, then press Apply instead.
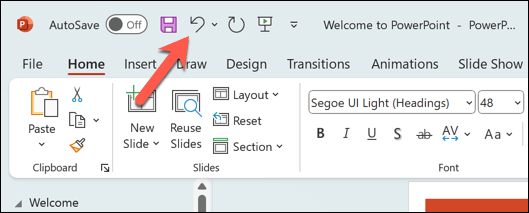
- Your slides will be updated immediately. To undo the changes, press the Undo button in the top-left corner above the ribbon bar before saving your presentation.
How to Remove a Hidden Footer from a PowerPoint Slide Template
Trying to remove a footer from your slide, but it won’t disappear? If that’s the case, you’re probably trying to remove a hidden footer from a slide, without realizing that it’s applied to the slide template.
If you’re using a template that has a hidden text box in the footer, the template will override any settings you make to ensure that it remains visible. To remove this hidden footer, you’ll need to access the Slide Master view to remove it from your template.
To remove a hidden footer from a PowerPoint slide template, follow these steps.
- Open your PowerPoint presentation and press Slide Master from the View tab on the ribbon bar.
- This will show you the template slides that you’re using in your presentation. Look for the slide in your template that has a text box at the bottom with some footer text.
- To remove it, select the text box and press Delete on your keyboard. Alternatively, you can edit or format that text box if you want to keep it but otherwise change its content or appearance.
- When you’re done, press the Close Master View button to return to your standard PowerPoint slide view.
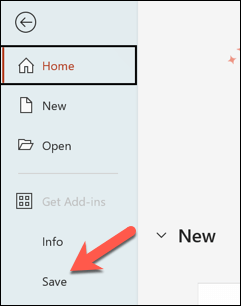
- Press File > Save to save the changes to your presentation.
Editing Your PowerPoint Presentation
If you’ve decided to remove the footer from your Microsoft PowerPoint slides, you can use the steps above to help you. If you disable the footer, it’ll disappear from view, but it won’t be completely removed—you can always re-enable it afterward.
You can also add new headers and footers to your PowerPoint presentation after removing them. If you’re running out of space, you can also resize your PowerPoint slides to increase your space for text and other content.
Don’t go too text-heavy, though. You may want to consider adding other visual elements, like a YouTube video, instead.
Related Posts
Ben Stockton is a freelance technology writer based in the United Kingdom. In a past life, Ben was a college lecturer in the UK, training teens and adults. Since leaving the classroom, Ben has taken his teaching experience and applied it to writing tech how-to guides and tutorials, specialising in Linux, Windows, and Android. He has a degree in History and a postgraduate qualification in Computing. Read Ben’s Full Bio

