You no longer need complex image editing programs such as Photoshop or GIMP to edit your images for Microsoft Word documents. It’s true that Word doesn’t have all the image editing options you might need, but simple things such as resizing, positioning, flipping, and rotating can be done on the spot inside the Word document.
The best part is that the process of rotating a picture in Microsoft Word is straightforward and similar across platforms. That means that you can easily do it on Windows, macOS, or in the web version of this app. In fact, you can rotate any graphic element such as shapes, WordArt, or a text box in the same way as you would rotate a picture. It’s a simple action, but there are several ways to do it.
1. Use Your Mouse to Rotate the Image
You can manually rotate a picture in Microsoft Word to the desired angle. All you have to do is click the image and drag your mouse. This is the easiest way to rotate an image in Microsoft Word and it works in Windows, macOS, and Web versions of the app.
- Click the image in your MS Word document that you want to rotate. This will select the image.
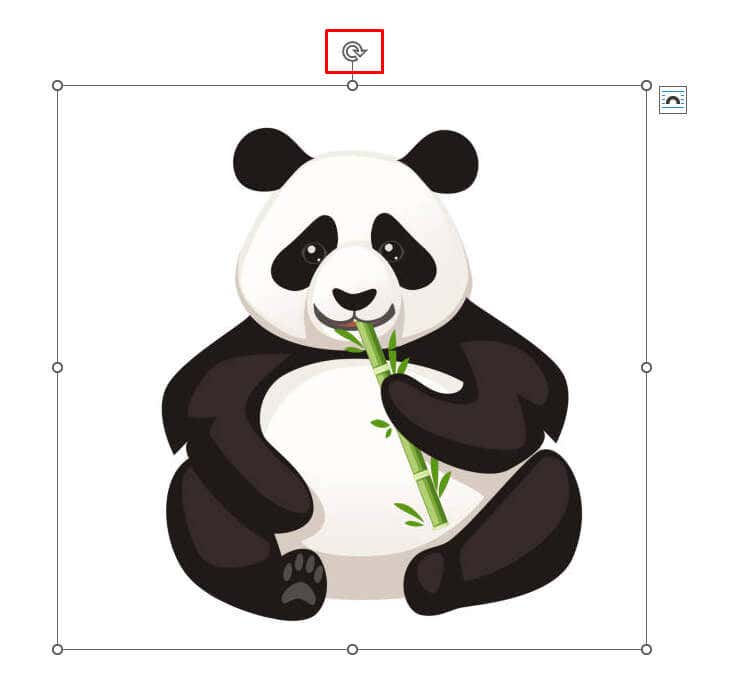
- You’ll notice a rotation arrow (rotation handle) at the top of the image. Depending on the version of your Microsoft Word, you might see a green dot instead of an arrow.
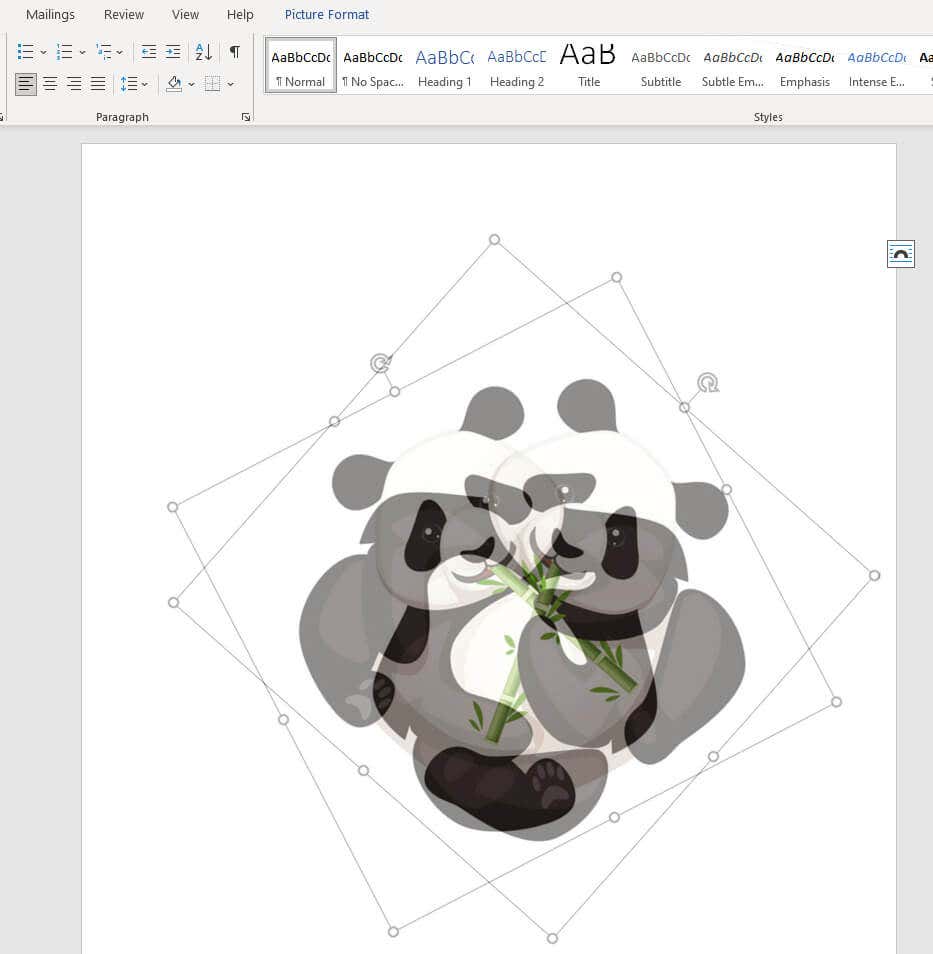
- Left-click on the arrow (or the green dot) and hold down the left mouse button while you drag your mouse in any direction you want. Don’t release the mouse button until you find the perfect angle for the image.
- If you release the mouse by accident, don’t worry, just repeat the process as many times as you want until the picture is in the desired place.
You can press and hold the Shift button on your keyboard to rotate the image in a 15-degree increment while dragging the mouse.
2. Rotate an Image in a 90-degree Angle Increment
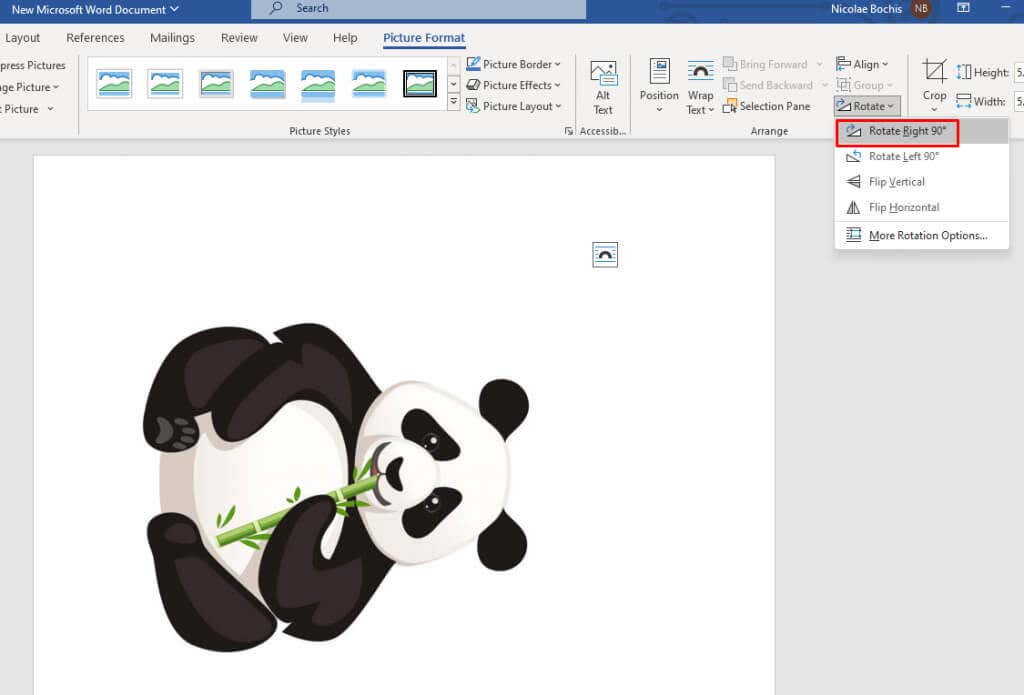
If you need to rotate your image in a 90-degree increment, there’s no need to do it by hand (and by the eye). There’s an easier method that’ll allow you to rotate your image in any of the four directions. Here’s how:
- Select the image by clicking on it.
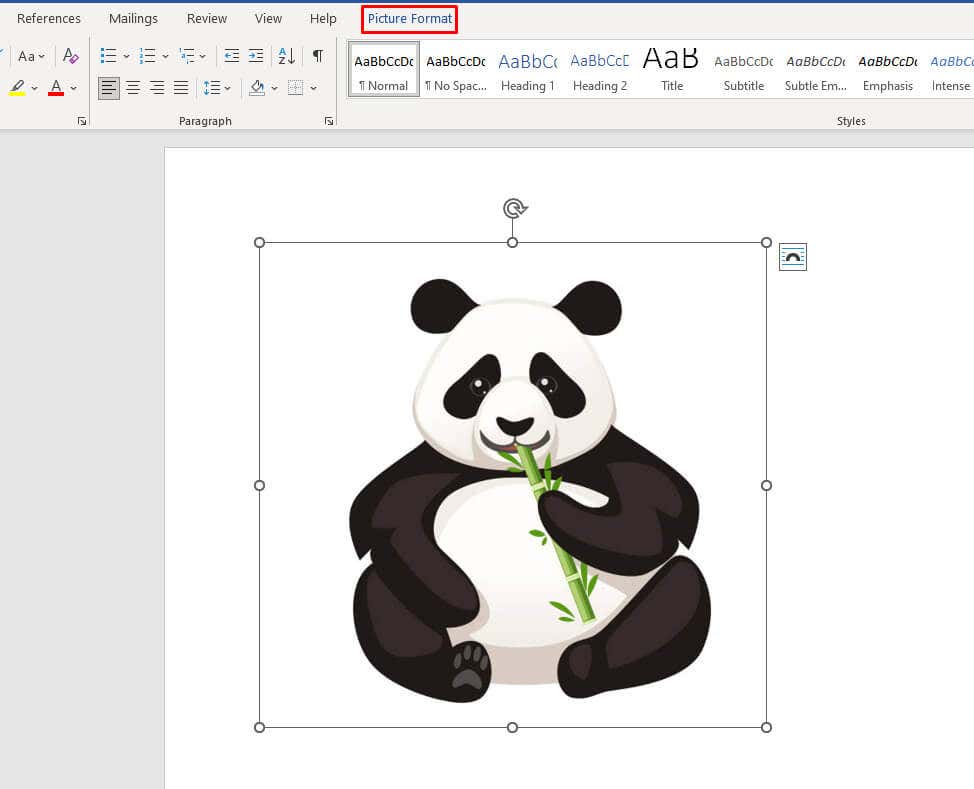
- Go to the Format tab in the toolbar. You’ll find it at the top of the Microsoft Word app. Don’t worry if you don’t see it at first. You’ll need to select the image for it to appear. It might also be called the Picture Format tab in some versions of Microsoft Word.
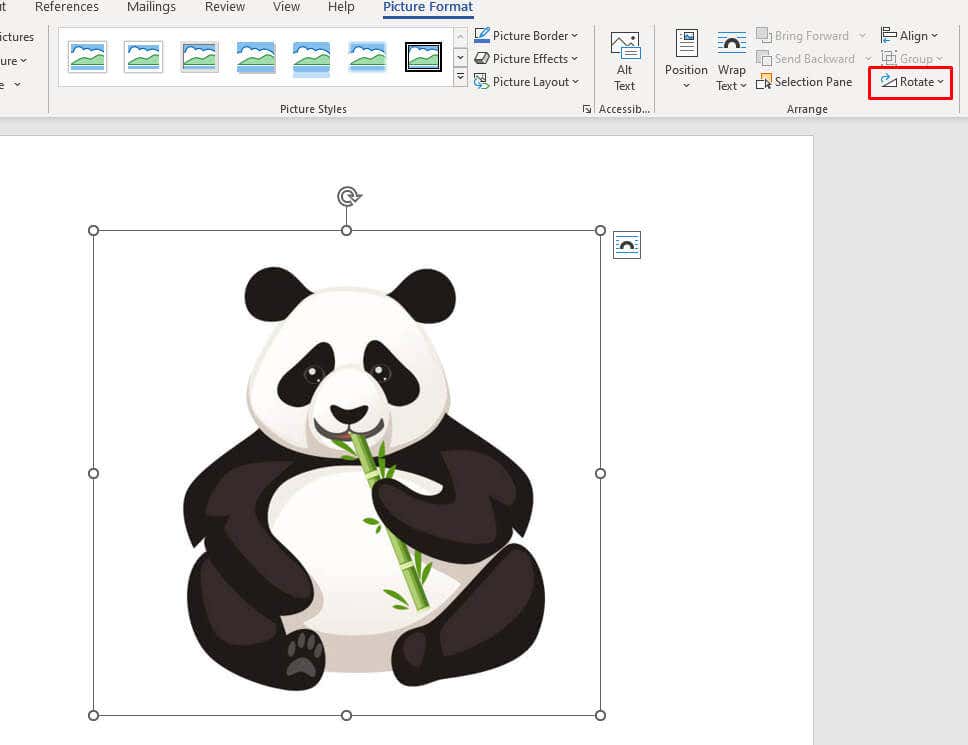
- Once there, select the Rotate and Flip feature, in the Arrange section.
- From the drop-down menu select the desired 90-degree rotation option.
- As soon as you select the rotation option it’ll be applied to your image.
3. Flip the Image Horizontally or Vertically
Remember Microsoft Word lets you flip an image horizontally or vertically. So if you don’t need a special position for the image, this option is better than rotating. This can also be a great formatting choice for your Word document layout.
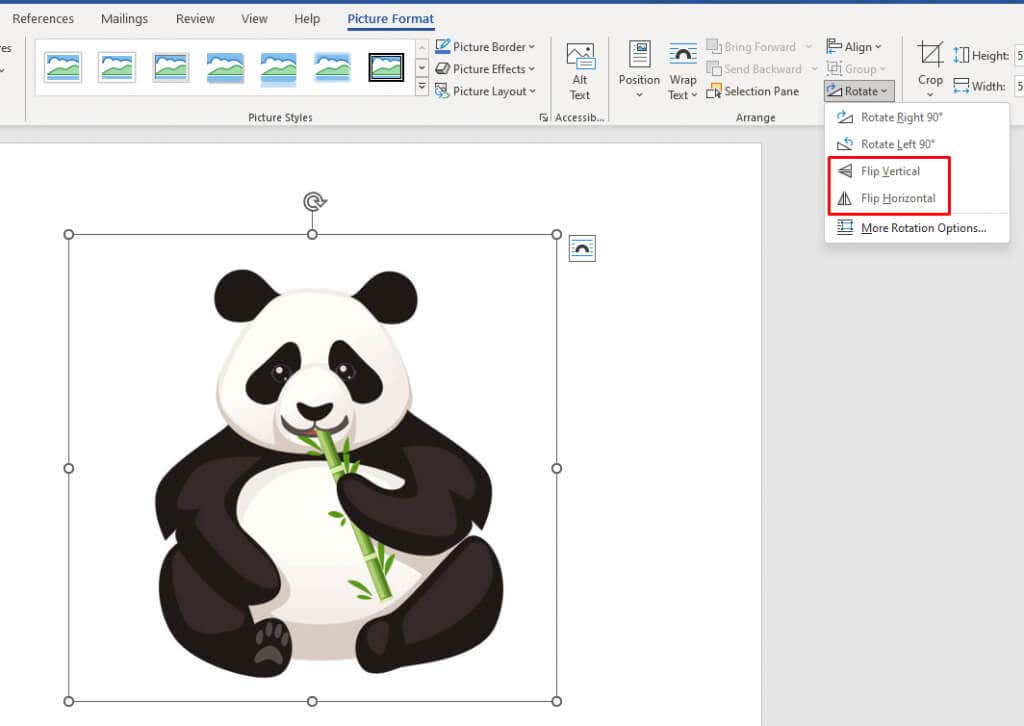
Flipping the image creates a direct mirror image from your selected picture. Follow these steps to flip your image horizontally or vertically:
- Select the picture you want to flip. Go to the Format tab, and navigate to the Rotate and Flip feature.
- Select Flip Horizontal and your image will be mirrored along the y-axis. You can also select Flip Vertical to invert the picture along the x-axis.
For the best results, you can combine the rotate and flip features to get the picture in the desired position.
4. Rotate an Image at the Desired Angle
If a 90-degree increment is not to your satisfaction, Microsoft Word lets you rotate an image at a custom degree. Here’s how you can easily do it:
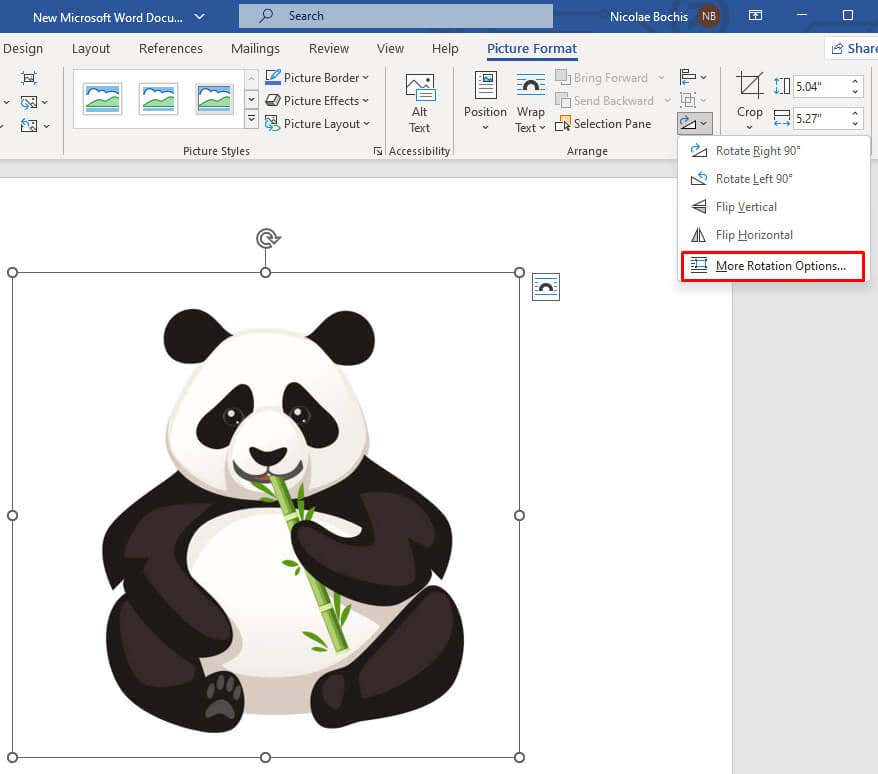
- Click on your picture to select it. Then go to the Format tab, and select Rotate and Flip.
- From the drop-down menu, select More Rotation Options…, the last feature in the Rotate and Flip menu.
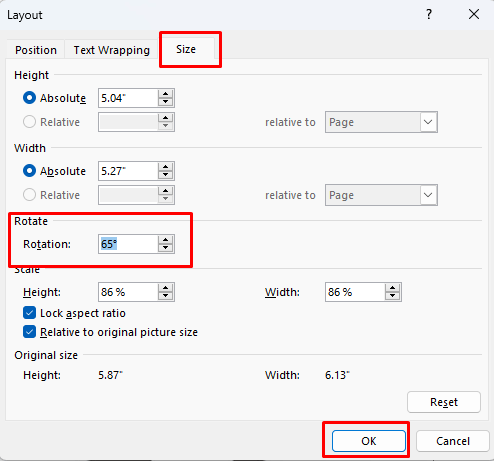
- A Layout dialog box will appear. Select the Size tab, and find the Rotation option. Here you can enter the exact angle you want to rotate your image in. Either type the number or use the small arrows on the side to find the desired angle.
- Once you are done press the OK button and the rotation will be applied to your image.
Note: If you use the arrows to find the exact angle, note that the upward arrow equals positive numbers and they will rotate your picture to the right. The downwards arrow does the opposite, so your image will rotate left.
5. Rotate an Image in 3-Dimensional Space with Presets
Microsoft Word 2007 and later editions implemented a new feature by which you can rotate and distort your image in a 3-dimensional space. You’re no longer restricted to rotating just to the left or to the right. But you don’t have to bother with 3D rotation manually as MS Word has several handy presets that you can use.
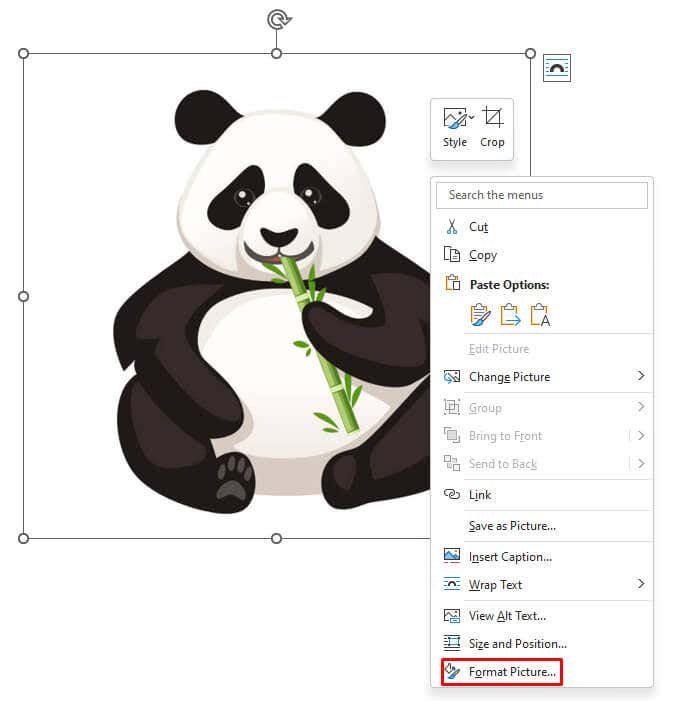
- Open the Image’s options panel by right-clicking on it. Select Format Picture from the menu. It’s located at the bottom.
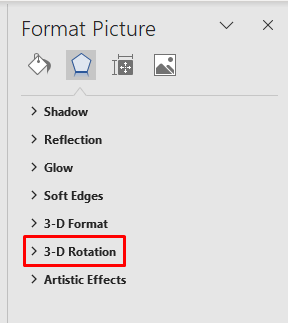
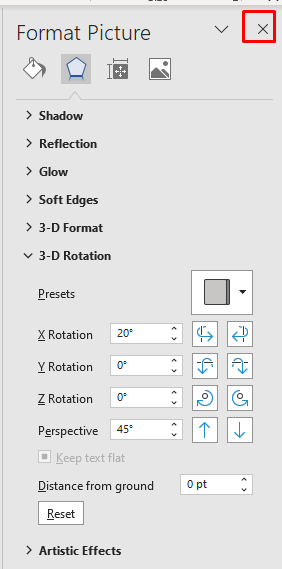
- The Format Picture dialog box will open. Select 3-D rotation from the left side menu. In newer versions of the Microsoft Word app, instead of a dialog box, you’ll have a right sidebar menu pop-up.
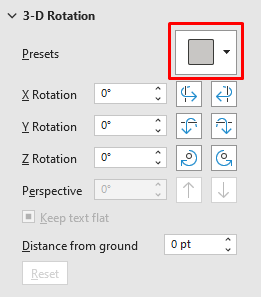
- Tap the Presets icon to open the Preset menu.
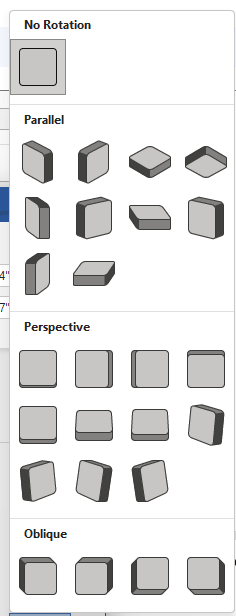
- A drop-down menu that opens contains several presets you can choose from. They are divided into three sections: Parallel, Perspective, and Oblique.
- Once you choose the desired preset click it to apply it to your image.
- Press the Close button to finish the process.
6. Rotate an Image in 3-Dimensional Space Manually
If you don’t find what you want in presets, Microsoft Word lets you manually rotate your image in 3-D space. That allows you to freely manipulate the object across the X, Y, and Z-axis.
- Right-click your image and go to Format Picture…Go to the 3-D rotation option in the menu.
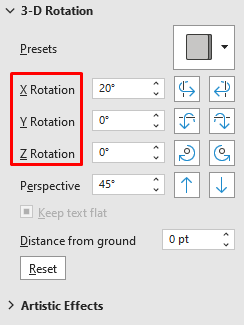
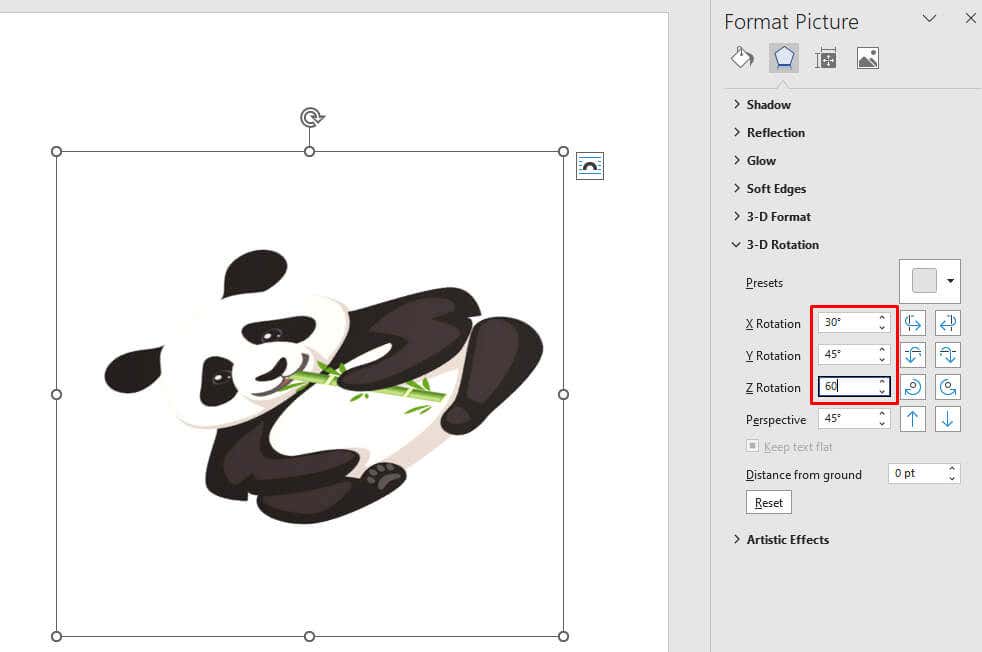
- Under the presets, you’ll notice Rotation options for X, Y, and Z-axis. You can manually type the degree values, or use the arrows.
Note that:
- The X rotation rotates the image up and down as if you were flipping the image away from you.
- The Y rotation flips the image from one side to another, as if you were turning the image over.
- The Z rotation rotates the image clockwise as if you were moving the picture around a flat surface.
As you change the values in the axis text boxes, you can watch your image warp in real time. This will help you adjust the image angle to the desired position, without having to repeat the steps if you are unhappy with the result.
7. Bonus Method: Text Wrapping
The most annoying thing in MS Word, related to rotating, moving, and repositioning images, is doing it without moving the text. Whenever you resize, or move the photo in your document, it influences the text layout. But there’s a way around it. All you have to do is change the text wrapping settings. There are several options so both the text and the image fit your document layout perfectly.
To change the text wrapping setting:
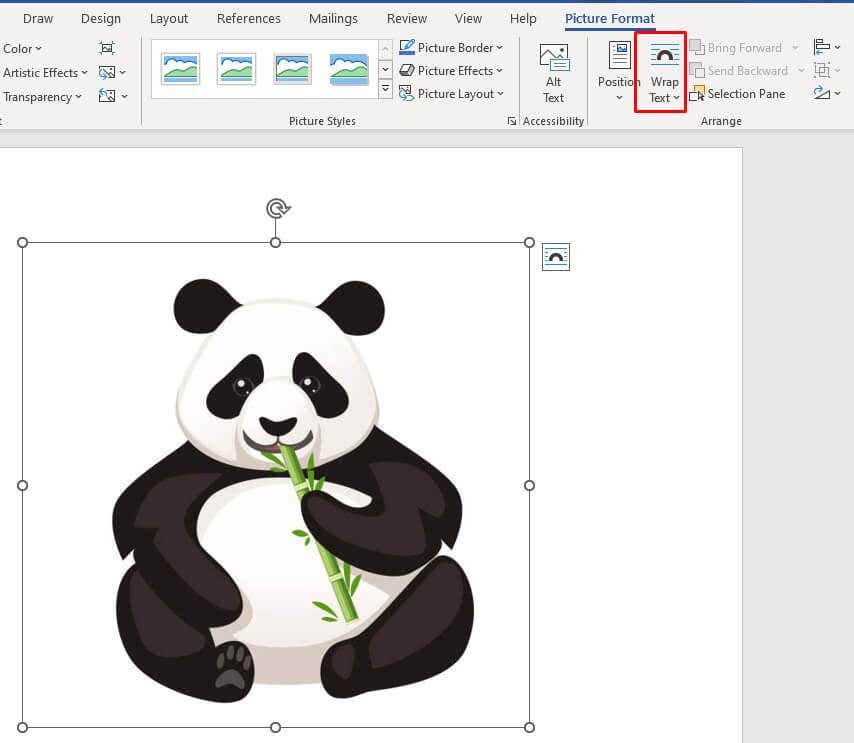
- Select the image by clicking it and go to the Format tab.
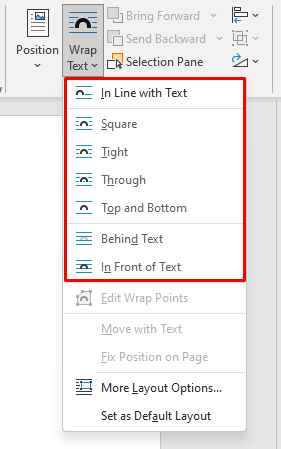
- Under the Arrange group find the Wrap Text option and click it.
- Select the text wrap option from the drop-down menu.
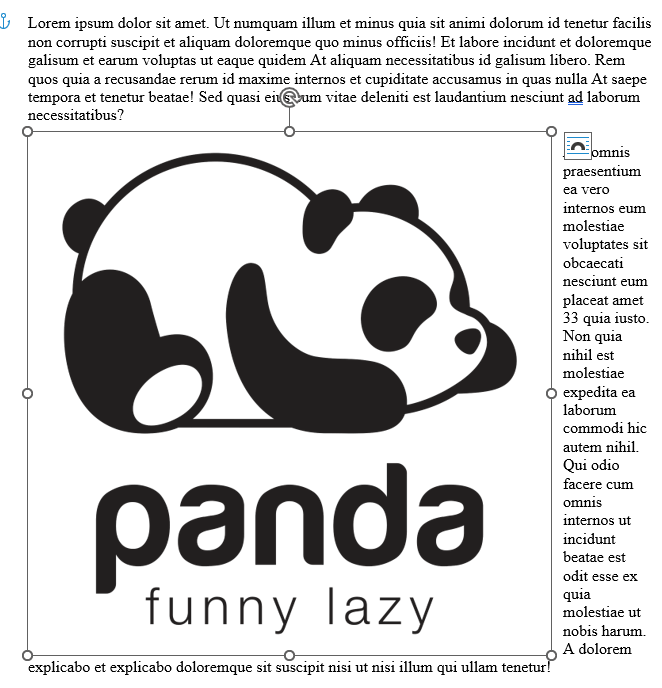
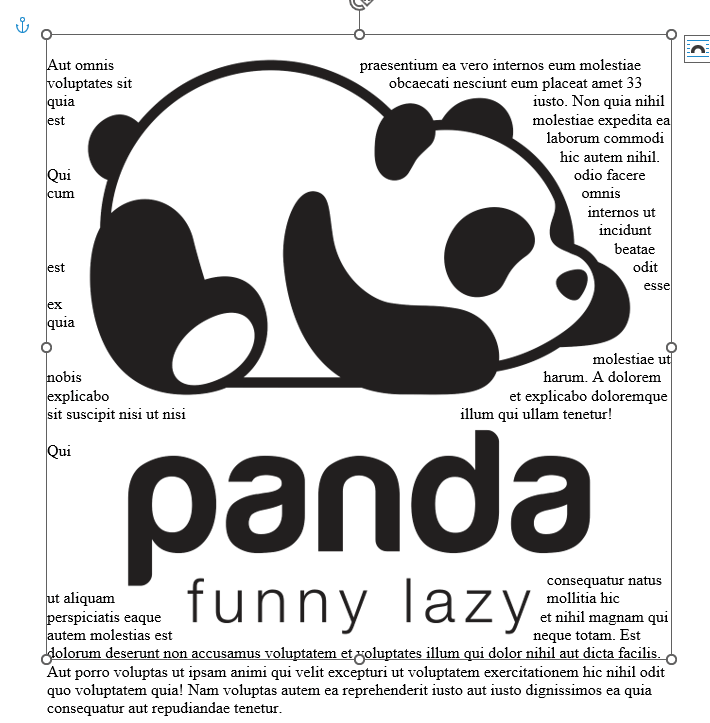
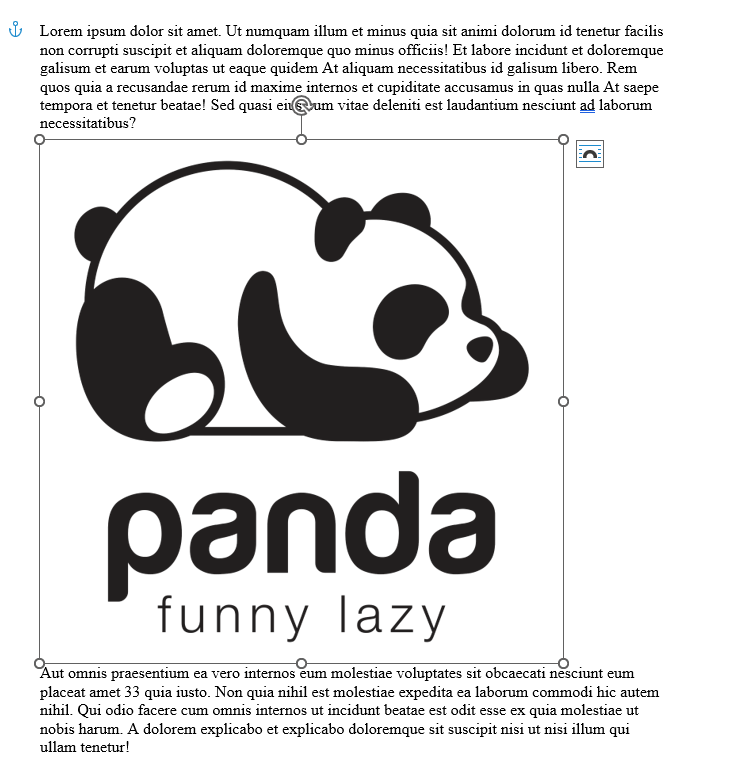
Here’s what each of the text wrap options does:
- Square: The text moves around the picture and forms a square shape.
- Tight: Text conforms around the image’s shape tightly.
- Through: The text will fill the white space in and around the image.
- Top & Bottom: The text appears at the top and the bottom of the image.
- Behind text: The text is placed over the photo.
- In front of the Text: The text is placed behind the image.
Note: these text wrapping settings will give different results depending on what image format you’re working with (for example JPG or Vector).
And there you have it. You’re one step closer to mastering the manipulation of images in Microsoft Word without feeling the sudden urge to bash your keyboard against the wall.
