It’s not so alarming when Windows fails to boot on your computer on the first try. It can be a sign of trouble when it happens repeatedly. A “Your PC did not start correctly” error on your screen indicates a problem with specific startup files and configurations.
This complication could result from file system corruption, power outage, virus infection, or a buggy driver and software. You can easily resolve the error and stop it from happening again. Try the troubleshooting steps highlighted below, and let us know which step fixes the error.
Restart Your Computer
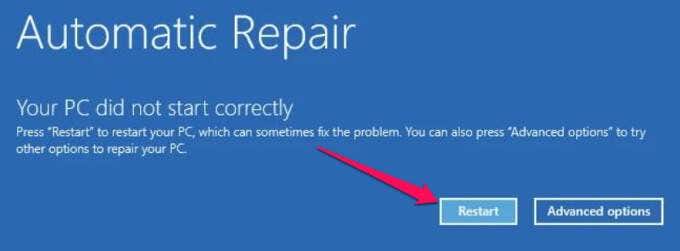
When Windows displays this error, you’ll find two options on the screen: Restart and Advanced options. Some users report that restarting their computers resolved the problem. Click the Restart button and wait for your PC to come back on.
If Windows still doesn’t boot into the sign-in screen, try the following troubleshooting methods.
Boot into Safe Mode
Booting into Safe Mode can eliminate issues preventing your Windows PC from starting correctly. When you get this error, shut down your PC, enter Safe Mode, boot your PC normally again and check if that resolves the problem. Refer to this comprehensive guide on booting into Safe Mode in Windows to learn how it’s down.
Run the Startup Repair Tool
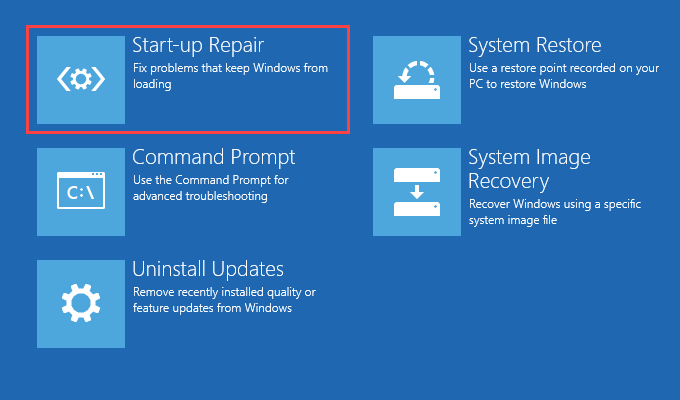
Windows has a built-in tool for diagnosing and fixing problems preventing the operating system from booting correctly. The Startup Repair Tool is tucked inside the Advanced Startup Options menu.
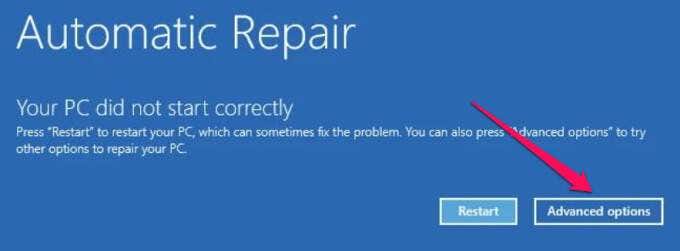
- Click Advanced options on the blue screen displaying the error message.
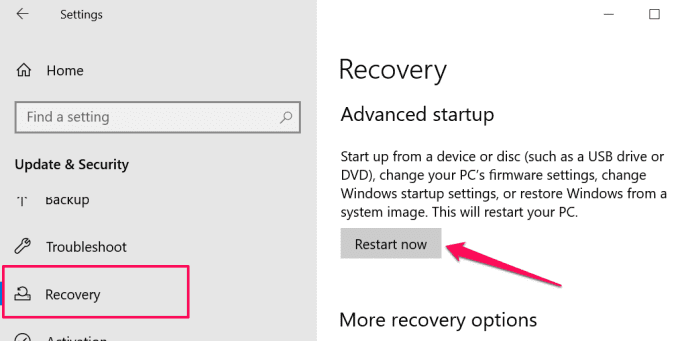
An alternate route to boot your PC to the Advanced options menu is through Settings > Update & Security > Recovery and click the Restart now button under the Advanced startup section.
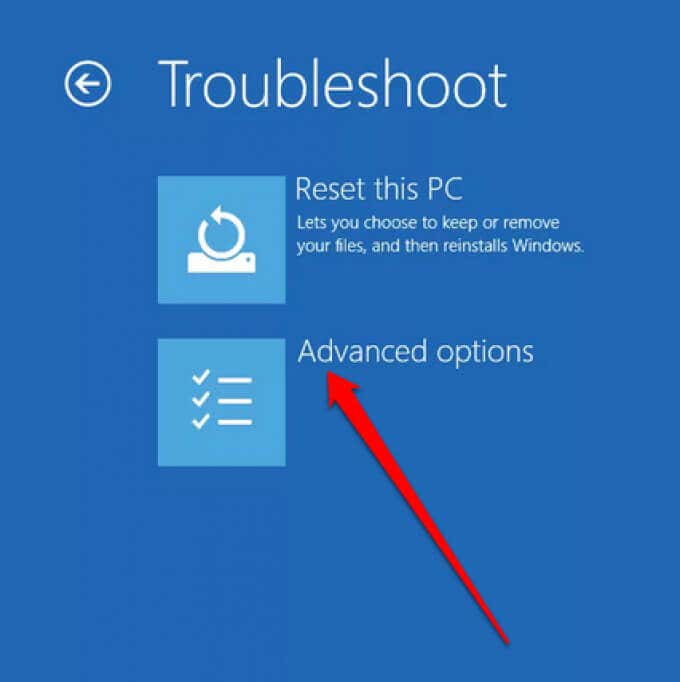
On some Windows 10 devices, you can access the Advanced Options menu by pressing the F11 key repeatedly as soon as you hit the power button. Restarting your PC three times in succession is another way to trigger the Automatic Startup options forcefully. Select Troubleshoot and select Advanced options to continue.
- Select Startup Repair.
The tool will immediately diagnose your computer and fix issues preventing Windows from booting correctly. The Startup Repair tool will also check your computer disk errors and attempt to fix them. This might take a couple of minutes or hours, so make sure your PC is plugged into a power source.
Run the System File Checker
Your PC may encounter difficulties loading Windows if there’s a problem with some system files. Use the System File Checker to repair or redownload missing and corrupt system files.
- Click Advanced options on the error screen.
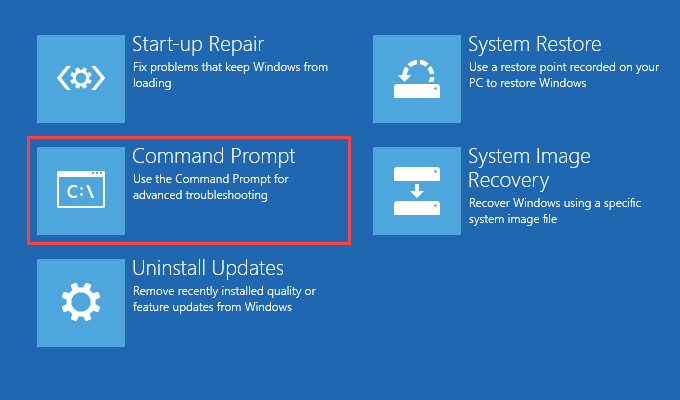
- Select Command Prompt.
- Type or paste DISM.exe /Online /Cleanup-image /Restorehealth in the terminal and press Enter.
The command will trigger the Deployment Image Servicing and Management (DISM) tool to scan and download the necessary system files required for your computer to boot properly.
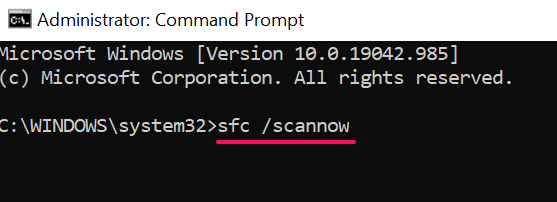
- Next, paste sfc /scannow in the terminal and press Enter.
This command scans your PC for missing or corrupt system files and replaces them with the stable copy downloaded by the DISM tool.
- Restart your computer when the scan is complete. Paste shutdown /r in the Command Prompt terminal and press Enter.
Perform System Restore
As mentioned earlier, installing a buggy program can mess with your PC’s startup files and configurations. If you notice this error right after installing a driver or an app, roll back your computer to a previous state where things were working smoothly with the help of a Restore Point.
Windows automatically creates restore points once every week when System Protection is enabled on your computer. Windows also makes these points before critical system changes like driver installing a driver or Windows update. Follow the steps below to perform a system restore to fix this startup-related error.
- Select Advanced options on the error page.
- Select System Restore and click Next to proceed.
- If you have multiple administrator accounts on your PC, you may be required to select an account you want to restore and enter the account’s password.
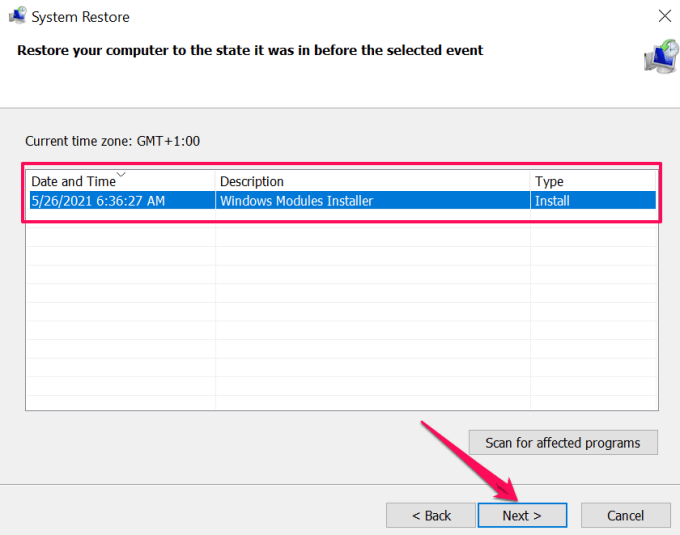
- Select the most recent restore point–ensure you check the “Date and Time” column. Or, select the restore point captured before you installed the problematic app/driver and click Next.
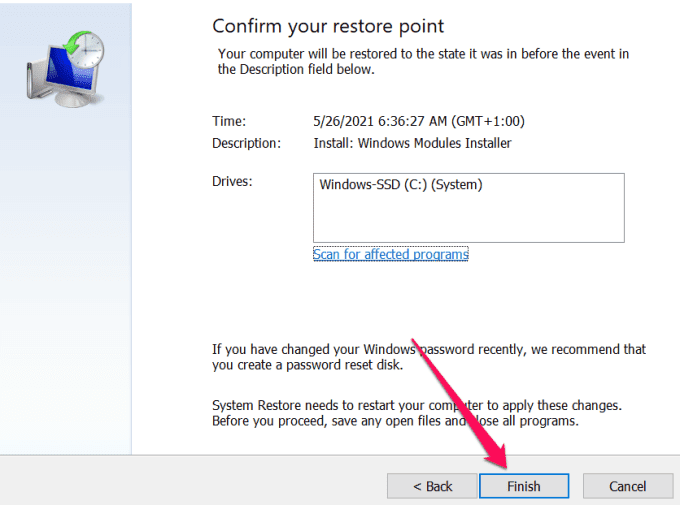
- If you wish, click Scan for affected programs to view the apps that the System Restore tool will remove from your computer.
- Confirm your selection and click Finish to commence the system restore operation.
Windows will move your PC back in time and, hopefully, eliminate the issue causing the “Your PC did not start correctly” error.
Note: After a system restore, Windows preserves your personal files but removes apps, drivers, and updates installed after the restore point was created.
Uninstall or Delete Recent Updates
Did you notice this error after installing a Windows Update? We recommend deleting the updates from your computer.
- Head to Settings > Updates & Security > Windows Update and select View update history.
- Select Uninstall updates.
- Select the update and click Uninstall to proceed. Make sure you check the “Installed On” column to confirm the installation date of the problematic update.
Repair Windows Boot Configuration Data
The Boot Configuration Data (BCD) is a set of data used by Microsoft to boot your Windows computer. Your PC may fail to load Windows if the files that make up the BCD are corrupt or missing. Follow the steps below to rebuild your computer’s BCD.
- Click Advanced options on the error screen.
- Select Command Prompt.
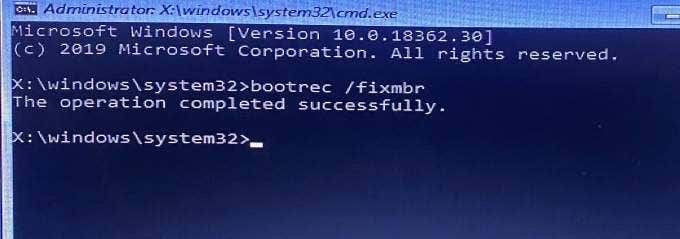
- Type or paste bootrec /fixmbr in the terminal and press Enter. Proceed to the next step when you see the “The operation completed successfully.” message.
- Type or paste bootrec /fixboot and press Enter.
- Type or paste bootrec /rebuildbcd and press Enter. These commands will scan your Windows installation and fix any issues it finds.
- If the command identifies any Windows installation, type Y or A and press Enter to add the installation to your boot list.
- Finally, paste shutdown /r in the Command Prompt terminal and press Enter to restart your PC.
Reset Windows Master Boot Record (MBR)
The Master Boot Record (MBR) is a sector on the hard drive that points your PC to the location of the Windows OS. If the MBR gets damaged or corrupted, your computer will display messages like “Error loading operating system,” “Invalid partition table,” “Your PC did not start correctly,” etc.
Restoring the MBR to its factory configuration can fix this issue. Follow the steps below to get it done.
- Select Advanced options on the error page.
- Select Command Prompt.
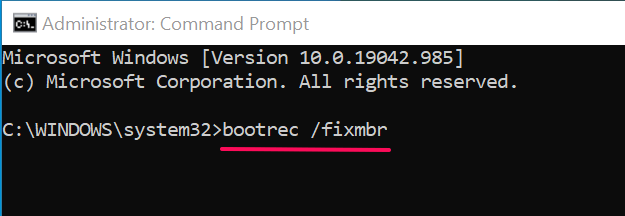
- In the Command Prompt terminal, type or paste bootrec /fixmbr and press Enter.
This command diagnoses and repairs corruption-related issues diagnosed in the Master Boot Record sector.
- Afterward, paste bootrec /fixBoot in the terminal and press Enter.
This command will scan for damaged sectors in the MBR and fix them accordingly.
- Finally, paste bootrec /rebuildbcd in the console and press Enter.
The command above will rebuild the Boot Configuration Data (BCD) store—a group of essential startup files.
Last Resort: Reset Your Computer
If Windows still won’t boot properly despite all your troubleshooting efforts, consider resetting your PC to the factory default. Windows will reinstall the OS, remove third-party apps, and revert all system settings to their defaults. Use this guide on factory resetting Windows 10 to learn more about this extreme step.
Related Posts
- Preparing for Windows 10 End of Support: Upgrading to Windows 11
- How to Fix a “This file does not have an app associated with it” Error on Windows
- How to Fix an Update Error 0x800705b4 on Windows
- How to Resolve “A JavaScript error occured in the main process” Error on Windows
- How to Fix the Network Discovery Is Turned Off Error on Windows

