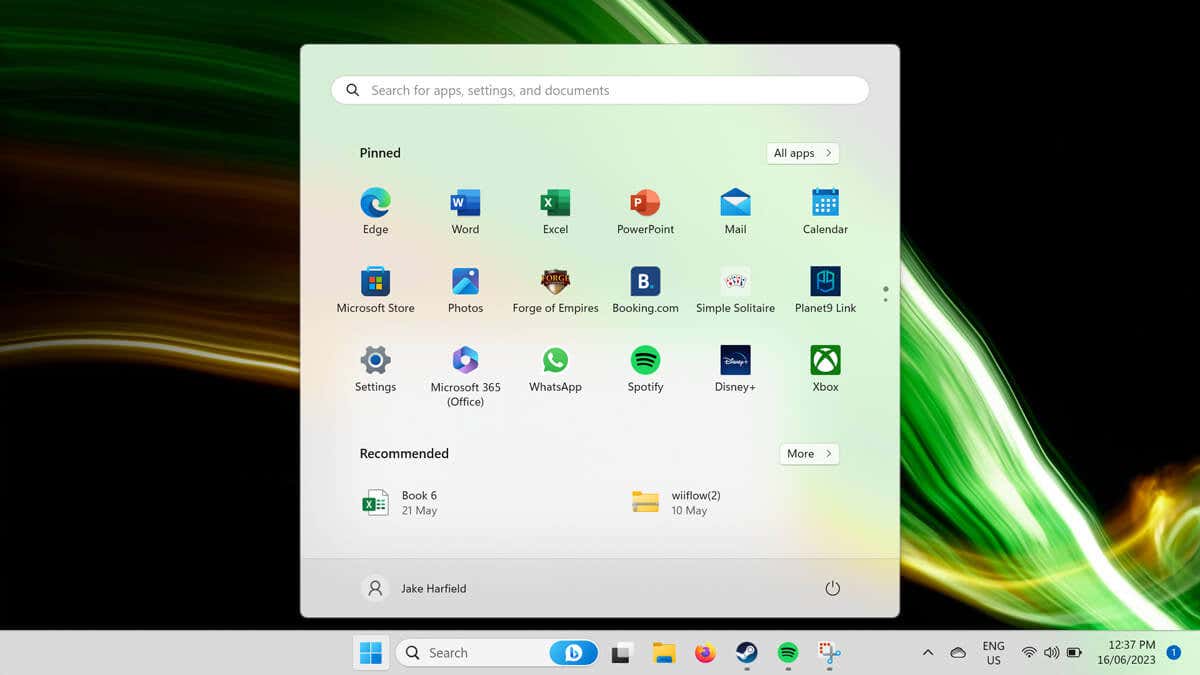
The Start Menu is one of the fundamental parts of the Windows operating system. In fact, almost everything can be done from the Start Menu. When the Windows Start button stops working, using your PC suddenly becomes much harder.
In this article, we’ll explain 11 ways to fix the Start button when it stops working in Windows 10 and Windows 11.
1. Restart Your PC
Many seemingly unsolvable problems can be quickly fixed with a restart. If your Start Menu isn’t working (it doesn’t open when you press the Start key), you’ll have to use the buttons on your PC case to restart.
To do so, press the Restart button. If you don’t have a restart button, press and hold the power button for 5-10 seconds. Wait 30 seconds, then press the power button again to restart it.
If the Windows Start button still isn’t working when your PC reboots, move on to the next step.
2. Check If the Start Menu Is Hidden
If you can’t see the Start Menu or taskbar, you may have accidentally hidden them. To find out whether this is the case, you can lock the taskbar:
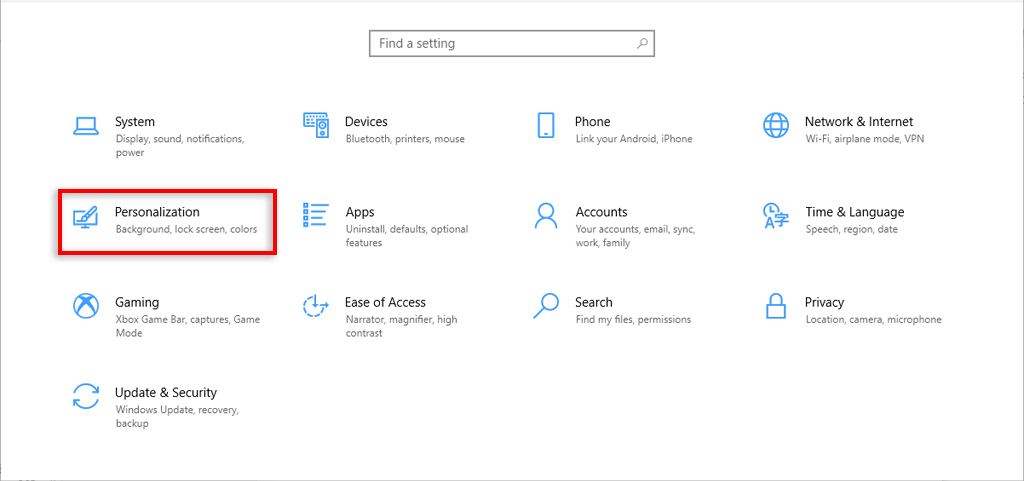
- Press the Windows key + I to open Settings.
- Select Personalization.
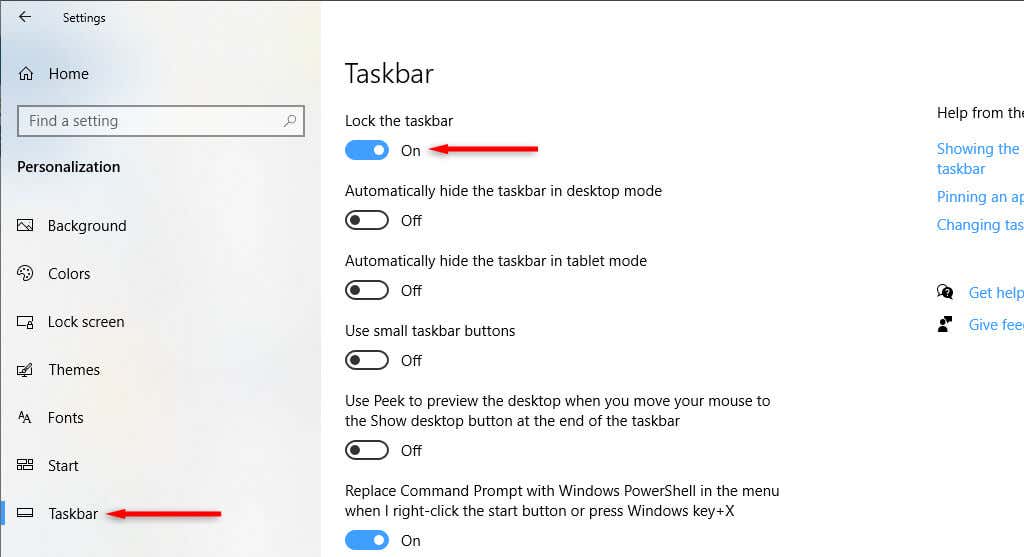
- Select Taskbar.
- Toggle on Lock the taskbar.
- Make sure that Automatically hide the taskbar in desktop mode is toggled off.
3. Check for Malware and Viruses
Malware often causes your PC to malfunction. To check whether your PC has malware, open your antivirus software and select Scan Now. If you don’t have a third-party antivirus installed, you can use Windows Defender as follows:
- Press the Windows key + I to open Settings.
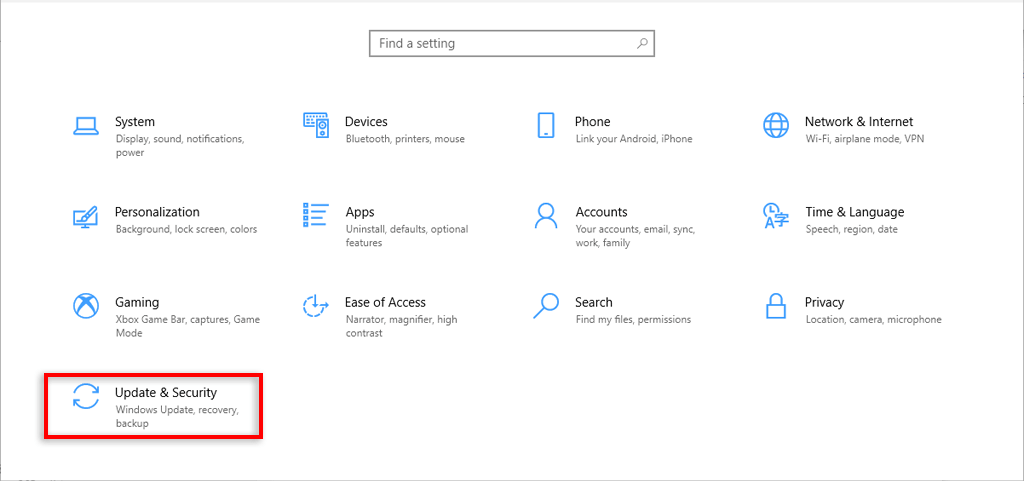
- Select Update & Security.
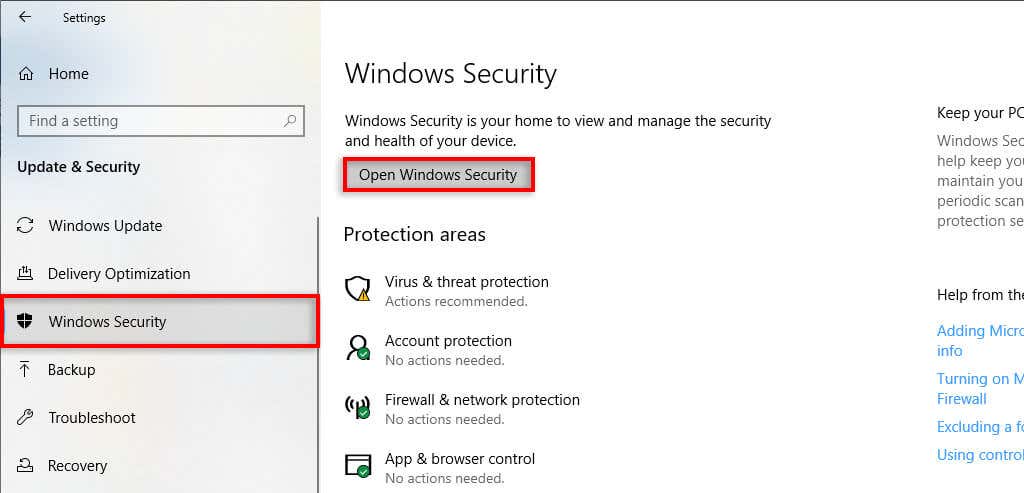
- Select Windows Security.
- Select Open Windows Security.
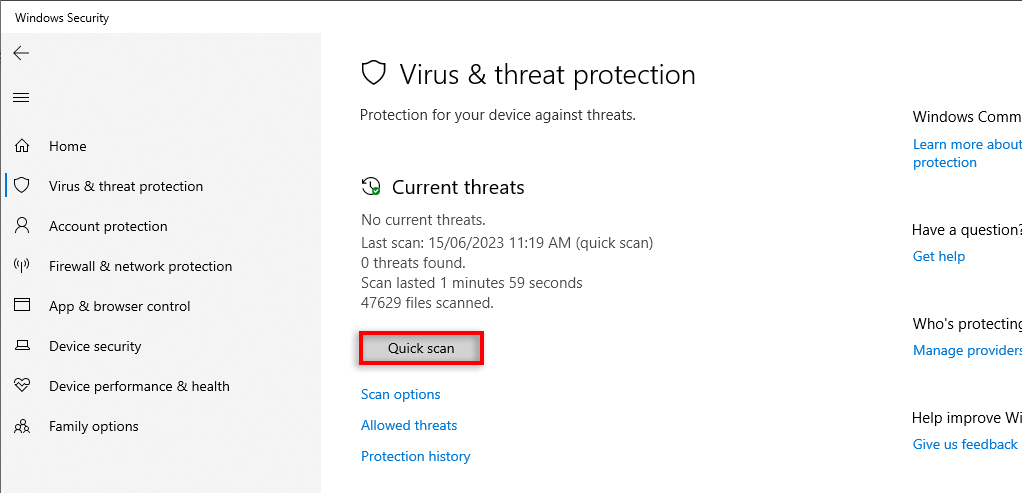
- In the left-hand pane, select Virus & threat protection.
- Select Quick scan.
4. Update Windows to the Latest Version
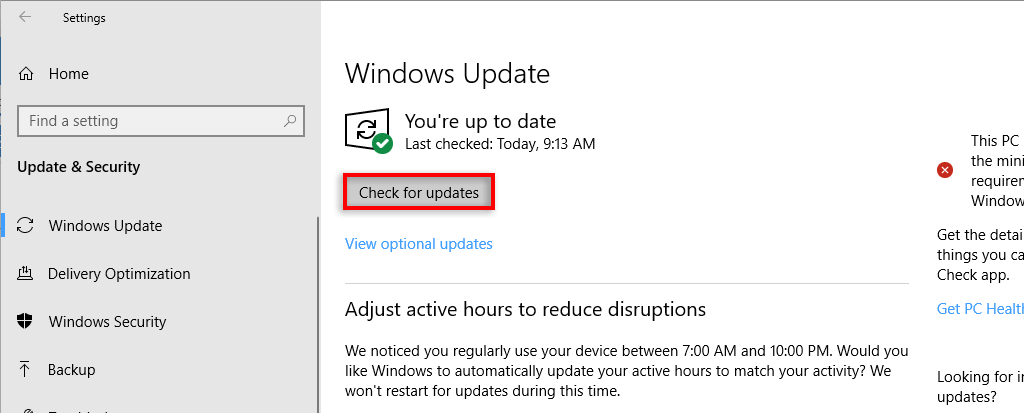
Updating Windows often adds new features and resolves residual glitches. Occasionally, the Start menu error can be caused by a faulty Windows update, and updating to the latest version can help.
To update Windows:
- Press Windows key + I to open Settings.
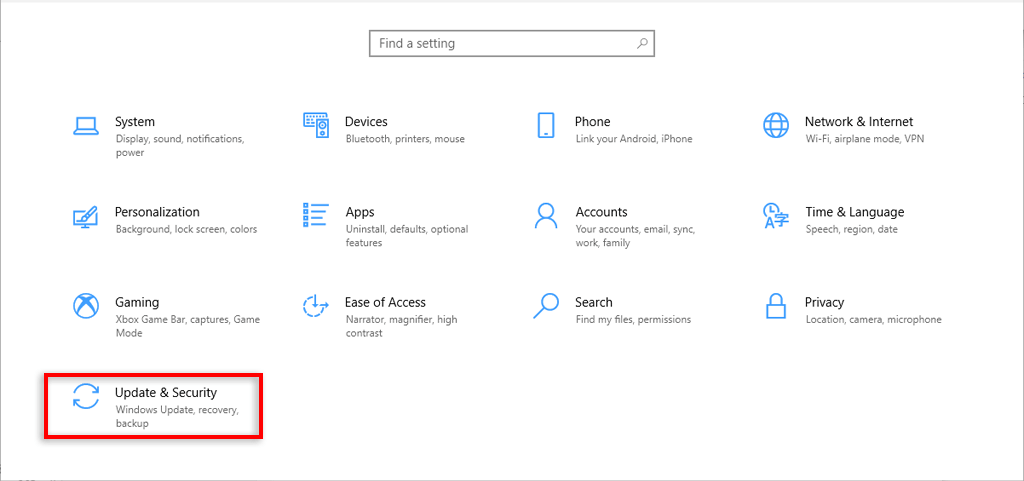
- Select Update & Security.
- Select Check for updates.
- If the system finds a new Windows update, download it, then restart your computer as above.
5. Restart Windows Explorer Process
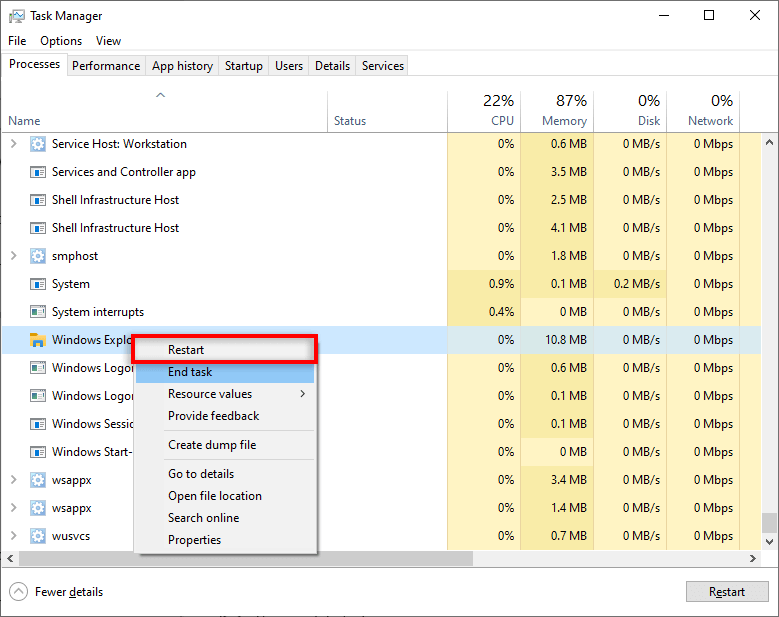
Often, temporary glitches are caused when system processes function incorrectly. To check whether this is the case, restart the process using the Task Manager. In the case of a broken Start Menu, it’s usually the Windows Explorer task at fault.
- Press Ctrl + Shift + Esc (or Ctrl + Alt + Del) to open Task Manager.
- Select the Processes tab.
- Select More details to see a complete list of processes.
- Scroll down and find Windows Explorer (this may appear as “File Explorer”).
- Right-click the process and select Restart.
- Wait for Explorer to boot up again, then try to access your Start Menu as usual.
6. Change User Account
For some reason, a broken Start Menu is often associated with a particular user account. To check, sign out and enter another account — even if it’s a guest account. Since you can’t access the Start Menu, you’ll have to restart to do this.
If the Start Menu works on the other account, it’s a user account issue. Unfortunately, besides updating Windows, we aren’t sure why this error occurs or how to fix it.
One less-than-perfect solution is creating a new user account and migrating your files. While this can be a pain, a new account will resolve the Start Menu glitch and let you use Windows as usual.
To do so:
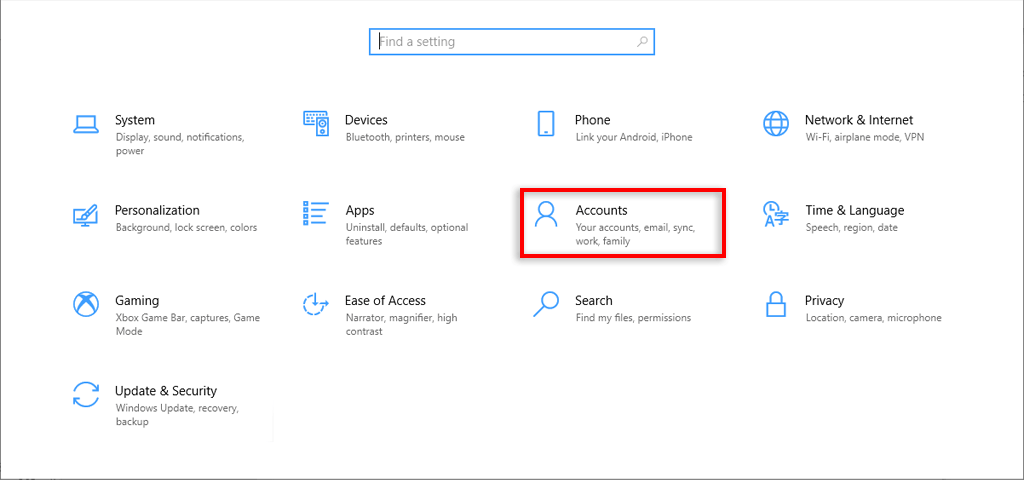
- Press the Windows key + I to open Settings.
- Select Accounts.
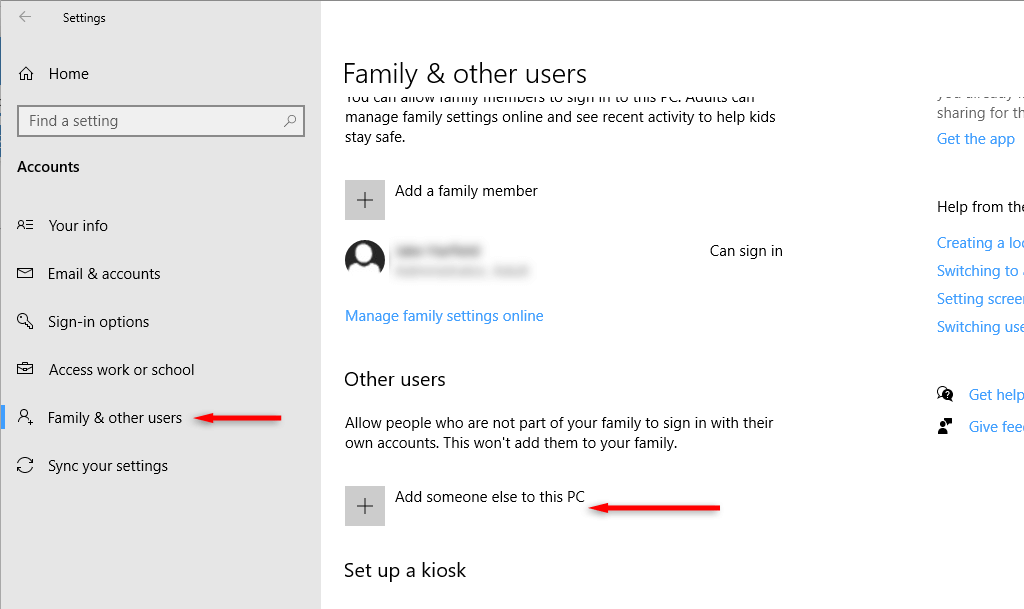
- Select Family & Other Users.
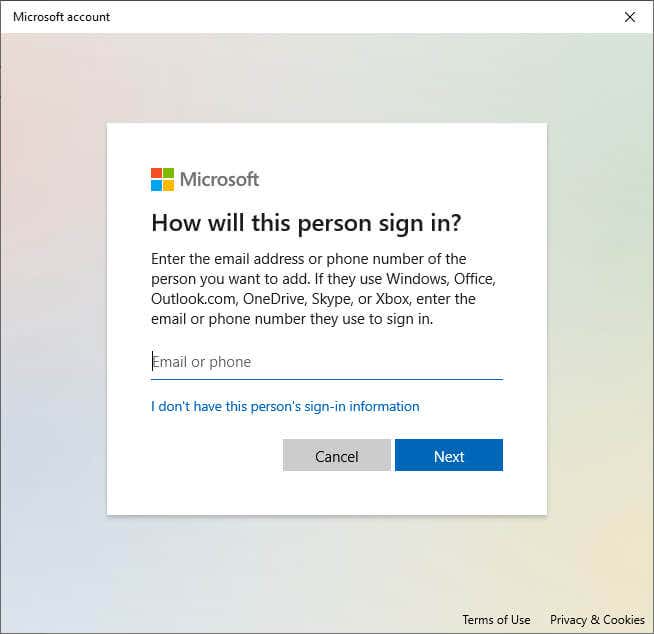
- Select Add someone else to this PC.
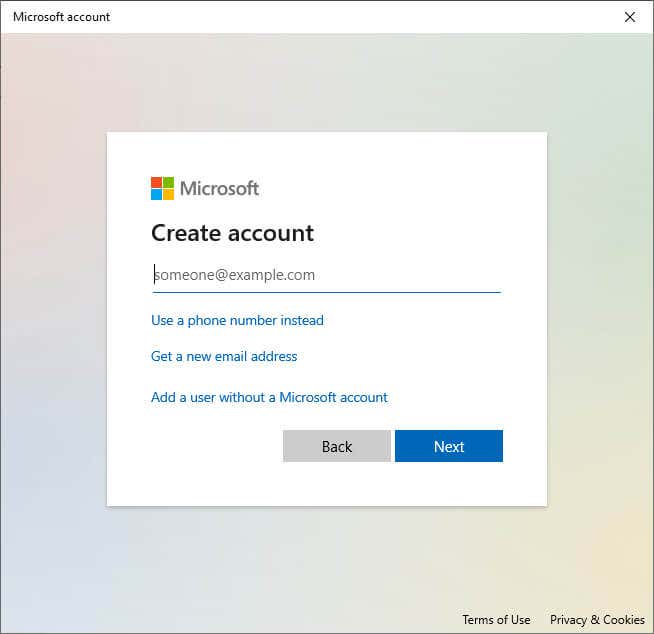
- Select I don’t have this person’s sign-in information.
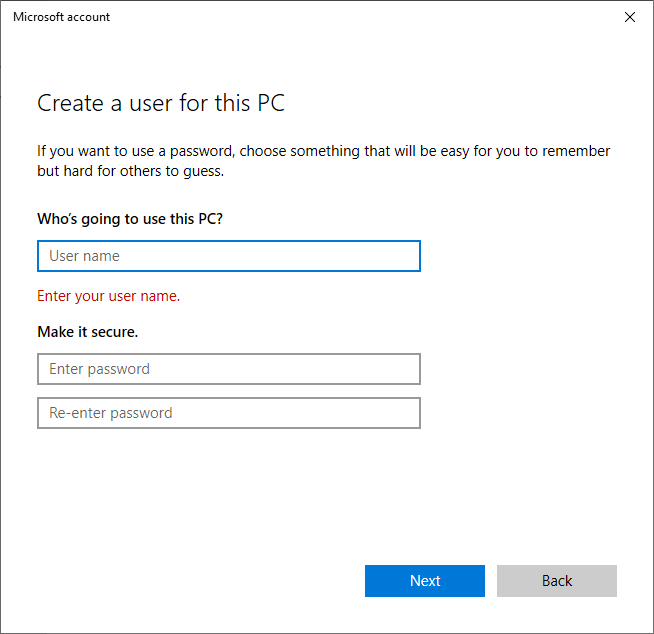
- Select Add a user without a Microsoft account.
- Enter your new username and password, then select Next.
7. Use Windows PowerShell to Re-register Built-in Apps
Re-registering apps with PowerShell is a temporary workaround to help you get the Start Menu running again. This sets your apps (like the Start Menu) to factory defaults and can resolve common glitches.
To re-register the Start Menu:
- Press the Windows key + R to open the Run dialog box.
- Type “PowerShell” and press Enter.
- Paste the following command and hit Enter:
Get-AppXPackage -AllUsers | Foreach {Add-AppxPackage -DisableDevelopmentMode -Register “$($_.InstallLocation)\AppXManifest.xml”}
- Wait for PowerShell to finalize, then check if your Start Menu is working.
Note: Since this is only a temporary fix, you may have to repeat this process every time you restart your computer.
8. Disable Cortana’s Temporary Files
Cortana can cause Windows Explorer and other essential Windows services to malfunction, especially on Windows 10. To resolve the Start button not working problem, you can disable the temporary Cortana files using the Command Prompt.
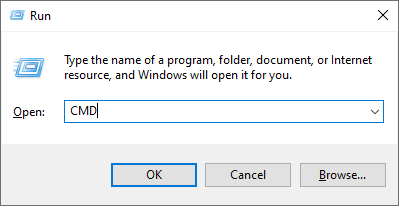
- Press the Windows key + R to open Run.
- Type “CMD” and press Ctrl + Shift + Enter to open it as administrator.
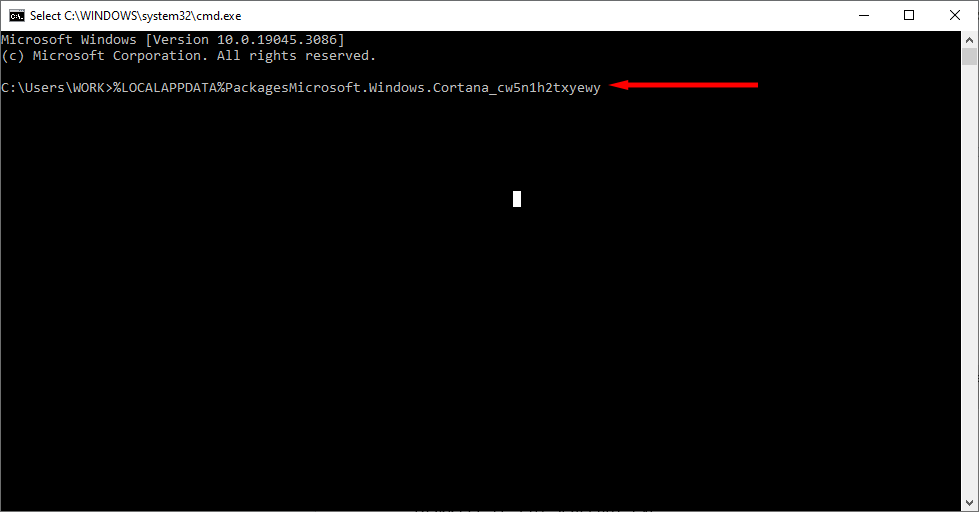
- When the Command Prompt window opens, type the following command, replace USER with your username, and press Enter:
CD/d “C:\Users\USER\AppData\Local\Packages\Microsoft.Windows.Cortana_cw5n1h2txyewy”
If that file path can’t be found, try:
CD/d “C:\Users\USER\AppData\Local\Packages\Microsoft.Windows.Search_cw5n1h2txyewy”
- Then, type the following and hit Enter:
Taskkill /F /IM SearchUI.exe
- Finally, type the following and press Enter:
RD /S /Q Settings
- Now, try pressing the Start Menu button.
Note: If the above file paths can’t be found or the commands don’t work, you can try manually renaming the folders by navigating to the file path in Windows File Explorer. This might cause Cortana to reset, fixing the issue at hand.
9. Use the System File Checker
Windows provides the System File Checker (SFC) to troubleshoot and fix corrupted system files. If none of the above methods have worked, you can use this to find out what’s causing the Start Menu glitch.
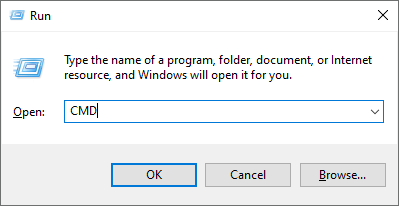
- Press the Windows key + R to open Run.
- Type “CMD” and press Enter.
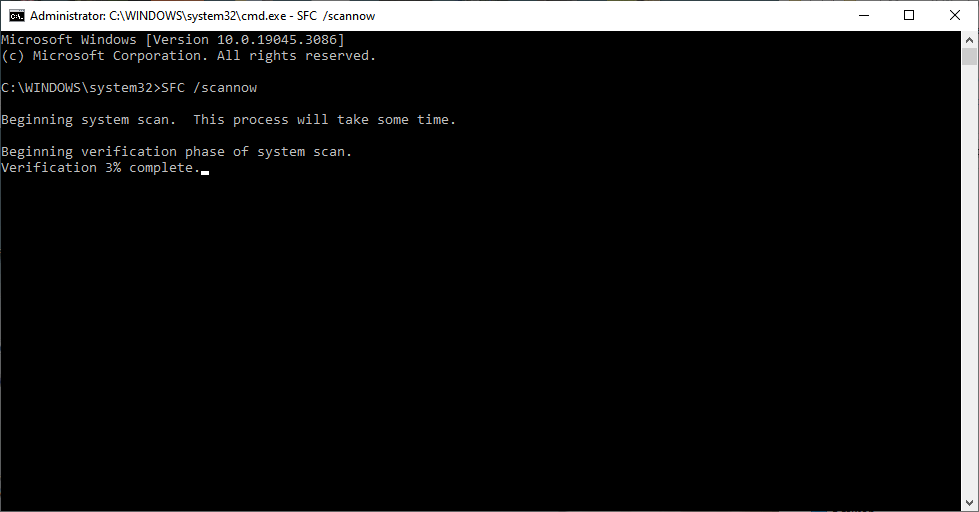
- When the Command Prompt window opens, type the following command and press Ctrl + Shift + Enter to open it as administrator:
SFC /scannow
- Wait for the scan to complete. If the wizard reports no integrity violations, it cannot find out what is causing the problem. If it resolves the issues, you should receive the message “Windows Resource Protection found corrupt files and successfully repaired them.” If not, you’ll have to replace the broken files manually.
10. Create New Registry for the Start Menu
If your Windows key still isn’t working, you can try creating a new registry entry for the Start Menu:
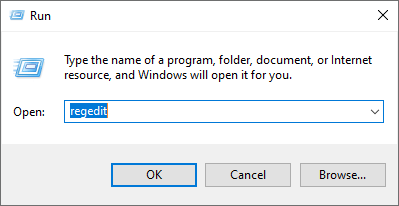
- Press the Windows button + R to open Run.
- Type “Regedit” and press Enter.
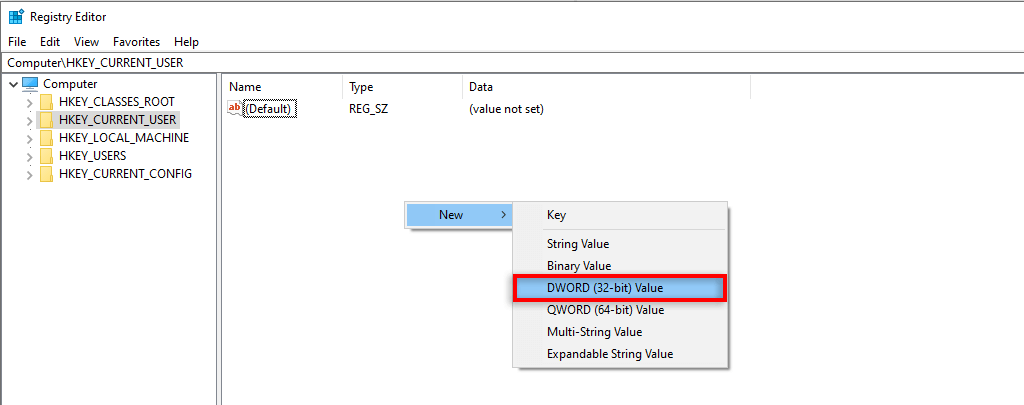
- Select HKEY_CURRENT_USER then right-click on the screen and select New > DWORD (32-bit) Value.
- Name the file “EnableXamlStartMenu.”
- Restart your PC.
11. Perform a System Reset
If all else fails, the final resort is to reset Windows. To perform a system reset:
- Press the Windows key + I to open Settings.
- Select Update & Security.
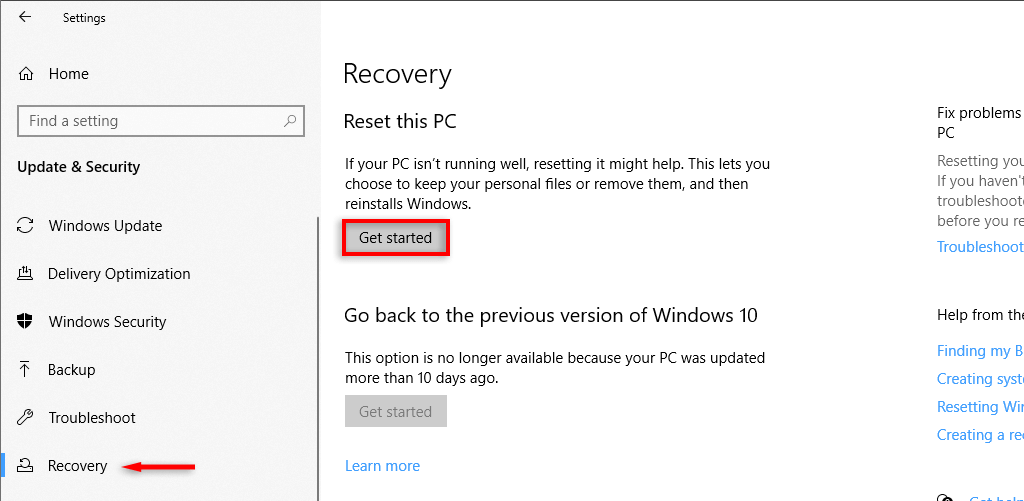
- Select Recovery from the left-hand menu.
- Under “Reset this PC”, select Get started. You’ll be able to choose to keep your files.
Note: If even this step fails, your only option is to uninstall and reinstall Windows completely. With a fresh install, you should be completely free of the Start Menu button glitch.
Get Your Start Menu Up and Running Again
It can be frustrating when something fundamental like the Start Menu stops working. Mainly because without it, even accessing the tools you need to fix the glitch becomes harder.
Hopefully, these fixes have helped you get your Windows 11 or Windows 10 Start Menu button working once again.
