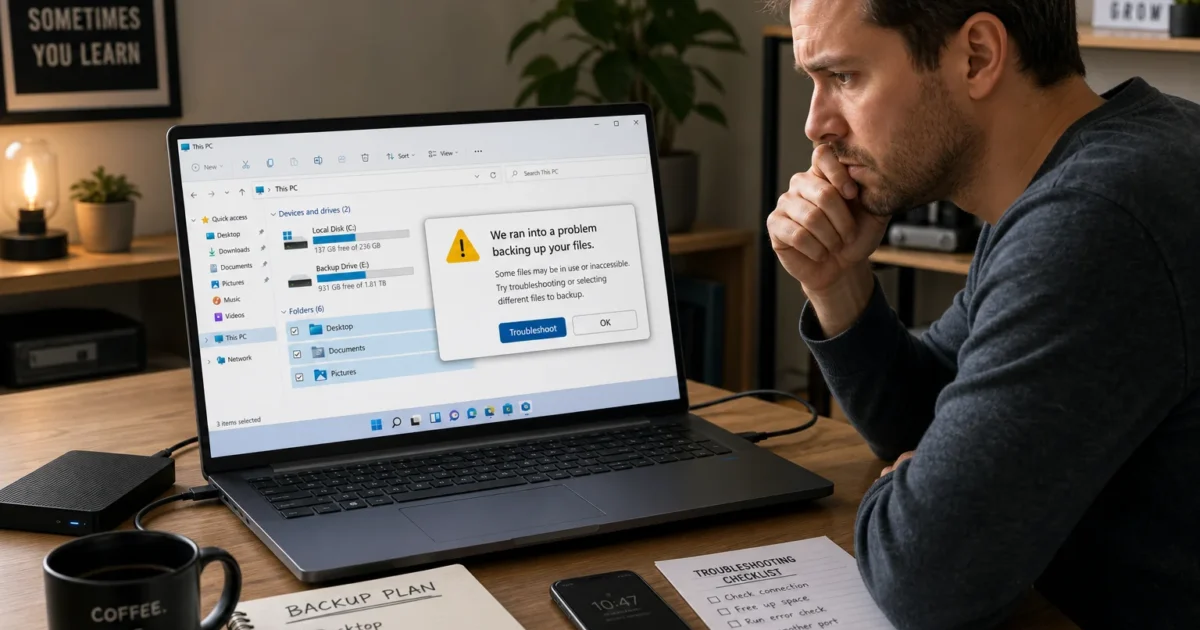
Your Windows 11 PC freezes, loses files, or fails to boot, and a failing SSD or hard drive may be responsible. Back up anything you can’t replace before testing the drive, then check its health cautiously.
Fix #1: Back up your files before troubleshooting
A suspect drive can deteriorate while you’re testing it. If Windows still starts, copy your personal files before running CHKDSK or another repair tool.
- Connect an external drive with enough free space for your files.
- Press
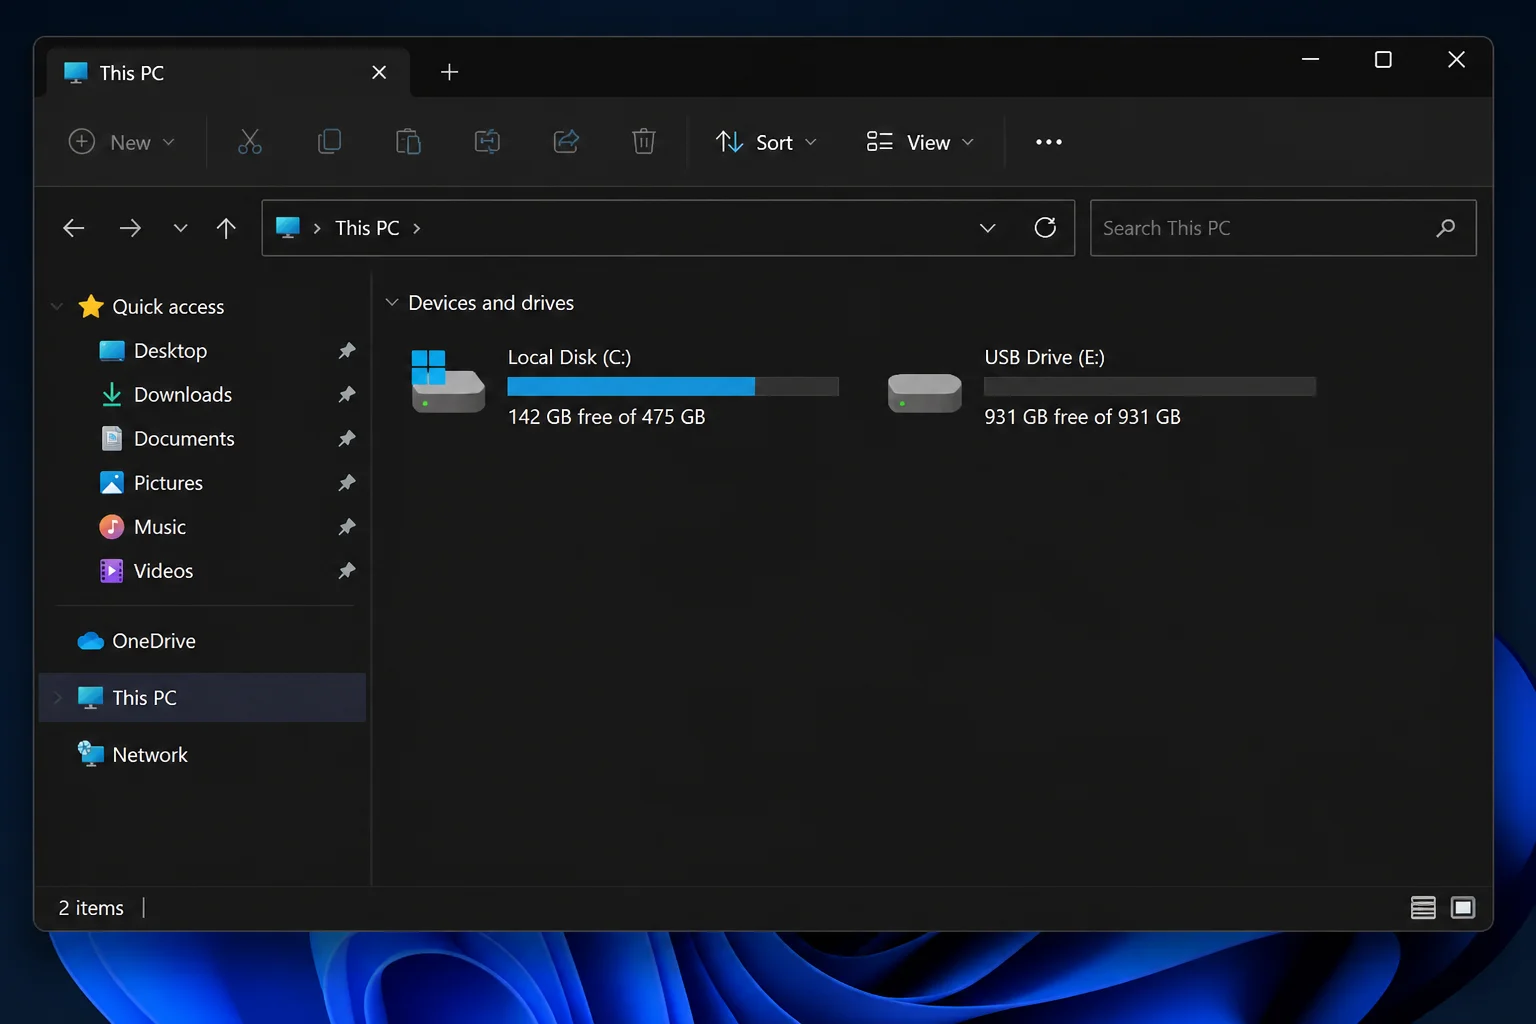
Windows + Eto open File Explorer. - Select This PC and open the drive containing Windows, usually Local Disk (C:).
- Open the
Usersfolder and select your Windows account folder. - Copy the folders you need, such as Desktop, Documents, Downloads, Pictures, and Videos.
- Paste them onto the external drive.
- Open several copied files from the external drive to confirm the backup works.
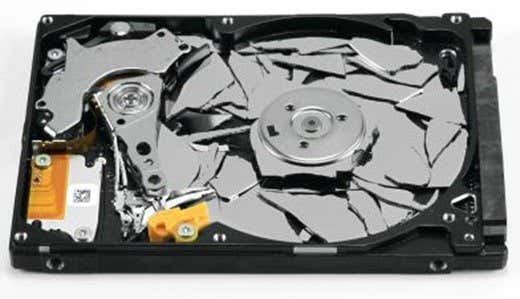
If the drive disappears, makes mechanical noises, or repeatedly stops copying, stop using it. A data recovery specialist has a better chance of recovering the files if the drive hasn’t been subjected to repeated scans.
Fix #2: Check the drive’s cables and connection
A loose cable, damaged USB lead, or faulty enclosure can make a healthy drive look dead. This check is quick and doesn’t write anything to the disk.
- Shut down the PC.
- Disconnect its power cable.
- Reseat the storage drive’s power and data cables if you have a desktop PC.
- Close the case and reconnect the PC.
- Start Windows and check whether the drive appears consistently in File Explorer.
For an external drive:
- Disconnect the drive from its current USB port.
- Connect it directly to another USB port on the PC.
- Try another compatible cable.
- Test another enclosure or adapter if one is available.
- Open File Explorer > This PC and check whether the drive remains visible.
So far, so good if the drive now stays connected and files open normally. If it still disconnects, continue with the health checks before attempting repairs.
Fix #3: Check whether Windows detects the drive
Disk Management shows whether Windows can see the device, its partitions, and its capacity. Device Manager can reveal a detection or controller problem.
- Right-click Start and select Disk Management.
- Find the drive by matching its capacity.
- Check whether it appears as Online and whether its partitions are listed.
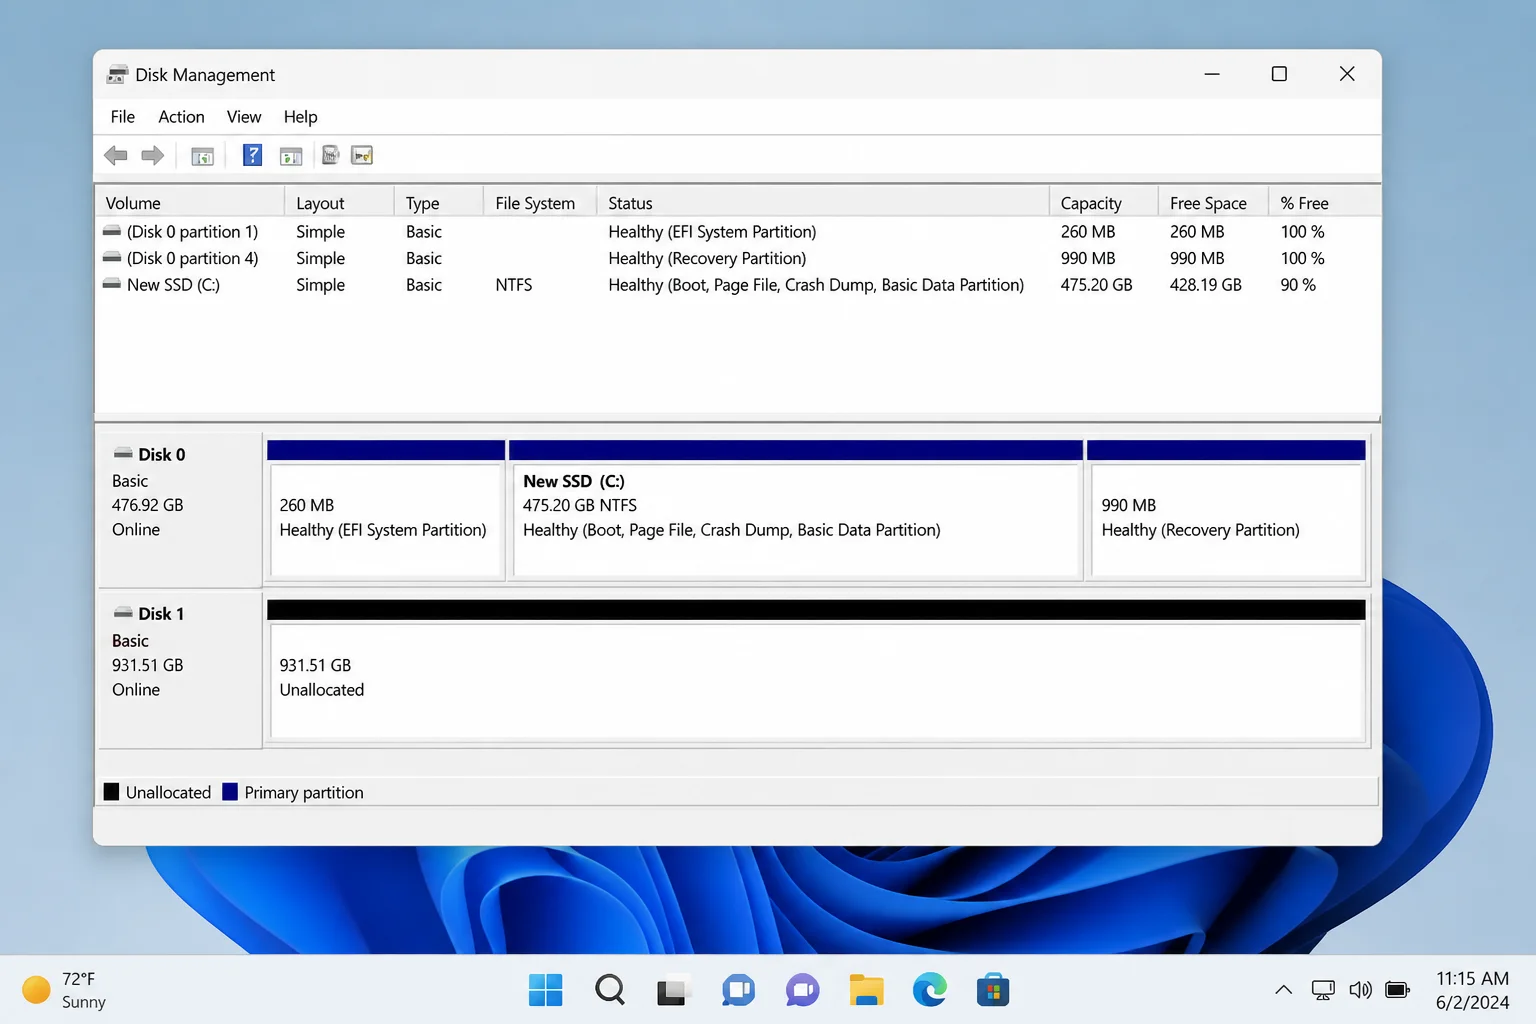
Do not initialize, format, or create a volume on a drive containing files you need. Those actions can overwrite information used for recovery.
- Right-click Start and select Device Manager.
- Expand Disk drives.
- Confirm that the SSD or hard drive appears without a warning icon.
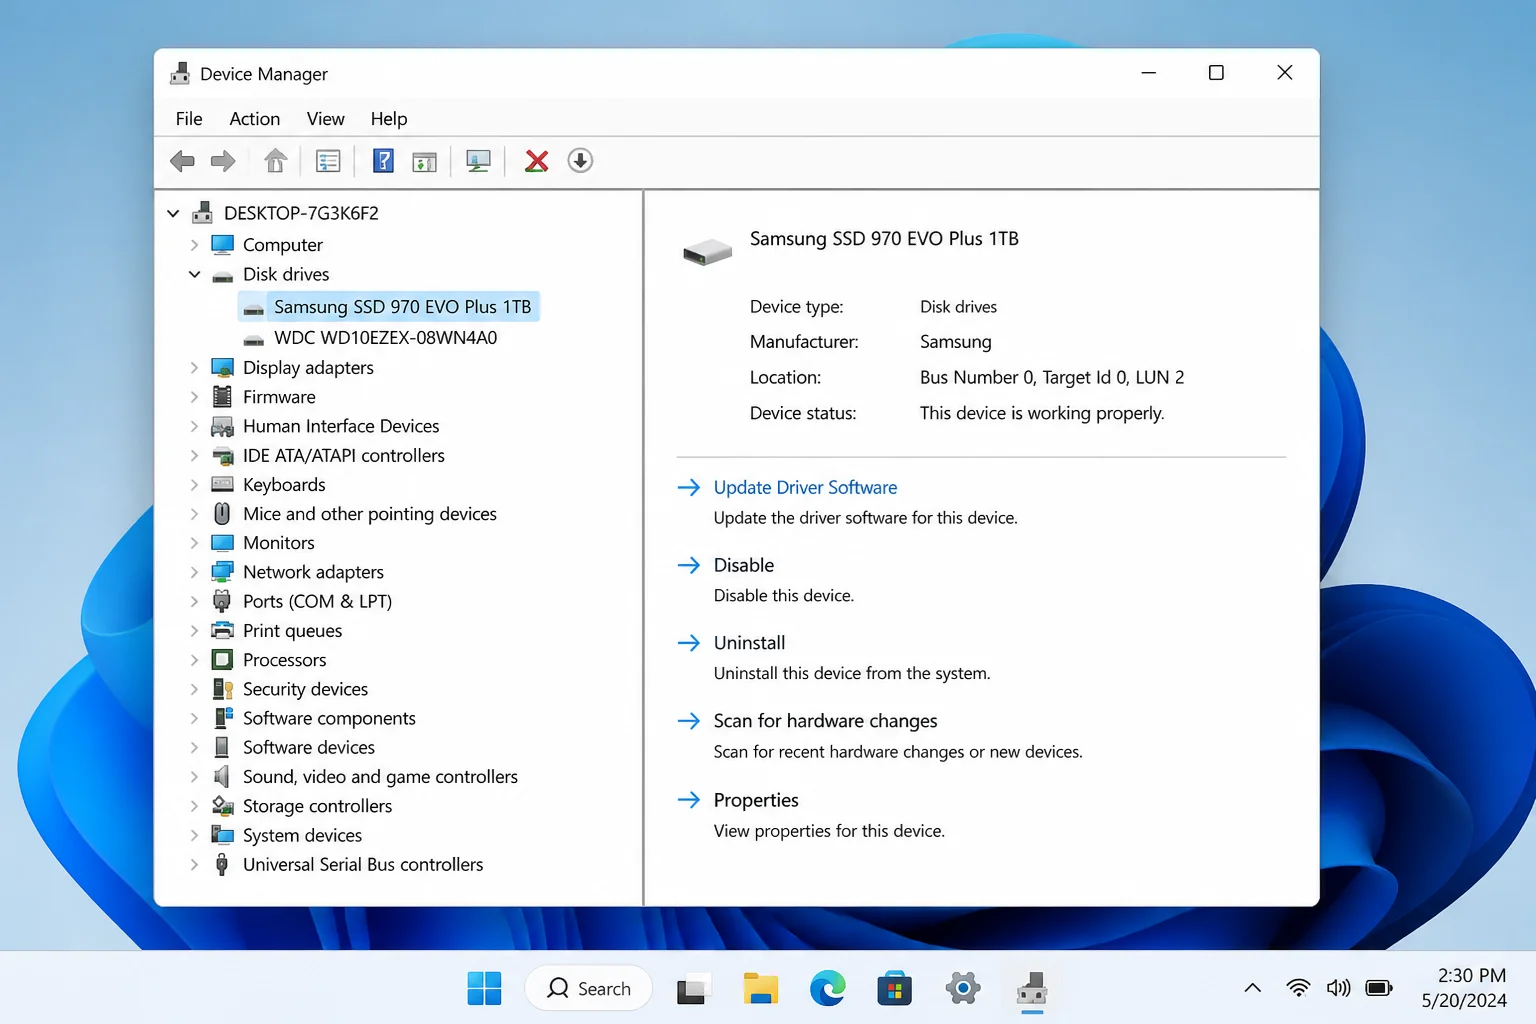
If the drive is missing from both tools, restart the PC and open its UEFI or BIOS setup. The key varies by manufacturer and is commonly displayed during startup. Check the storage information there; a drive missing from the firmware is more likely to have a connection, controller, power, or hardware fault.
Fix #4: Check the drive’s health status
Windows can display health information for some SSDs and hard drives. The available details depend on the drive and its controller.
- Press
Windows + Ito open Settings. - Select System > Storage.
- Open Advanced storage settings > Disks & volumes.
- Select the suspect drive and open its properties.
- Look for a drive health or warning section. Its label and placement can vary with the Windows version and drive hardware.
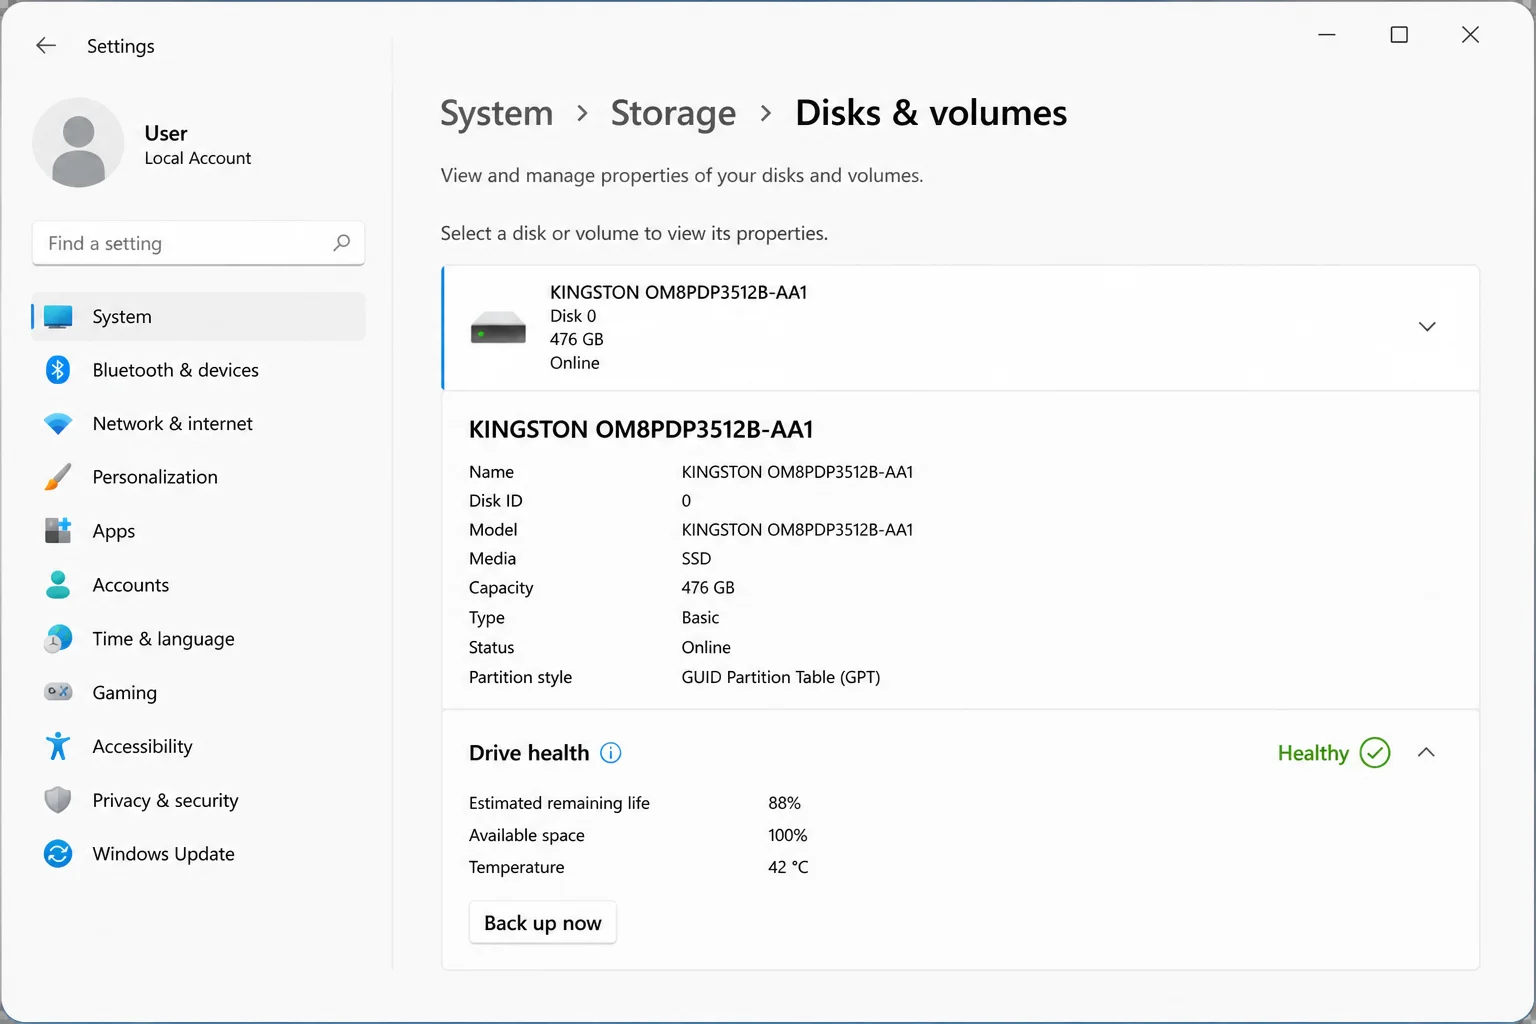
A healthy status is promising, but it doesn’t rule out every fault. Run the drive manufacturer’s diagnostic utility or a free hard drive testing and diagnostic tool if Windows doesn’t expose enough health data.
Replace the drive if its health tool reports a failure, worsening SMART warnings, or exhausted SSD life. SMART is the drive’s built-in monitoring system, and repeated warnings deserve attention.
Fix #5: Scan the file system with CHKDSK
CHKDSK repairs file-system errors. It can’t repair damaged HDD components, worn SSD memory, or a failing storage controller, so run it only after backing up your files and checking the drive’s physical health.
- Open File Explorer and select This PC.
- Right-click the drive and select Properties.
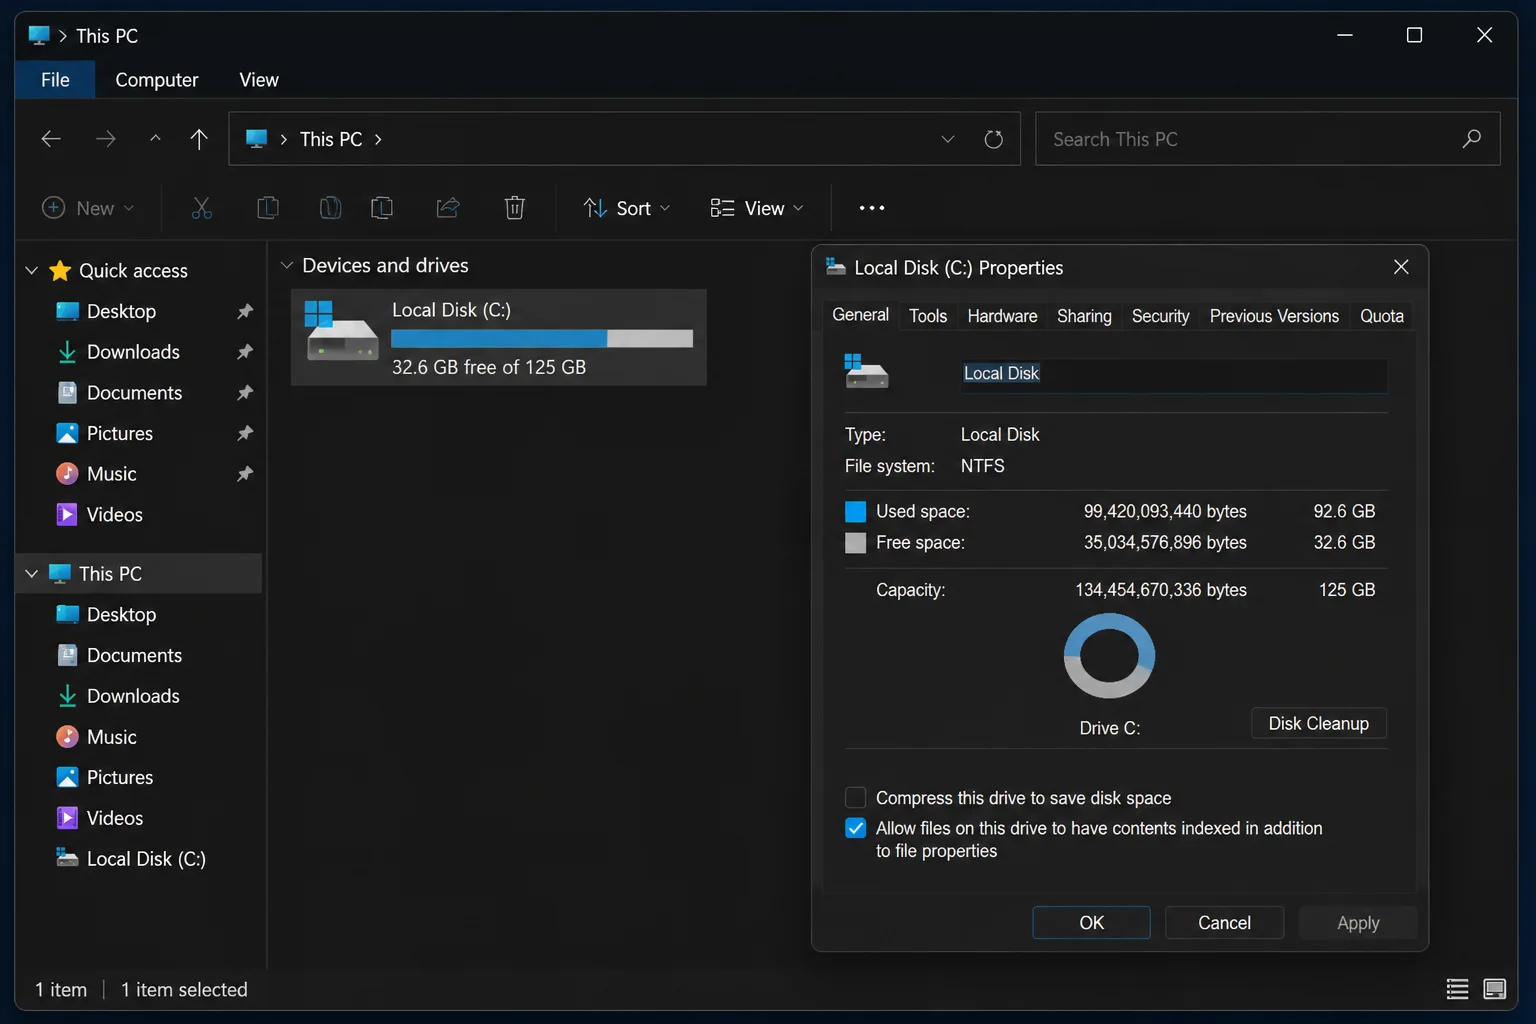
- Select the Tools tab.
- Under Error checking, select Check.
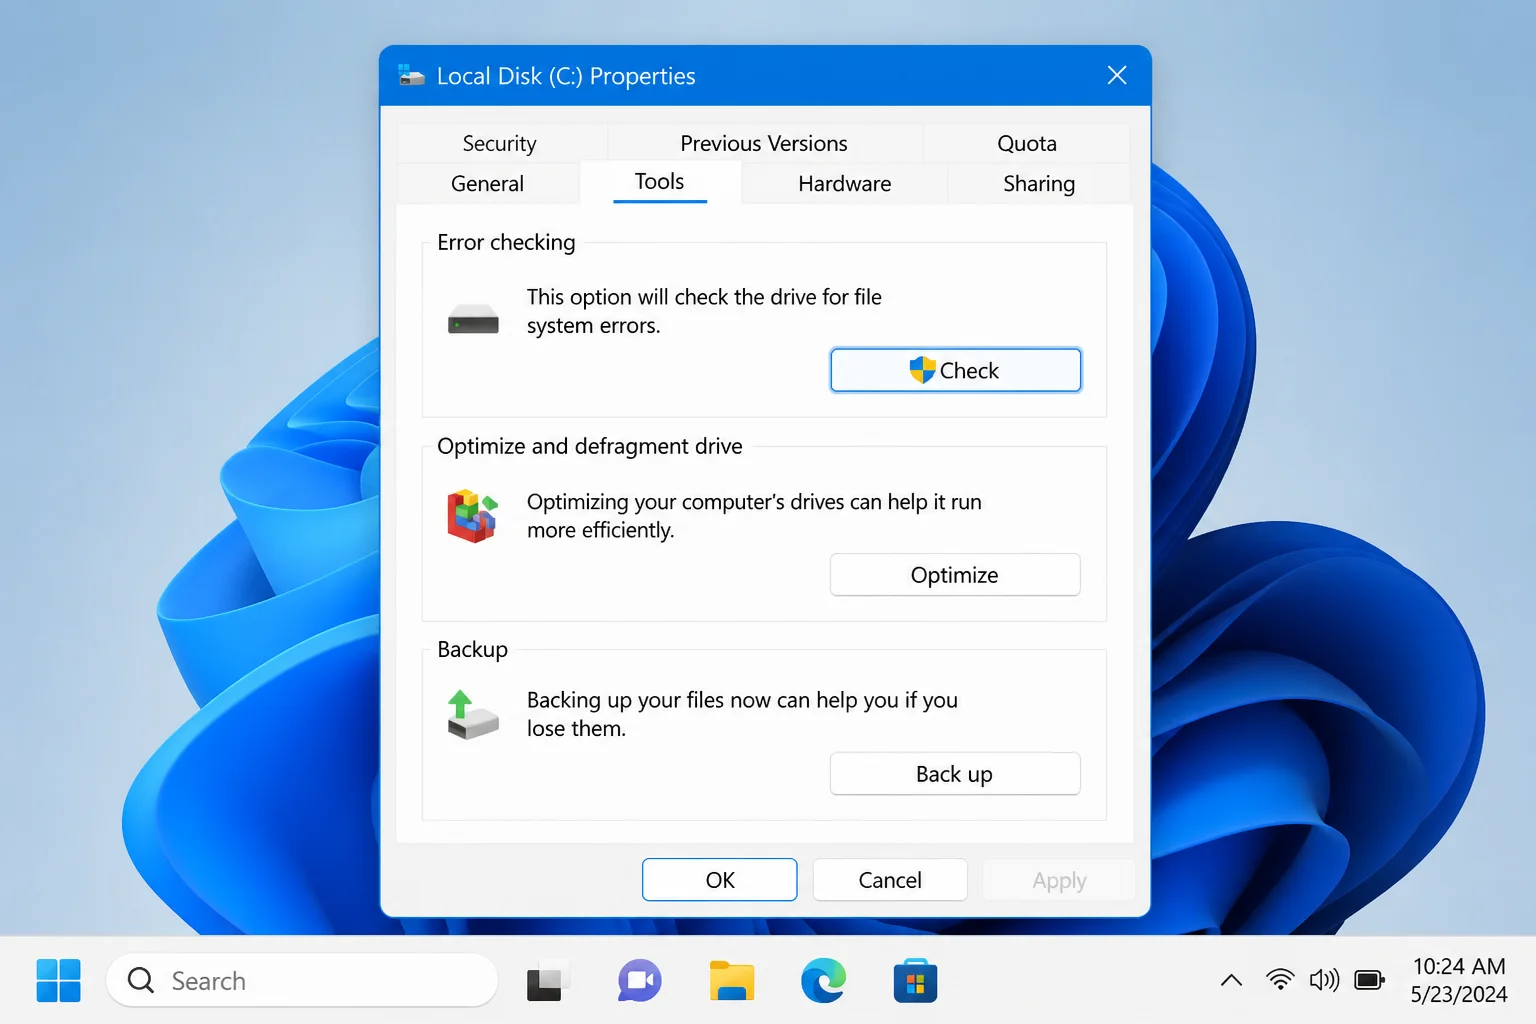
- Select Scan drive if Windows offers the option.
- Wait for Windows to report whether it found file-system errors.
You can also run an online scan from Terminal:
- Right-click Start and select Terminal (Admin).
- Approve the User Account Control prompt.
- Enter
chkdsk C: /scan, replacingC:if you’re checking another volume. - Wait for the scan summary.
If CHKDSK finds repairable errors, enter chkdsk C: /f. Windows may ask to schedule the repair for the next restart when you’re checking the system volume. Press Y, restart the PC, and allow the scan to finish.
Back up again after a successful repair. Recurring file-system errors often point to an unstable drive, cable, controller, RAM, or power supply.
Fix #6: Use Windows Recovery Environment if Windows won’t boot
Windows Recovery Environment can run Startup Repair or restore a working configuration. Use these options after protecting the data whenever possible.
- Turn on the PC.
- If Windows reaches the sign-in screen, hold
Shiftwhile selecting Power > Restart. - Select Troubleshoot > Advanced options.
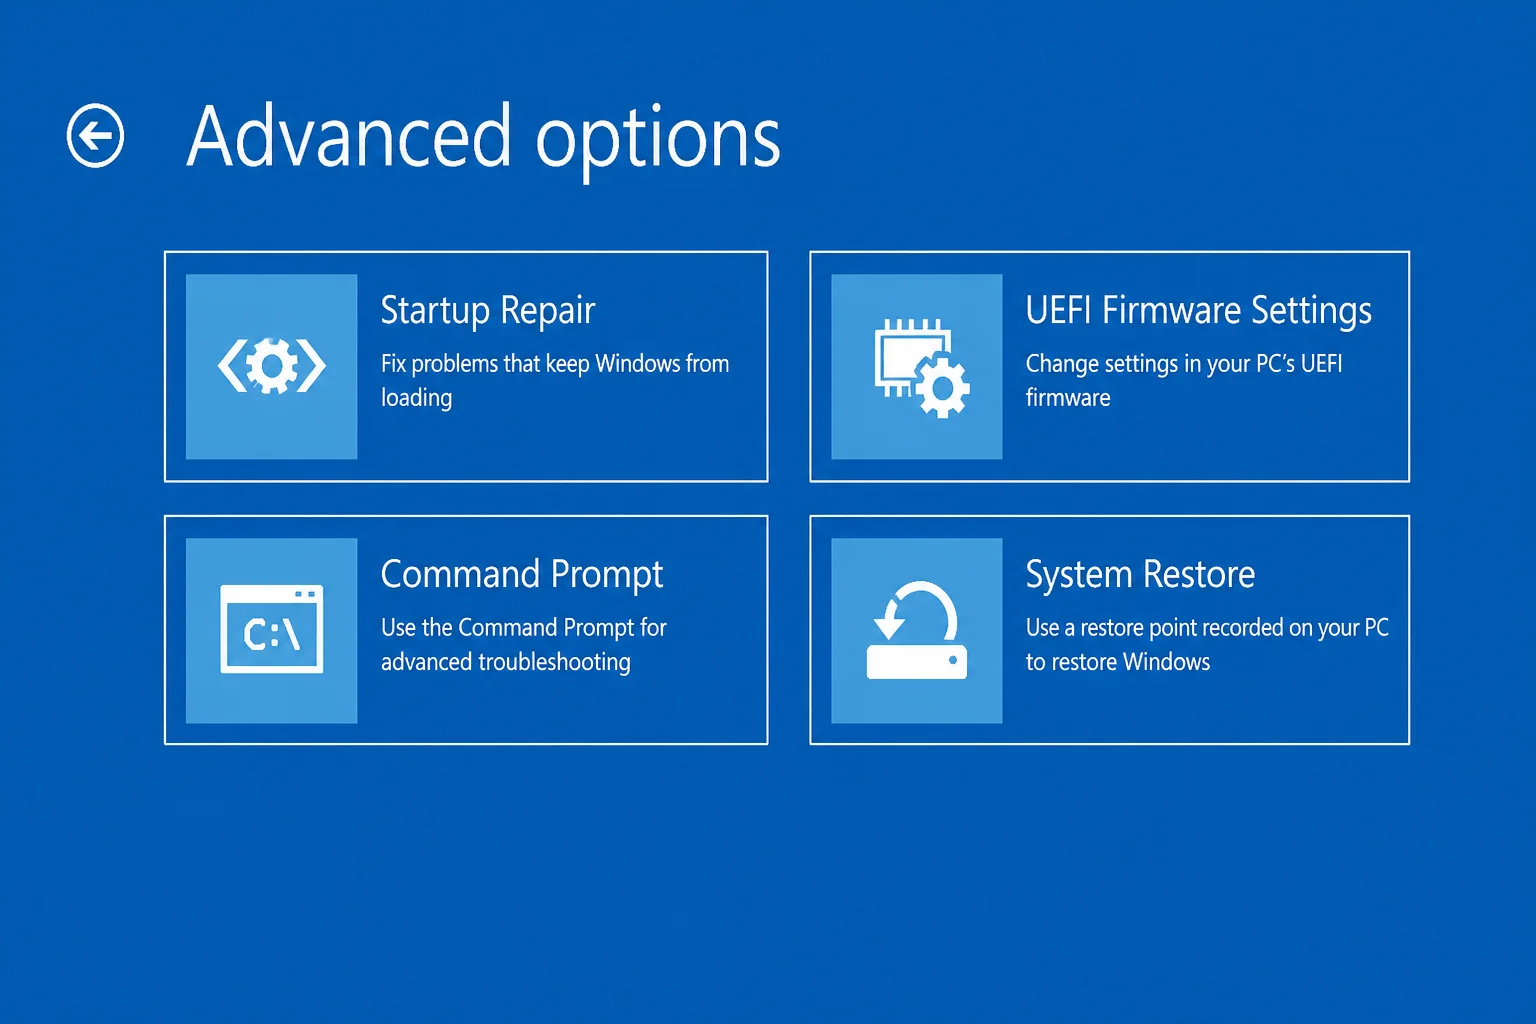
- Select Startup Repair.
- Choose your Windows installation if prompted.
- Wait while Windows checks for startup problems.
The PC should restart if Startup Repair succeeds. If it doesn’t, return to Advanced options and try System Restore when a restore point is available.
Don’t repeatedly force startup on a drive that clicks, grinds, or disappears from UEFI or BIOS. Those symptoms call for replacement or professional recovery, not further Windows repairs.
Fix #7: Recover the data and replace the drive
A drive that fails health tests, disconnects repeatedly, or makes mechanical noises isn’t dependable. Recovery comes before replacement if you still need its files.
- Shut down the PC.
- Remove the failed drive only if you’re comfortable opening the computer.
- Connect it to another Windows PC with a compatible drive enclosure or adapter.
- Copy readable files to a healthy drive.
- Stop if the drive disconnects, stalls repeatedly, or makes unusual noises.
Don’t open an HDD or attempt to move its platters. Hard drive recovery requires controlled equipment and precise calibration.
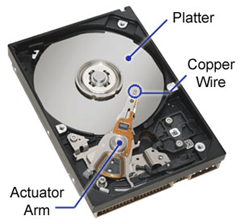
If the files are irreplaceable, use a professional recovery service before running more software. For replaceable data, install a new SSD or hard drive, reinstall Windows, and restore the backup.
When the fixes don’t work
Test the PC’s RAM, storage controller, power supply, temperatures, drivers, and firmware if a replacement drive shows the same symptoms. Windows Recovery Environment also provides Reset this PC, but resetting Windows won’t repair faulty hardware and can remove apps or data depending on the option selected.
Conclusion
Fix #2, reseating or replacing the drive connection, is worth trying first when the disk appears intermittently; Fix #5 usually clears logical file-system errors when the hardware is healthy. Clicking, repeated SMART warnings, disappearing drives, and recurring corruption point to a deeper fault, so I’d recommend replacing the drive instead of trusting another repair.