These days people are moving over to touch interfaces at a rapid pace, but for certain types of work a keyboard is absolutely essential. If you are using Microsoft Excel to do some heavy number crunching, there’s no question that a good keyboard is not an optional extra.
However, it’s not just the perfect device for data entry. Your keyboard can actually turn you into a master of Excel Kung Fu, making you faster and more efficient. How? By using keyboard shortcuts.
The real pros for an application have always been those who have memorized the most important keyboard shortcuts, so they can work that application like a seasoned musician. Excel is no different and once you know the most common shortcuts for your typical use case, you can expect to get things done much more quickly.
Adjusting row height and column width is something every Excel user has to do. Which means if you’re going to start down the road of Excel keyboard warrior, using a keyboard shortcut for row height or column width in Excel is the perfect place to start.
The Magic Of The ALT Key
The main reason most users don’t bother learning keyboard shortcuts is because traditionally you have to learn a whole bunch of them by heart. That’s probably why watching an experienced keyboard shortcut user attack a spreadsheet with gusto can feel like Voodoo.
Microsoft have taken this problem completely out of the equation with just one little button – ALT.

We’re using Excel 365 and as you can see, hitting the ALT button makes numerous little tooltips pop up. Each of these represents the next letter you can press to access the corresponding function. So you don’t have to worry about perfectly memorizing these shortcuts at all. Once you’ve practiced them a few times, these shortcut prompts will always help remind you of what to do next.
All you have to know right now is that every keyboard shortcut for Excel starts with a simple tap of the ALT key.
Autofit Column Width
The classic way to automatically fit column width with the mouse, is to double-click the column header border, but you can actually do it using the keyboard, which is generally faster.
Obviously, you need to have the cell selected for which you want to automatically adjust the column width. Once you’ve done that, here’s the fastest way to adjust the column width. The problem is there is too much text for the column width. Let’s fix that!
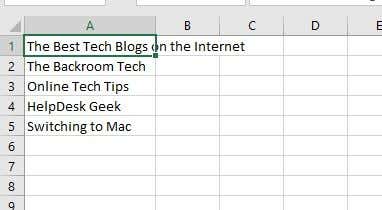
- First, press ALT to put Excel into shortcut mode. Then hit the H key to switch to the Home tab.

- Finally, press O and then I.
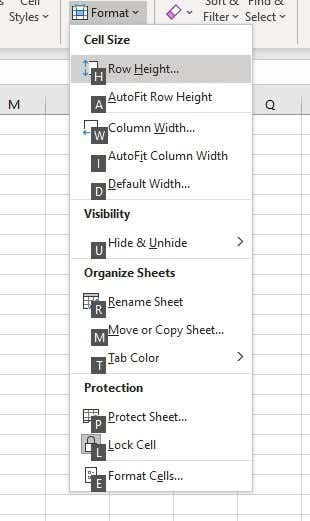
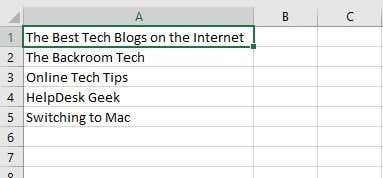
Pretty easy right? We can do something similar for row height as well!
Autofit Row Height
The method to automatically adjust row height with the keyboard is practically identical. In fact, the keyboard shortcut for row height in Excel differs by just a single keystroke.
- First, press ALT to put Excel into shortcut mode. Then hit the H key to switch to the Home tab.

- Finally, press O and then A.
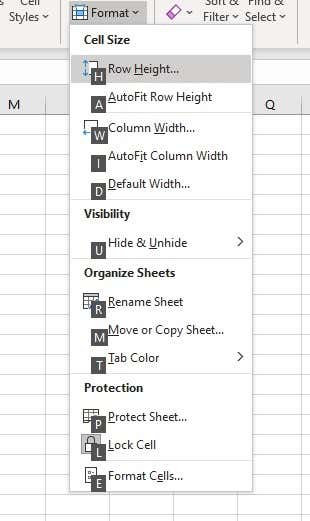
This will adjust the row height to match the tallest cell in the row. Job done!
Manual Row Height & Column Width Adjustment Shortcuts
While the shortcuts for automatic cell adjustment is incredibly useful, sometimes you’ll want to fine-tune the exact dimensions of the cells in your spreadsheet.
As you might expect, you can use keyboard shortcuts to access the settings that expose the numbers in question.
- To manually adjust row height, press ALT to put Excel into shortcut mode. Then hit the O key to access Excel 365’s legacy menu options.
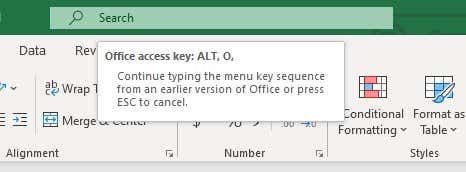
- Now, press R and then E.
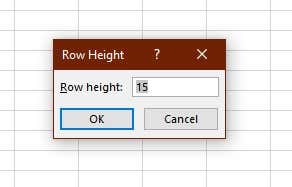
- You’ll see this dialogue box pop up with the current height value. Change it to whatever you like and hit Enter to lock it in.
- To manually adjust column width, press ALT to put Excel into shortcut mode. Then hit the O key to access Excel 365’s legacy menu options.
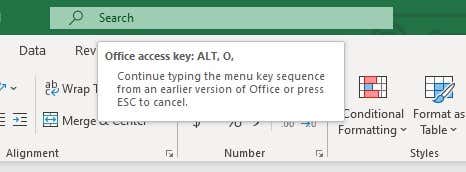
- Now, press C and then W.
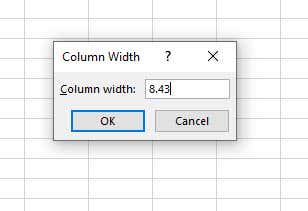
- Again, you’ll get this little window that lets you put in the exact column width you desire. Choose whichever number makes you feel warm and fuzzy inside.
That’s it! Now you are a true master of the height and width of your cells. Without the need for a mouse, armed with nothing but a keyboard as your weapon.
The Fastest Excel Gun In The West
After trying out these keyboard shortcuts yourself, you’ll probably agree that using the mouse is both a literal and figurative drag. Sure, it seems easier, but with a little muscle memory you can tweak your row heights and column widths to your exact requirements at a moment’s notice. Once you walk the keyboard path, it’s hard to ever turn back.