Do you sometimes struggle to read texts or make sense of images on your laptop’s display? Learning to use magnification tools can make your life easier. Magnifiers let you zoom in and zoom out on your computer’s screen.
You’ll find these tools useful if your computer’s screen is super small or if you have an eye defect or condition that makes it difficult to read tiny texts. Interestingly, both Windows and macOS ship with built-in magnifiers that outperform many third-party screen magnification software. We’ll show you how to enable and use these tools to zoom in on your PC or Mac.
Zoom In and Zoom Out on Mac
The macOS “Zoom” engine ships with a variety of accessibility-inclined features that allow users to magnify on-screen elements in several ways. Let’s show you how to use the basics.
Magnify Object Sizes Using Keyboard Shortcuts
Keyboard shortcuts are timesavers and lifesavers. Mastering these shortcuts for zooming in and out on items, objects, and web pages will shoot up your productivity by a mile. To use keyboard shortcuts to zoom in and on items on the screen, you’ll need to first activate macOS’ built-in magnifier.
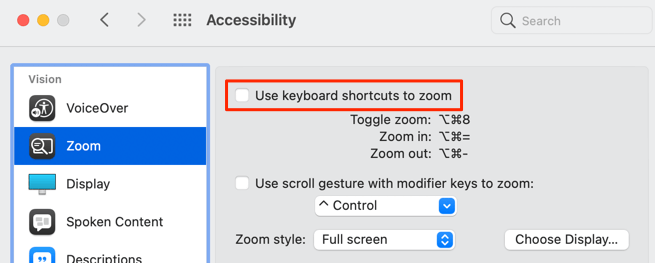
Head to System Preferences, select Accessibility, click Zoom on the sidebar and check the box that reads Use keyboard shortcuts to zoom.
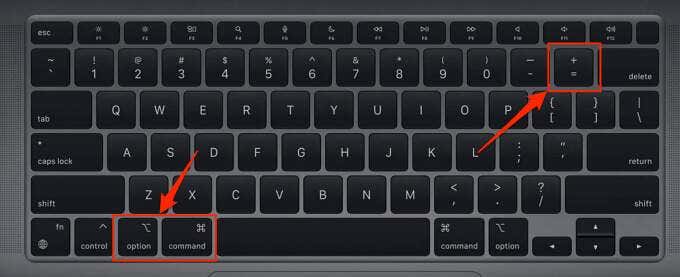
Afterward, head to the screen you want to magnify and press Option + Command + Equals sign to zoom in.
Press or hold the key combinations to keep increasing the screen magnification by one level. Note that the macOS Zoom tool lets you magnify a Mac screen up to 40 times its regular size.
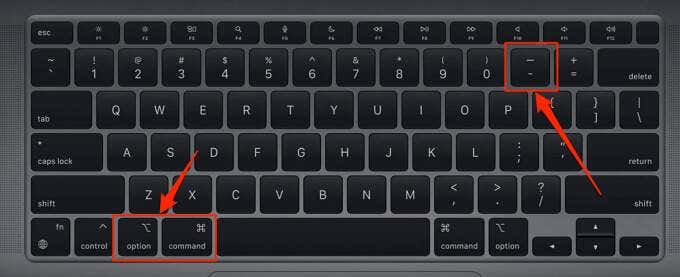
To zoom out, press Option + Command + Minus sign to reduce the screen magnification by one level.
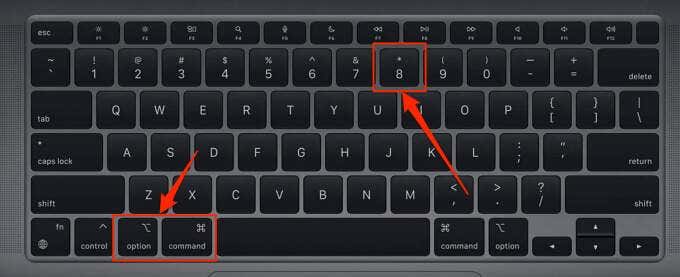
There’s one last keyboard shortcut that lets you switch your Mac in and out of zoom. With your Mac’s screen in its regular size, press Option + Command + 8 to revert to the last amount/level of zoom. Press the key combinations again to terminate zoom mode and return your screen to regular size.
Zoom Using Trackpad Gestures
You can also magnify on-screen elements by double-tapping three fingers on your Mac’s trackpad. This is an even faster way to zoom in and zoom out on texts and images in macOS. This option isn’t enabled by default, so you’ll have to manually activate it in the advanced accessibility menu.
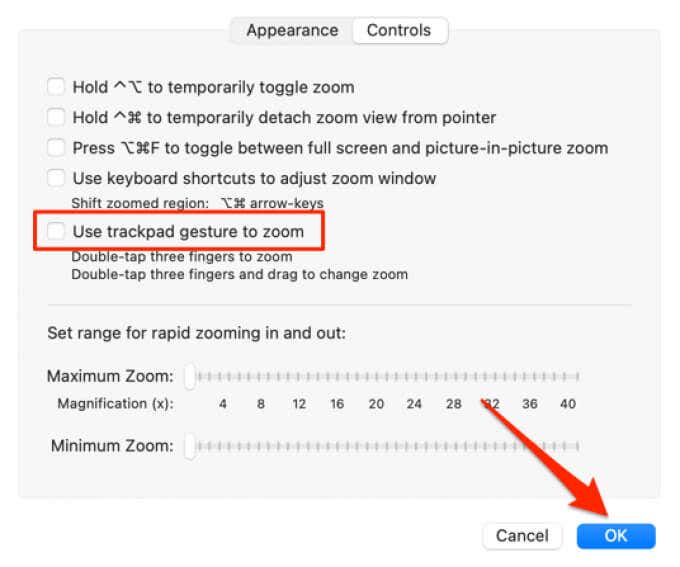
Go to System Preferences > Accessibility > Zoom > Advanced, head to the Controls tab, check Use trackpad gesture to zoom, and click OK to save the change.
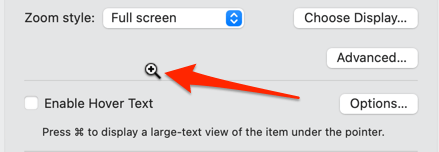
Afterward, double-tap three fingers on the trackpad and swipe the fingers up the trackpad when the magnifier icon appears on the screen.
That’ll zoom in on your Mac’s display. To zoom out, double-tap three fingers on the trackpad and swipe them down all three fingers until the screen magnification gets to your preferred size.
Zoom Using Scroll Gestures
This zoom option lets you magnify your Mac’s screen using a modifier key (either Control, Command, or Option) and your trackpad or mouse.
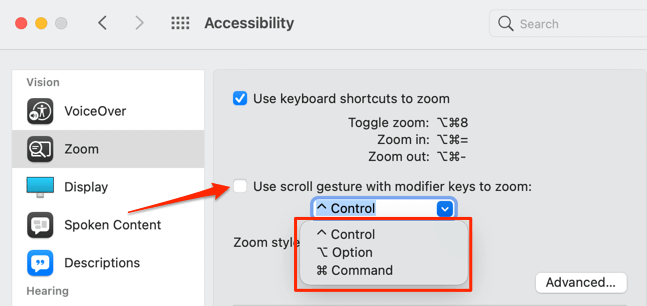
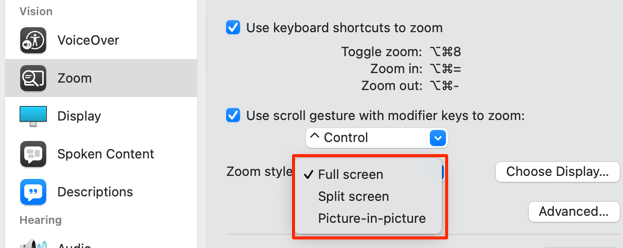
Go to System Preferences > Accessibility > Zoom > check Use scroll gesture with modifier keys to zoom and select your preferred modifier key in the drop-down button below the checkbox.
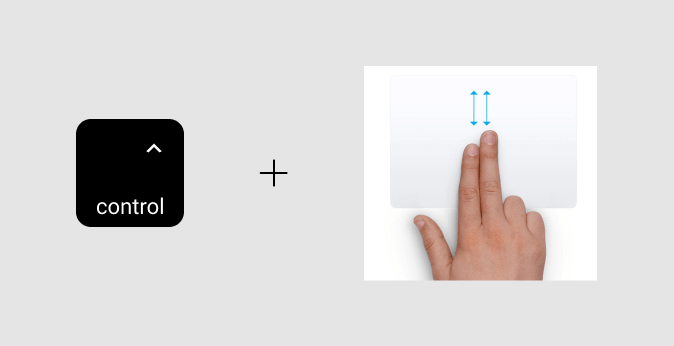
If you choose Control as your modifier key, move your cursor to the section you want to zoom, press and hold the Control key, and slide two fingers up the trackpad.
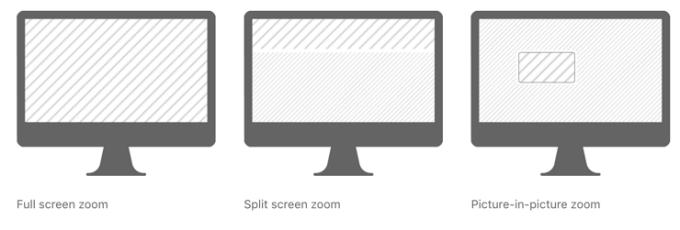
macOS will magnify your screen based on the selected zoom style: full screen, split-screen, or picture-in-picture.
The “Full screen” zoom style will magnify the entire screen while “Split screen” zoom will display the magnified item at the top-section of your Mac’s screen. “Picture-in-picture” zoom will display the zoomed section of the screen in a rectangular magnifier. You can use the cursor or caret to move the magnifier to different sections of the screen.
Zoom In and Zoom Out in Windows
Windows built-in magnification tool (called “Magnifier”) is also disabled by default. We’ll show you how to activate and use the tool to zoom in and zoom out on your Windows PC screen.
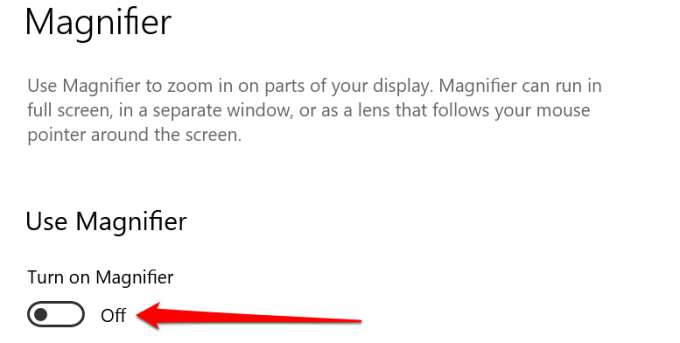
Pressing the Windows logo key + Plus icon anywhere on your PC will activate the Windows Magnifier. If you want to follow the longer router, head to Settings > Ease of Access > Magnifier and toggle on Turn on Magnifier.
Windows will immediately launch the Magnifier toolbar on the screen. You can magnify the screen from the toolbar and via other methods listed below.
Method 1: Click the plus icon and minus icon on the toolbar will enlarge and reduce the display size in 100% increments.
Method 2: Press Windows key + Plus icon to zoom in or Windows key + Minus icon to zoom out.
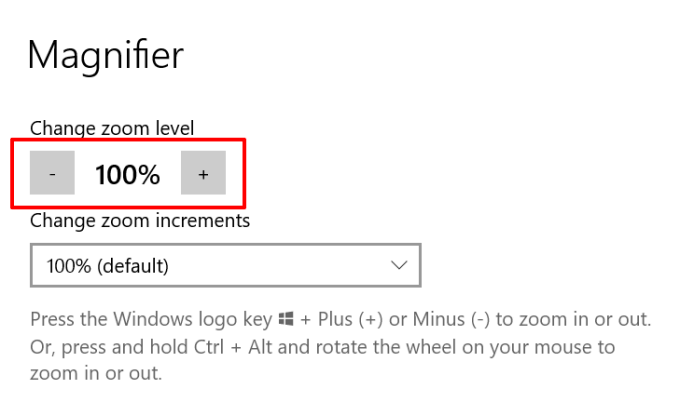
Method 3: In the Magnifier settings menu (Windows key + Ctrl + M), clicking the plus or minus icon under the “Change zoom level” header will also zoom in and zoom out the screen, respectively.
Method 4: If you’re using an external mouse with a scroll wheel, press and hold Control + Alt and roll the scroll wheel upwards to zoom in on the screen. To zoom out, hold the Control key combination and roll the scroll wheel downwards.
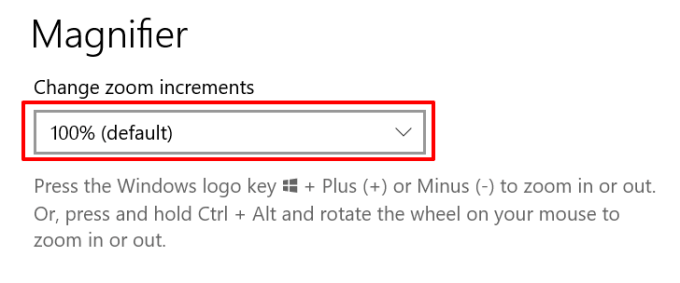
If you aren’t satisfied with the default (100%) zoom increments, tap the “Change zoom increments” drop-down button in the Magnifier settings menu and select other magnification increment options.
Windows Magnifier View Options
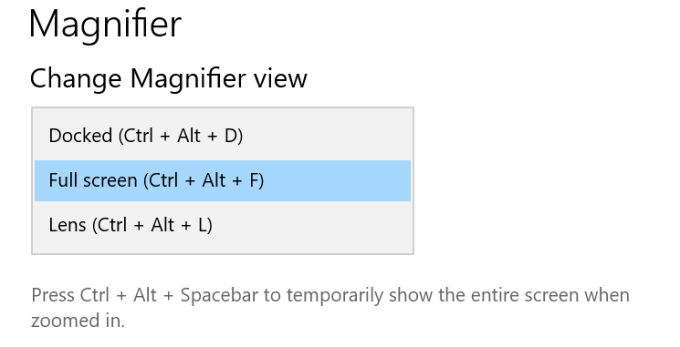
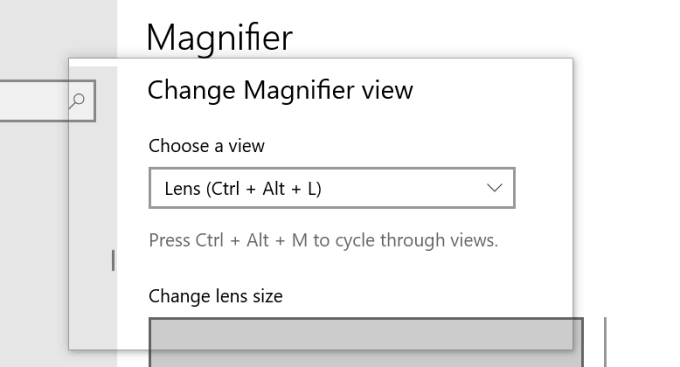
Windows also boast of three magnification views: Fullscreen, Docked, and Lens.
The “Docked” view will project the zoomed item at the top section of your PC screen. In the “Lens” view, items you zoom in on will appear in a rectangular magnifying lens. This is similar to the “Picture-in-picture” zoom mode on macOS devices.
Select the “Full screen” view if you want the magnified item to occupy the entire screen.
Quick Tip: Press the Windows logo key + Esc to disable or terminate the Magnifier tool in Windows.
Strain Your Eyes No More
These screen magnification tools are some of the accessibility features that enhance computer usage experiences, particularly for individuals living with vision problems, disorders, or any form of visual impairment. Get accustomed to these tools and shortcuts and you’ll never have to struggle to view content on your computer’s screen.
Related Posts
- How To Turn Off Notifications On Windows 11?
- How to Recover Lost Files After Windows Update?
- Microsoft Is Shutting Down NTLM After 30 Years: Here’s Why Kerberos Replaced It
- Protect Office from Actively Exploited Zero-Day (CVE-2026-21509): Step-by-step Guide
- How to Fix Windows 11 Boot Loops After Jan 2026 Update
Sodiq has written thousands of tutorials, guides, and explainers over the past 4 years to help people solve problems with Android, iOS, Mac, and Windows devices. He also enjoys reviewing consumer tech products (smartphones, smart home devices, accessories, etc.) and binge-watching comedy series in his spare time. Read Sodiq’s Full Bio

