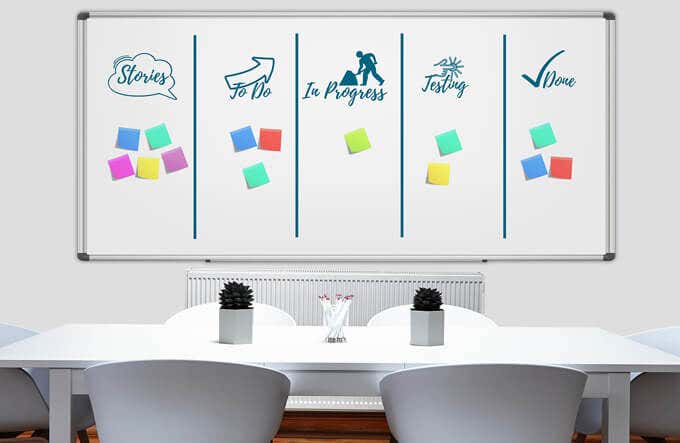
Like the real thing without the smudge marks
Office workers across the globe have experienced stark changes to the way they work over the last 15 or so months. Almost overnight, the global pandemic forced employers to pivot to a remote workforce. And now that some people are returning to their offices while others continue to work remotely, new tools are needed to support flexible work arrangements.
Software companies have been steadily rolling out new and improved ways to collaborate remotely and in hybrid meeting situations. For example, Microsoft recently released an updated version of its Whiteboard app for Windows 10. It comes with a refreshed user interface and some new features. We’ll show you how to find and install the modernized Whiteboard app and give you a few tips for using it.
How to Get the New Whiteboard App
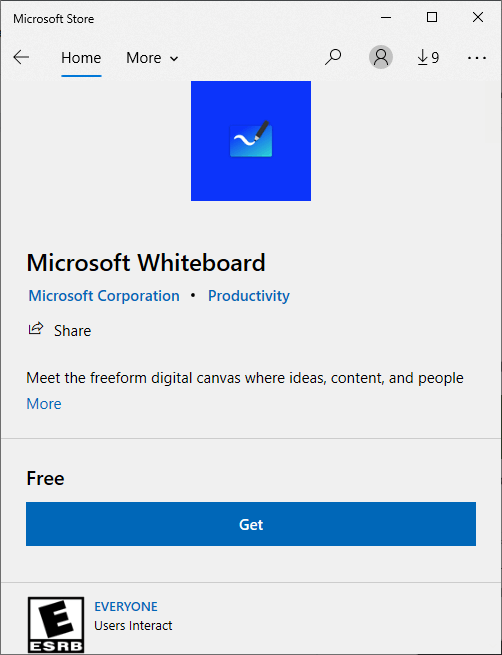
The new Whiteboard app is available through the Microsoft Store. If your organization has restricted access to the Store, talk to your IT team about getting access to the new Whiteboard app. If you do have access, visit the Microsoft Store in a web browser and search for Whiteboard. Then, select the Microsoft Whiteboard app and follow the instructions to install it.
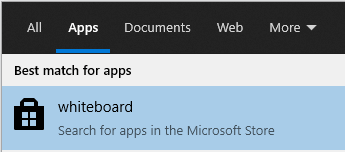
Alternatively, use the Windows search box. Select the Apps tab and search for whiteboard. Select Search for apps in the Microsoft Store, and the Store will launch in its window.
You’ll see the Microsoft Whiteboard app in the search results. Select Microsoft Whiteboard, and follow the steps to install the app on your Windows 10 machine.
If you’re not already logged into your Microsoft account, at some point during this process, you will see a prompt to sign in with either a free Microsoft account or a Microsoft 365 account.
How to Use the Whiteboard App
The first time you use Whiteboard, you’ll notice how, um, white it is.
The app itself has four main sections:
- The navigation arrow. Select this to view a list of all the whiteboards you’ve saved.
- The top-right corner of Whiteboard is where you can add a collaborator, sign in and out of your Microsoft account, and access Whiteboard settings.
- You’ll see a toolbar at the bottom of the app where you can choose tools. This is also where you’ll find the undo and redo buttons.
- The main workspace. This is the main collaboration area.
How to Invite Others to Your Whiteboard
The first thing you’ll probably want to do is invite someone to collaborate with you. Select the Invite someone icon and toggle on the web sharing link to create a link to this specific whiteboard. Then you can share that link with others.
If you are using a personal Microsoft account, you can share the generated link with other personal accounts. If you’re on an organizational account, you can share with other accounts in the same organization.
You cannot use Whiteboard to collaborate with someone from outside your organization. Personal Microsoft account users must use the installed app and not the browser version. Hopefully, Microsoft will make it easier to collaborate no matter which type of account you have.
Microsoft Whiteboard Tools
The traditional whiteboard tools are always available via the toolbar at the bottom of the Whiteboard app.
You can select:
- The pen. Write directly on the whiteboard with this tool. Customize it by choosing the pen’s color. You’ll also see a highlighter, an eraser, a ruler, and a lasso tool.
- The ruler can be helpful, but you’ll definitely want to know how to rotate it, and it’s not immediately obvious how to do that. Select the ruler, hold down the Alt key, and then use either the scroll wheel on your mouse or the arrow keys on your keyboard to rotate the ruler.
- Add text or a sticky note. If you’d rather type than awkwardly scrawl with the pen tool, select one of these tools. To add text directly to the board (vs. on a sticky note), click on the whiteboard and begin typing.
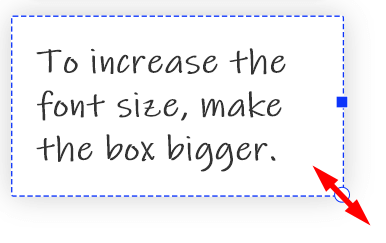
Right-click to access buttons to select all and paste. When you select text you’ve typed, you’ll get access to tools to copy, paste, cut, and delete. To adjust the text size for both text and sticky notes, resize the box by dragging the bottom-right corner.
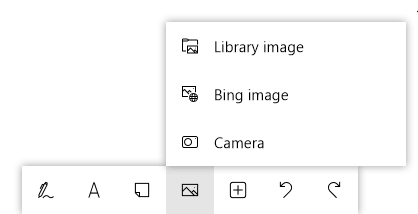
- To add an image to the whiteboard, either right-click on the board and select the Add image button or choose the Image menu button on the toolbar at the bottom.
If you select Image menu, you can choose Library image, Bing image, or Camera.
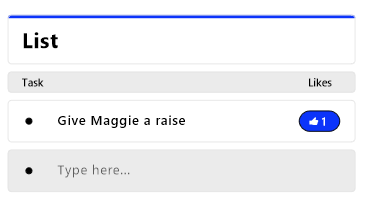
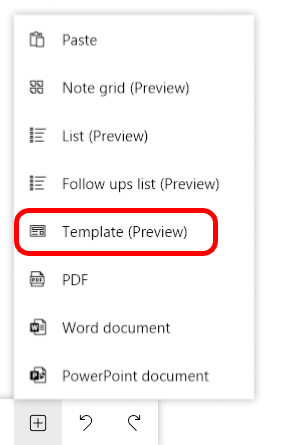
- Select the Insert menu button on the toolbar to get several options. Choose Note grid to insert several sticky notes all at once. List will start a bulleted list with options for your collaborators to like an entry in the list.
You can also insert documents like PDFs and Word or PowerPoint files. You’ll be prompted to decide whether you want to insert the whole document or selected pages.
Inserting Templates
Hidden inside the Insert menu in the toolbar are templates—arguably the coolest feature of Microsoft Whiteboard. Here are some of the best templates you can choose from.
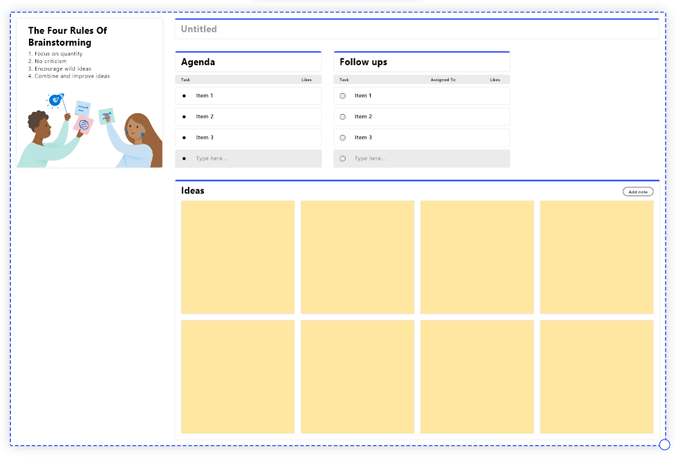
- The Brainstorming template adds several components to the whiteboard to help you keep track of ideas. It includes rules for brainstorming, an agenda, a follow-up list, and a note grid.
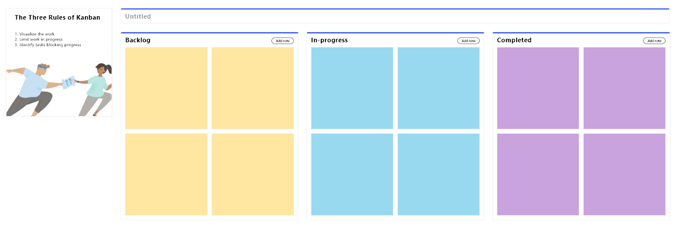
- The Kanban template inserts note grids to visualize your work.
- The Retrospective template helps you and your team assess your recent work and how to plan for greater success in the future.
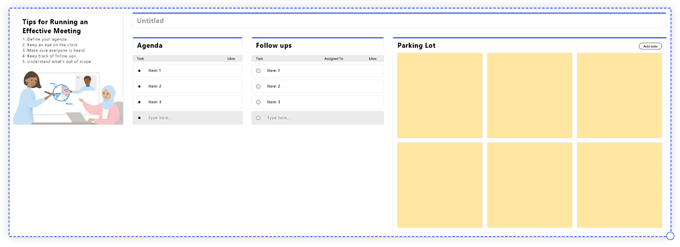
- The Effective Meeting template gives you an agenda, a follow-up list, and a parking lot to keep track of topics to discuss later.
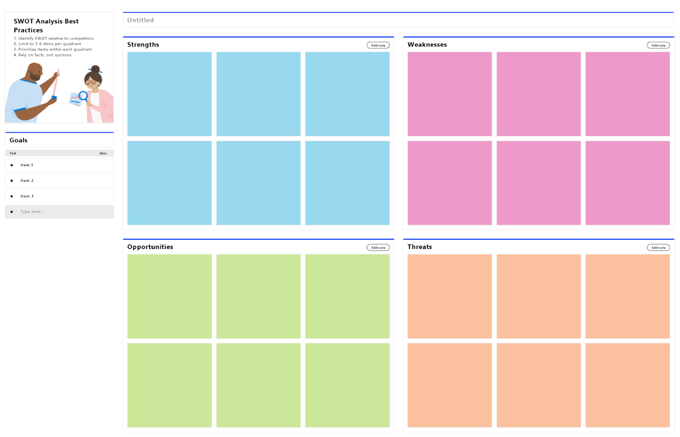
- Use the SWOT Analysis template to chart your team’s strengths, weaknesses, opportunities, and threats.
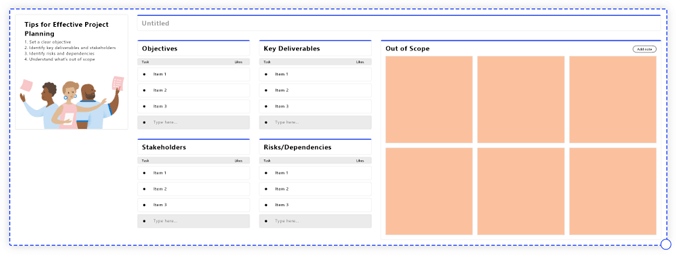
- The Project Planning template helps you list your project’s objectives, key deliverables, stakeholders, and risks, along with things that are out of the project scope.
- If you’re in Problem Solving mode, there’s a template for that. It asks you, “What happened? Why did it happen? What should happen?” and “How do we keep it from happening again?”
- For product developers, the Empathy Map is useful for thinking about the user experience.
- Lastly, try using the Persona Builder template to organize data about the audience for your product or service.
Not So Intuitive, But Useful
Microsoft Whiteboard isn’t the most intuitive of apps, and we encountered a few glitches while using it. Having said that, once you learn the ins and outs, you’ll be positioned to take advantage of all its features.


