A free, easy alternative to PowerPoint
Microsoft Sway has been available for years, but remains one of Microsoft’s best-kept secrets. The digital storytelling app provides a quick way to create beautiful, animated presentations that are automatically tailored for different devices.
Unlike PowerPoint, there’s not much of a learning curve to Sway. Think of Microsoft Sway as PowerPoint for people who don’t want to learn PowerPoint. In fact, Sway doesn’t even want you to call them “presentations.” You’ll be creating “Sways.”
Is Microsoft Sway Free?
Microsoft Sway is a web app that’s free for anyone with a Microsoft account. Go to Sway on your browser and login with your Microsoft account. If you’re using Sway as part of Microsoft 365, you’ll have access to a few extra features that people using a free account won’t have, like removing the footer and adding password protection to your Sway presentation.
Microsoft 365 users enjoy higher limits to the number of Sway elements they can use in each Sway they create.
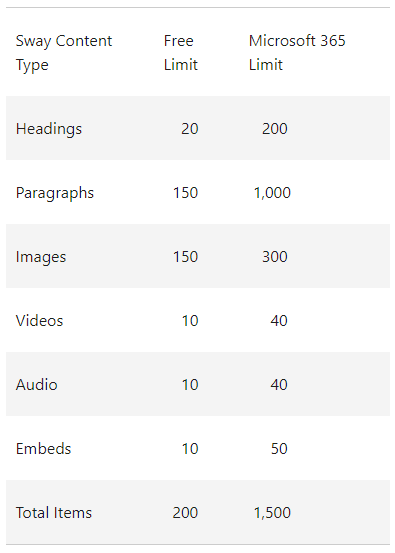
Again, these limits are per Sway presentation. The free account will likely suffice for most users.
How You Could Use Sway
Microsoft takes anxiety about design completely out of the creation process. All you have to do is add content. It’s Sway’s job to make it look good. Plus, Sway gives you access to lots of images and videos to use in your Sways for free. You could use Sway to create:
- A presentation for work
- A newsletter for clients
- A slideshow of embarrassing photos for a friend’s Zoom birthday party
- A compelling story on any topic you wish
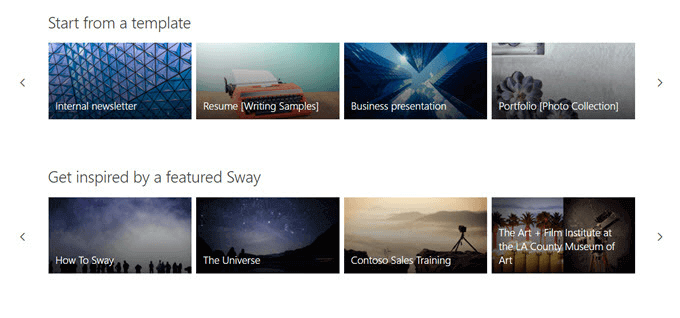
A good first step is to look through the templates that Sway provides or “Get inspired by a featured Sway” and view some great examples of what you can do with the app. Alternatively, you can search for a topic, and Sway will create an outline for you to follow. Don’t you wish PowerPoint would do that for you?
How to Create and Design a Sway
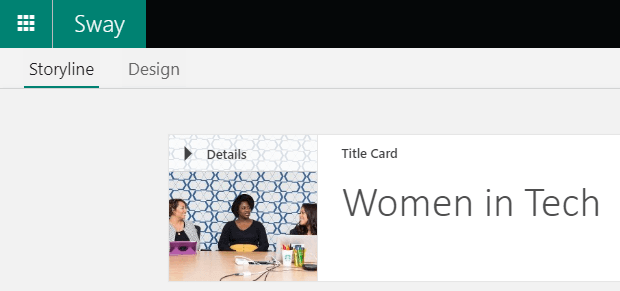
The Sway workspace is divided into two tabs: Storyline and Design.
Since your final Sway isn’t likely to be a series of slides (although you will have that option), but rather a single, flowing web page that you’ll navigate through by scrolling (either top to bottom or left to right), think of your presentation as a trip you’ll be taking viewers on from start to finish.
Sway’s Storyline Workspace
Select Create New to begin a Sway from scratch, or select Start from topic to let Sway create an outline for you. Alternatively, you can begin by uploading a PDF, Word, or PowerPoint document, and Sway will use it as a template.
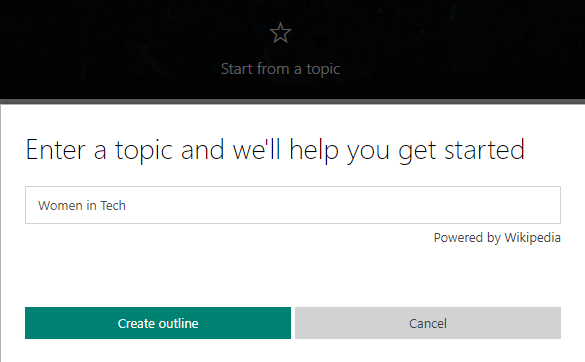
In this case, we’ll search for a topic and select the Create outline button. Sway will create the framework of your presentation for you.
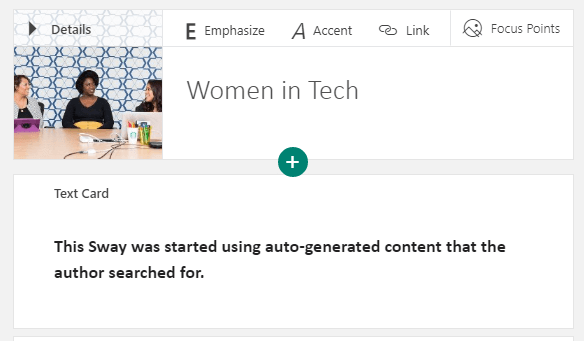
Sway has automatically given the Sway a title and content cards which you can edit at any time. Delete any card by selecting the trash icon on the card you want to remove.

You add content to your Sway by adding cards to the Storyline, and you can rearrange cards at any time with Sway’s drag-and-drop controls.
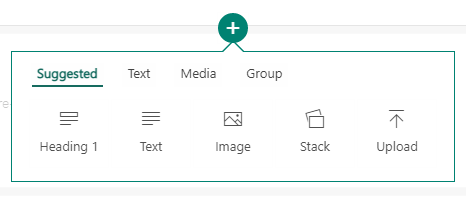
Click the Plus icon to add a card and choose what type of content you want. Content types include video, image, and text, among others.
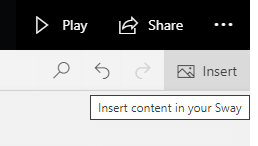
Another way to add content to your Sway is by searching for content on your computer or on the web. From the menu bar, select Insert.
From there you can search a variety of sources for content to add to your Sway.
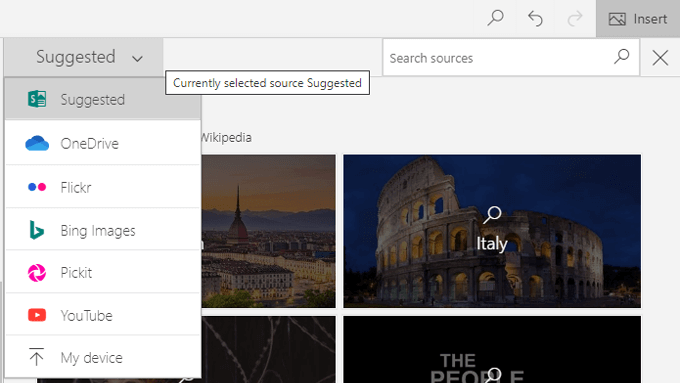
Select a content source and then type a word or phrase into the field marked Search sources. Finally, select the magnifying glass icon or press Enter. Check the Creative Commons Only box to restrict the results to content that doesn’t require a license to use.
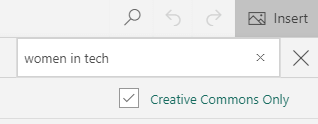
Finally, select one of the search results and click the Add button to add that element to your Sway.
Card Options
Cards in the Storyline workspace offer a number of options depending on what type of content they hold. Image cards allow you to format the text of the image’s caption, choose the Focus Points on your image, and choose how much you want to emphasize that card.

Setting focus points is important because it helps Sway choose how to position the image. Select the most important part(s) of the image, and Sway will determine the best position for the image depending on your device and the style you choose.
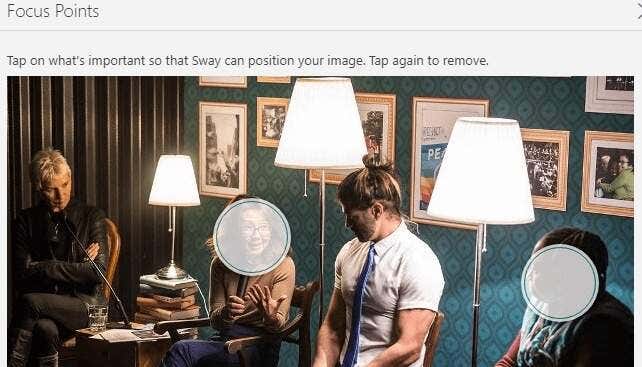
You can see previews of how your content will look on a computer screen or a mobile device.
Text cards also provide options for text formatting, linking, and emphasis.
Sway’s Design Workspace
The Design workspace is where you can control the look and feel of your Sway. Select the Design tab from the menu.

Then select Styles.
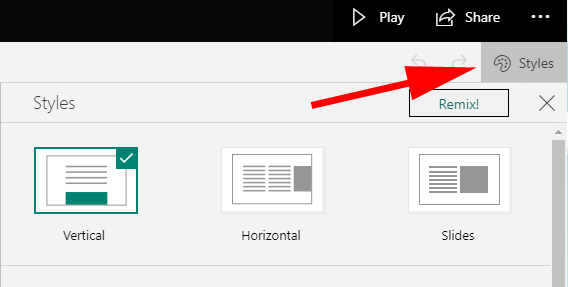
From the Styles panel, you can choose the orientation of your Sway. A Sway can be Vertical or Horizontal, or you can choose the Slides option. Select the style preview that you like best, and then click the Customize button to fine-tune your choice. You can always change your mind later.
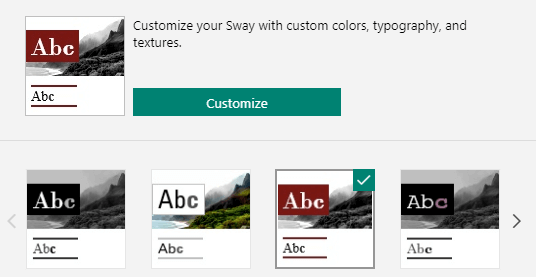
You’ll always see a preview of how your Sway will appear to others in the Design workspace.

If you’re feeling uninspired, select the Remix button to let Sway choose the design and layout for you.
Select the Play button to get the full experience.

How to Share Your Sway
The Share button gives you several ways to share your Sway.
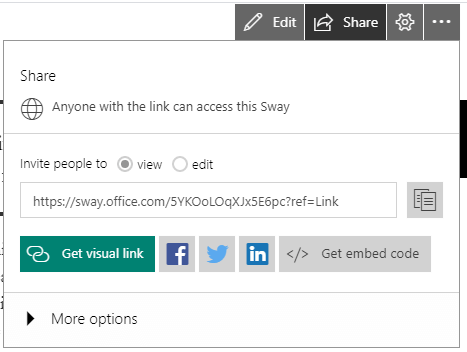
You can generate a view or edit link or share to Facebook, Twitter, or LinkedIn, or you can get the code to embed the Sway on a website.
Save Time and Impress Others with Microsoft Sway
Microsoft Sway is an excellent tool for quickly creating visually compelling stories. The next time you want to create a PowerPoint, try Sway instead. You’ll appreciate how fast you can go from an empty presentation to one that’s bold and beautiful no matter what device you view it on.


