

With nearly everyone using WhatsApp for communication, missing out on an important message can be problematic. There are various reasons WhatsApp doesn’t work on your iPhone (iOS) or Android phone. We’ll show you a few ways to fix the problem.
There are several common reasons why WhatsApp doesn’t work: the platform is down, your installed client has a problem, or your internet connection isn’t working. We’ll go over all these issues.
1. Make Sure Your Internet Connection Is Working
When WhatsApp stops functioning, check your internet connection and ensure it’s working. That’s because WhatsApp relies on the internet to send and receive your messages.
One way to check your internet connection’s status is to open a web browser on your device and launch a site like Google. If your device loads the site, your internet is working.
If your phone fails to load the site, you have internet problems. You can try fixing these issues yourself or seek your internet service provider’s help.
2. Close and Reopen WhatsApp
WhatsApp’s minor glitches can prevent you from sending or receiving messages. The good thing is you can resolve most of these minor problems by closing and reopening the WhatsApp app.
Close down WhatsApp on your phone, wait a few seconds, and relaunch the app.
3. Check if WhatsApp Is Down
WhatsApp’s servers may be experiencing an outage, resulting in your messages not getting sent or received. There are various reasons why this happens.
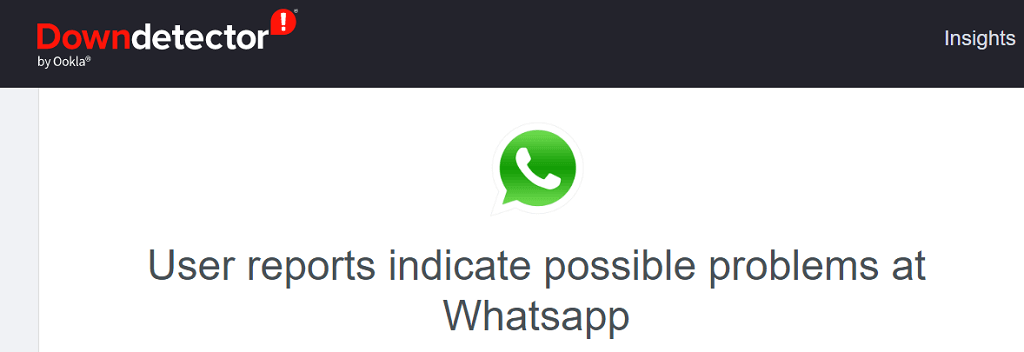
You can check if the platform is facing downtime by using a site like DownDetector. This site should tell you if WhatsApp’s servers have any issues. If that’s the case, you can’t do anything on your end but wait for the company to resolve those server problems.
4. Check if WhatsApp Has Deleted Your Account
If you’ve been inactive on the WhatsApp app for the past 120 days, the company may have deleted your account. This may be why you can’t use the app on your phone.
If that has happened with your account, you’ll have to sign up for a new account using the WhatsApp app on your iPhone or Android phone.
5. Restart Your Phone
Your phone’s minor issues can cause interference with WhatsApp, causing the app not to properly function. In this case, you can reboot your phone to fix those little glitches.
Reboot an iPhone
- On an iPhone with the Home button, press and hold down the Side button and drag the slider. Then, turn your phone back on by pressing and holding down the Side button.
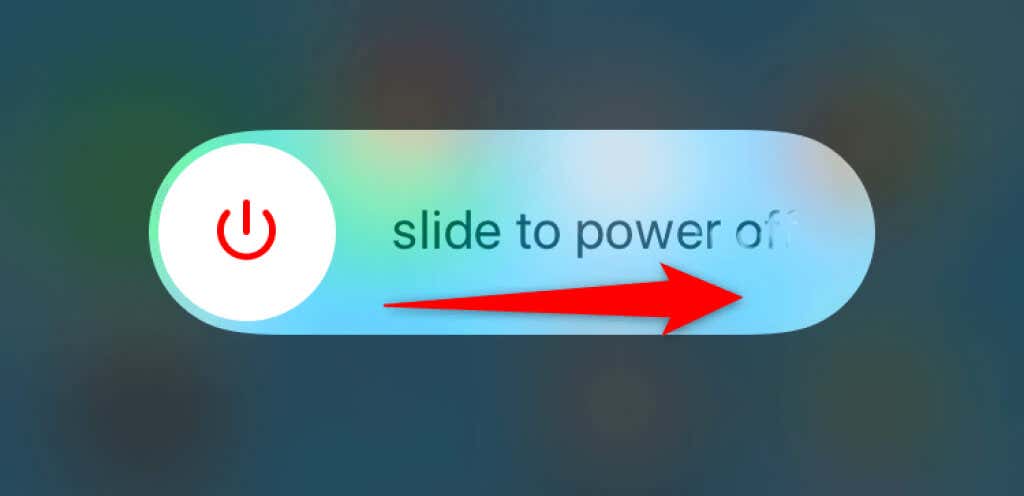
- On an iPhone with Face ID, press and hold down either Volume button and the Side button, then drag the slider. Power your phone back on by pressing and holding down the Side button.
Reboot an Android Phone
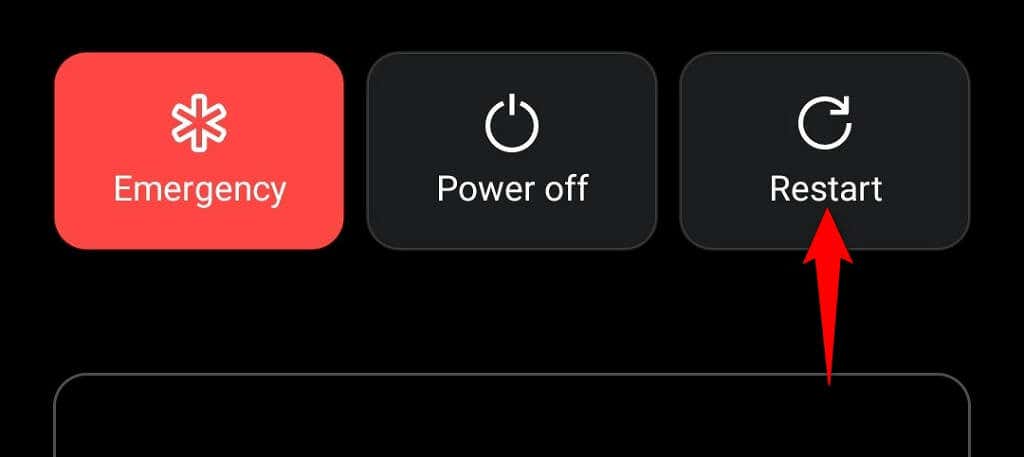
- Press and hold down the Power button to access the Power menu.
- Select Restart in the menu.
6. Turn On Background Data for WhatsApp
WhatsApp needs internet access even when you aren’t actively using the app. This is because the app needs to constantly check for incoming messages.
Your iPhone or Android phone may have denied background internet access to WhatsApp, causing the app not to fully function. In this case, turn on your phone’s background data option for this instant messaging app, and your issue will be resolved.
Enable Background Data for WhatsApp on an iPhone
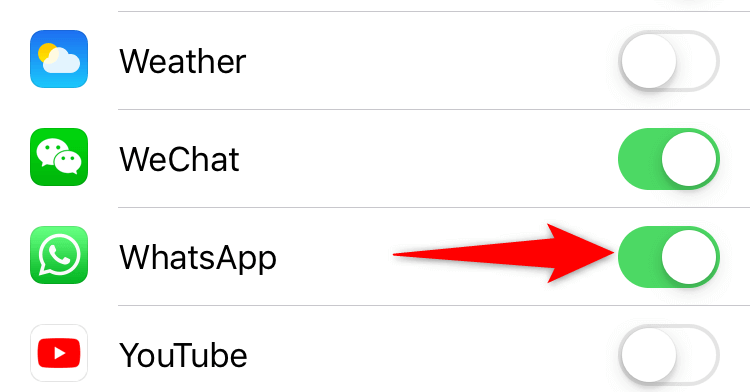
- Open Settings and head into General > Background App Refresh.
- Toggle on the option for WhatsApp.
Enable Background Data for WhatsApp on an Android Phone
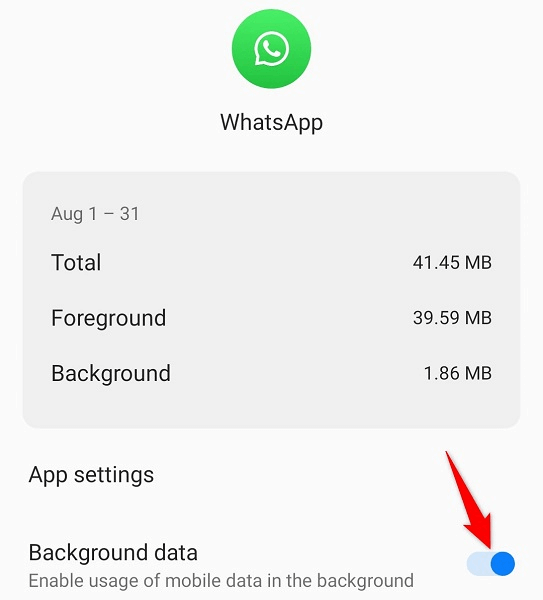
- Open Settings and select Apps & notifications > WhatsApp.
- Choose Mobile data & Wi-Fi.
- Turn on the Background data option.
7. Clear WhatsApp’s Cache on Your Android Phone
WhatsApp stores and uses cache files on your phone to enhance your user experience. Sometimes, these cache files go corrupt, causing the app to malfunction.
Luckily, you can resolve the cache-related issues by clearing your app’s cache. You can only do this on Android phones as the iPhone doesn’t allow deleting the app cache.
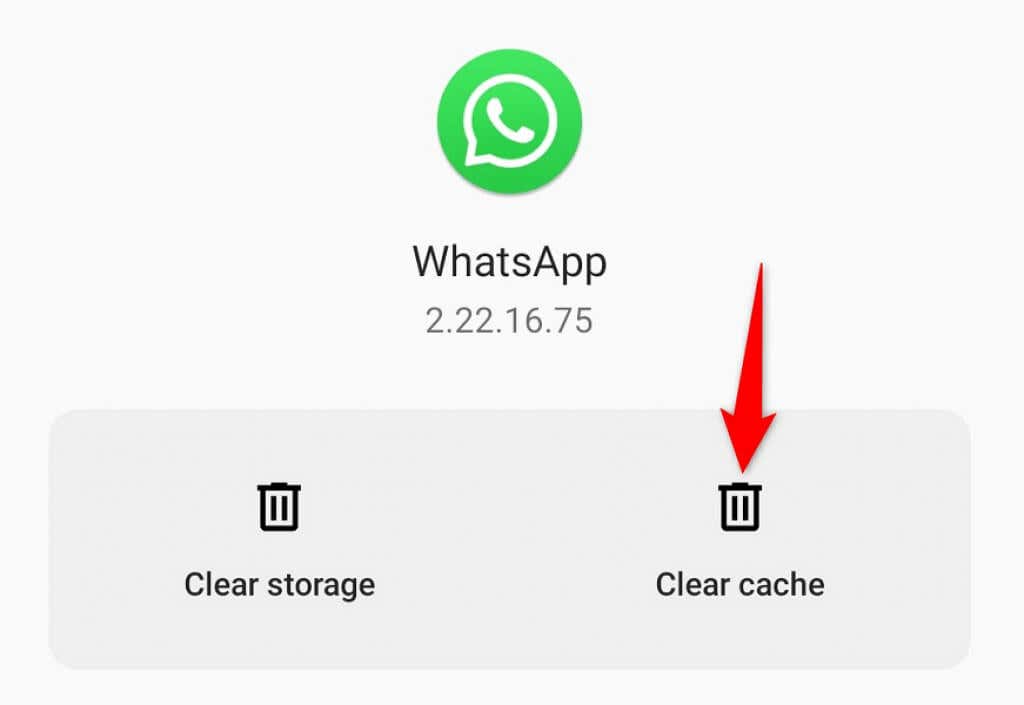
- Open Settings and navigate to Apps & notifications > WhatsApp.
- Select Storage & cache on the WhatsApp app page.
- Choose Clear cache to delete the app cache.
- Open WhatsApp.
8. Free Up Your Phone’s Storage
Since WhatsApp downloads and saves your messages locally on your phone, you must have some free storage space on your device. Not having adequate space can cause WhatsApp not to receive incoming messages.
You can fix that by analyzing your phone’s space and getting rid of the unwanted files.
Clear iPhone’s Storage
- Open Settings and access General > iPhone Storage.
- Analyze your phone’s storage.
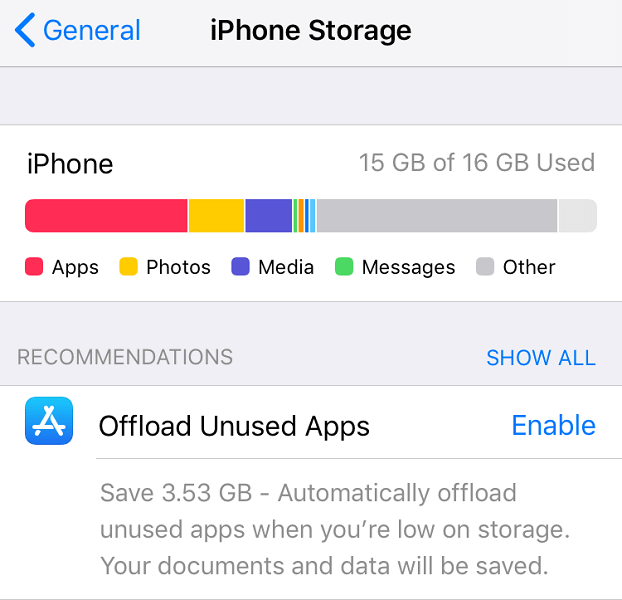
- Remove the unwanted items to free up precious storage.
Clear Android’s Storage
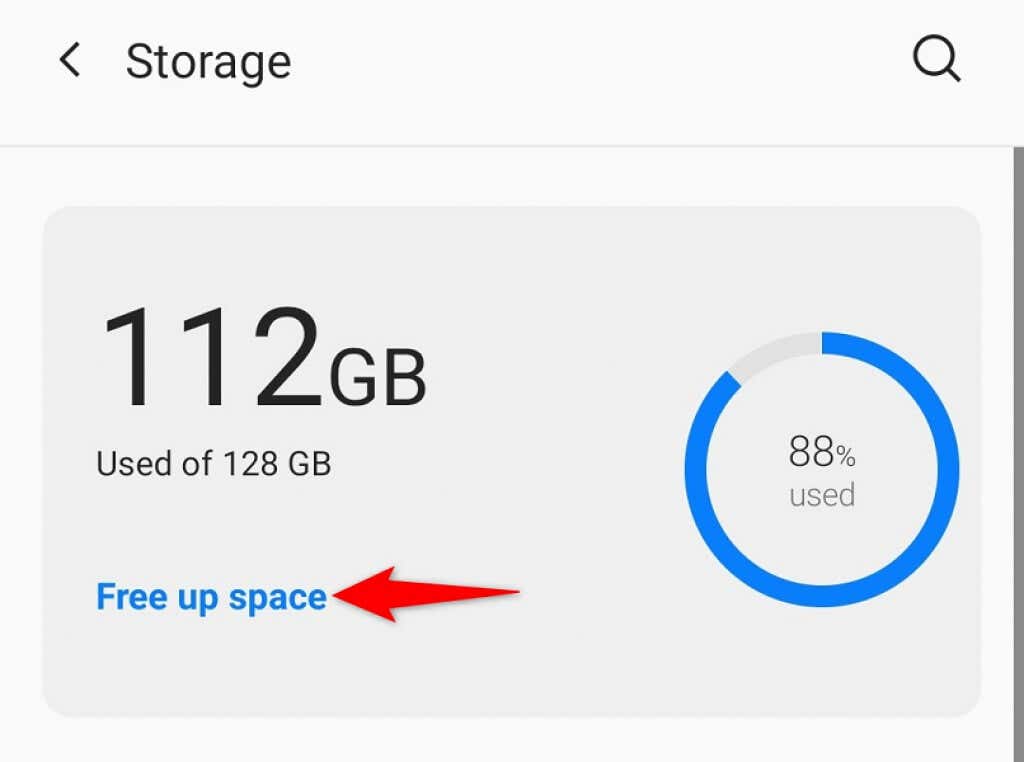
- Open Settings and tap Storage.
- Select Free up space.
9. Update WhatsApp on Your Phone
WhatsApp may not work because you’re using an old version of the app. This is usually the case if you’re using an app version launched many months ago.
Fixing this issue is easy as all you have to do is use your phone’s respective app store to update the WhatsApp app.
Update WhatsApp on an iPhone
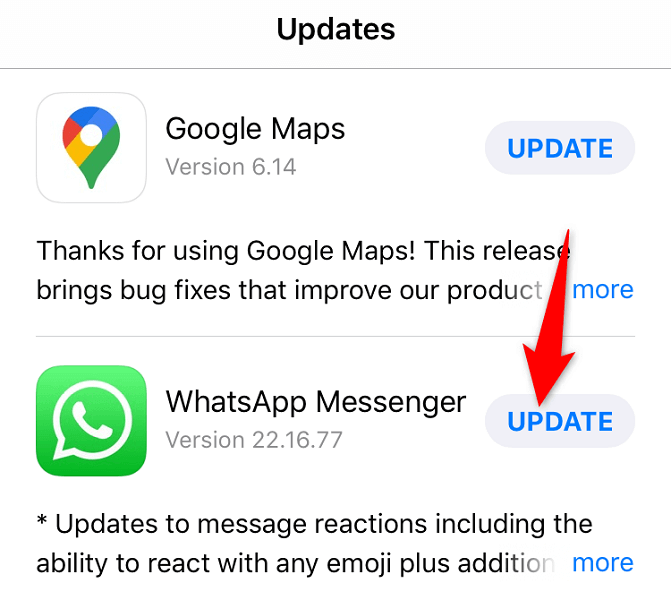
- Open the App Store.
- Select the Updates tab at the bottom.
- Choose Update next to WhatsApp Messenger.
Update WhatsApp on an Android Phone
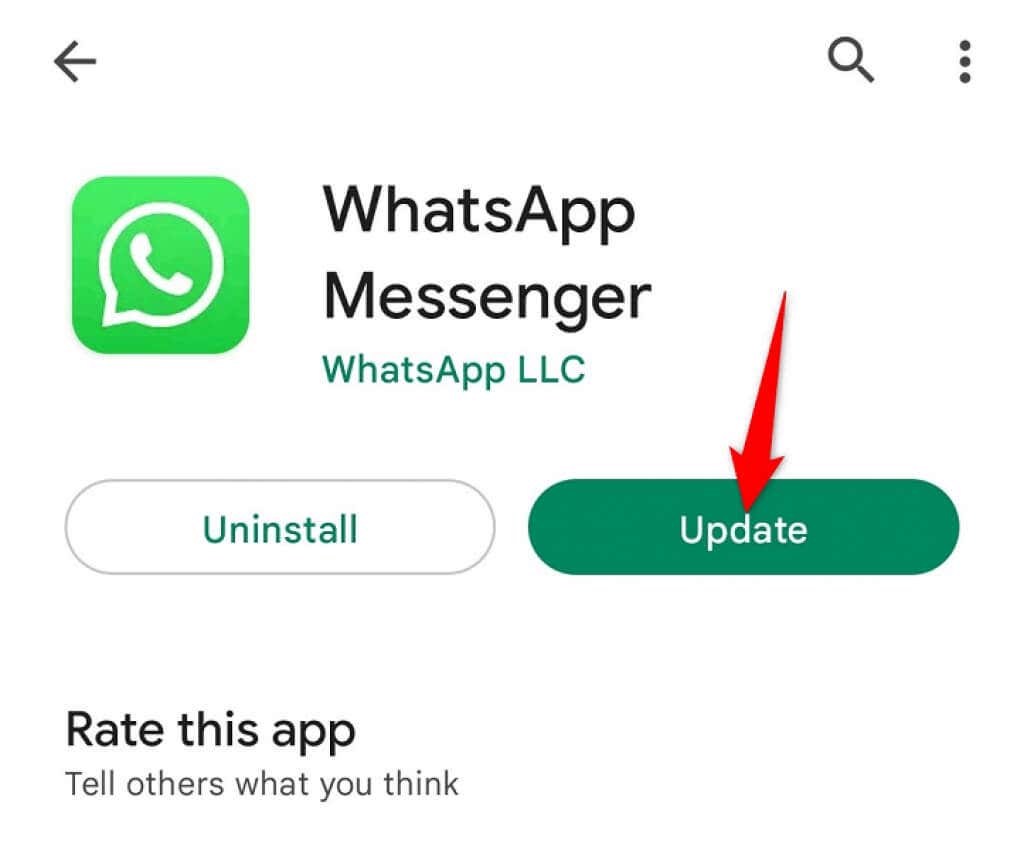
- Open the Google Play Store.
- Search for and select WhatsApp.
- Tap Update to update the app.
Fix WhatsApp’s Broken Functionalities on Your iPhone or Android Phone
WhatsApp may not work for various reasons on your smartphone. You may want to fix the issue as soon as possible if you rely on this app for your important communications.
Fortunately, there are several ways to get around a malfunctioning or not functioning WhatsApp app. Use one or more of the above methods and your app should start working. Then, you can enjoy chatting with your friends and family!
