Windows 11 is the best gaming operating system Microsoft has created to date, although it had a rough start. While most people will be pleased with their default gaming performance, there are some tweaks you can make to improve things.
Core Isolation and Virtualization
If you look up most gaming optimization guides for Windows 11 online, and even in Microsoft’s online documentation, there will be advice regarding “core isolation” and “virtualization.”
The first setting relates to the security and integrity of your CPU’s data. Without core isolation, your computer may be vulnerable to malicious attacks. Virtualization is a feature most modern CPUs support. It helps accelerate virtualization software and applications that create simulated computers, either for security reasons or to allow you to run software meant for another operating system.
Turning these features off may improve video game performance at the cost of security and functionality. In the case of core isolation, Microsoft recommends turning it back on every time you’re finished playing your game.
We’ve tried both of these tricks and benchmarked games with them off and on, and the small amount of performance you might gain isn’t worth the added security risk and pure hassle of flipping these settings on and off. That’s why we’ll go against the grain and recommend you simply leave them alone.
Update Windows
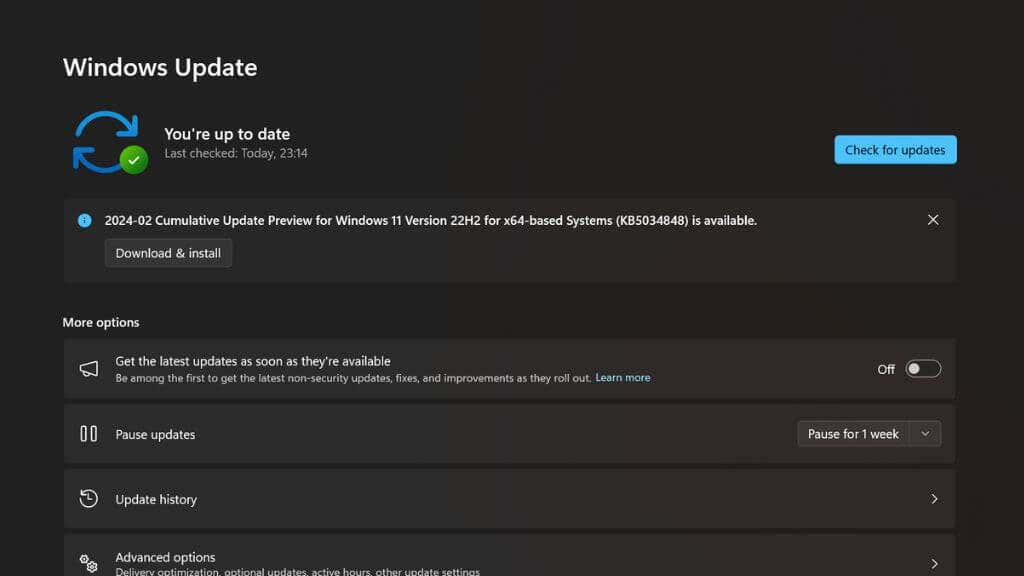
We recommend keeping Windows updated to optimize game performance. Updates often include fixes and new features that directly affect video game performance. Sometimes, these affect all games, and sometimes, they are necessary to make certain new games play correctly, in which case the game’s requirements might even note which version of Windows 11 is required.
To manually update, go to Start > Settings > Windows Update and select Check for updates. Then, install any that are pending.
Turn On Game Mode
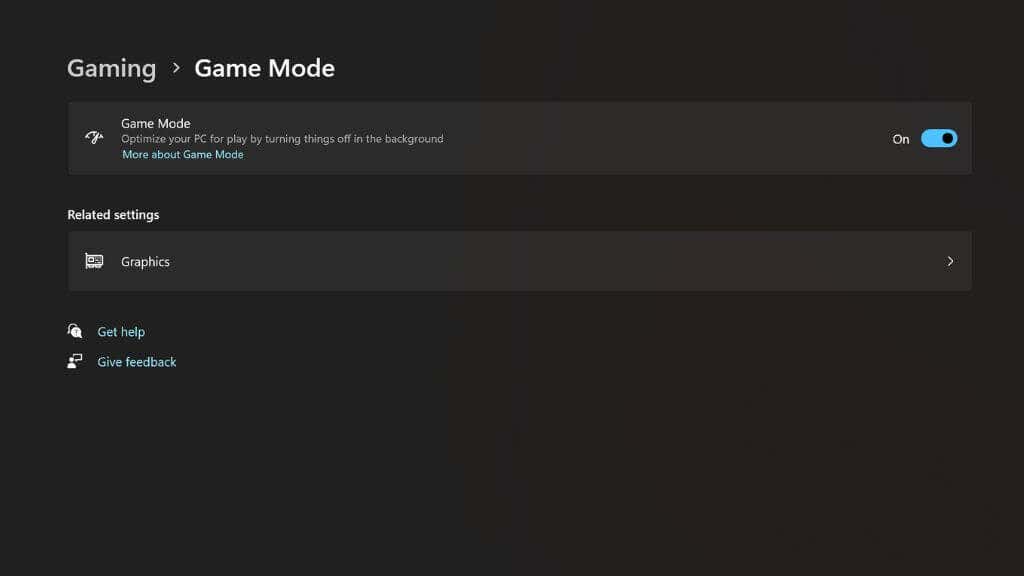
Windows 11 has a dedicated “Game Mode” present since Windows 10. When you activate it, the behavior of the operating system changes. While a game is running, Windows halts all background operations that aren’t strictly needed. It won’t download or install things, it will optimize RAM usage, and the game will be the highest priority software from the perspective of the CPU and GPU.
Start > Settings > Gaming > Game Mode, then choose to turn it on.
Make Sure Your PC Supports DirectStorage
Ever wonder how consoles like the Xbox Series X or PlayStation 5 can load games so quickly from their SSDs? It’s because they use hardware-accelerated decompression that can effectively double the speed of the SSD.
For the first few years of current-generation consoles, PCs didn’t have this technology and couldn’t take full advantage of these fast SSDs, but now things have changed with the introduction of DirectStorage.
Newer games that support the DirectStorage will use it automatically if available; there’s no toggle to flip. However, you do need to make sure your computer meets the minimum requirements:
- The latest updated version of Windows 11
- A GPU that supports DirectX 12 and Shader Model 6.0
- An NVMe SSD with a Gen 4.0 drive is highly-recommended
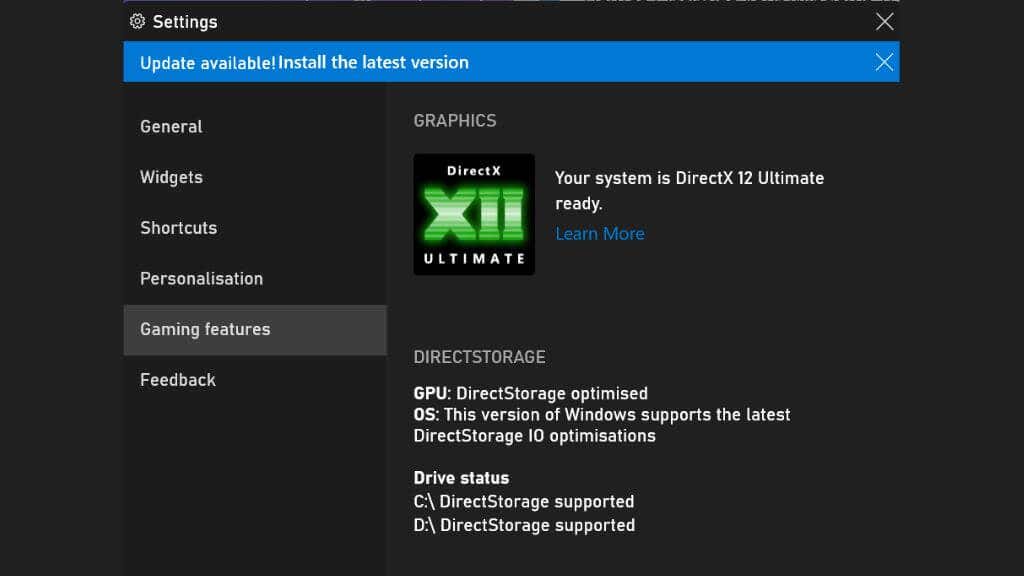
You can check whether this feature is enabled on your system by pressing Win + G to open the Xbox Game Bar. Then, select the gear icon to open settings.
Select Gaming Features and then look for Your system is DirectX 12 Ultimate ready and DirectStorage supported. If both of these messages are there, you’re good to go.
Update Your GPU Drivers
Possibly the most important component on a Windows computer for games is the GPU, or Graphics Processing Unit, found on your graphics card or in your laptop. Drivers are the software components that tell your operating system (Windows) and the video games you want to play how to communicate with the GPU.
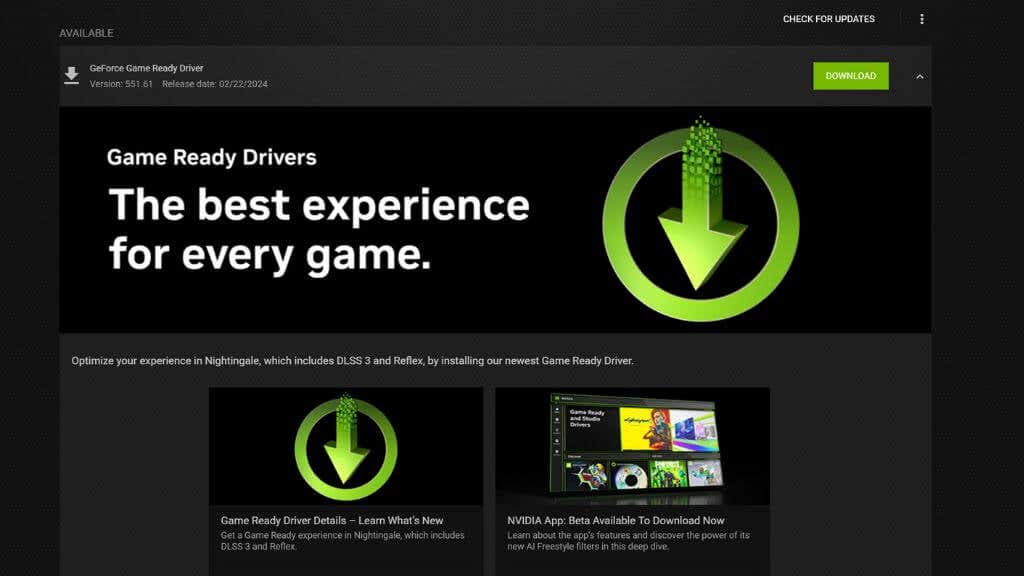
More than any other piece of hardware, your GPU relies on up-to-date drivers to get the best performance. To optimize performance, GPU vendors such as NVIDIA and AMD release new drivers alongside major video game releases. Sometimes, new drivers can offer significantly smoother and more powerful game experiences, even if only in selected games.
Updating GPU drivers is quite easy. Go to the manufacturer or your card’s website and look for your model under the drive section. Download the installer, run it, and you should be done. If you’ve already installed your GPU’s software, then you can usually check for updates and install them from within the GPU’s app instead.
Enable Hardware-Accelerated GPU Scheduling
Hardware-accelerated GPU scheduling is a new feature supported by modern GPUs and Windows 11. It lets the GPU take over some of the workload the CPU usually does in video games. It removes some of the CPU “bottlenecks” where the GPU no longer has to wait for the CPU for certain tasks before it can do its job.
In most modern games and the older games we’ve personally tested, there’s no downside to making sure this setting is turned on if it’s available. It can improve maximum game performance and reduce stutter, making games play smoothly at any framerate. We have had to disable it for compatibility reasons in one or two games, but for the most part this setting should be on. If you have a 40-series NVIDIA GPU or later, this feature is required to use the DLSS 3-frame generation feature. You’ll need a 10-series NVIDIA GPU or a Radeon 5600 or later to use it.
To activate this feature in Windows 11, go to Settings > System > Display > Graphics > Change Default Graphics Settings and toggle Hardware Accelerated GPU scheduling on.
You’ll have to restart your computer for the change to take effect.
Use a Wired Keyboard and Mouse (Or Controller)
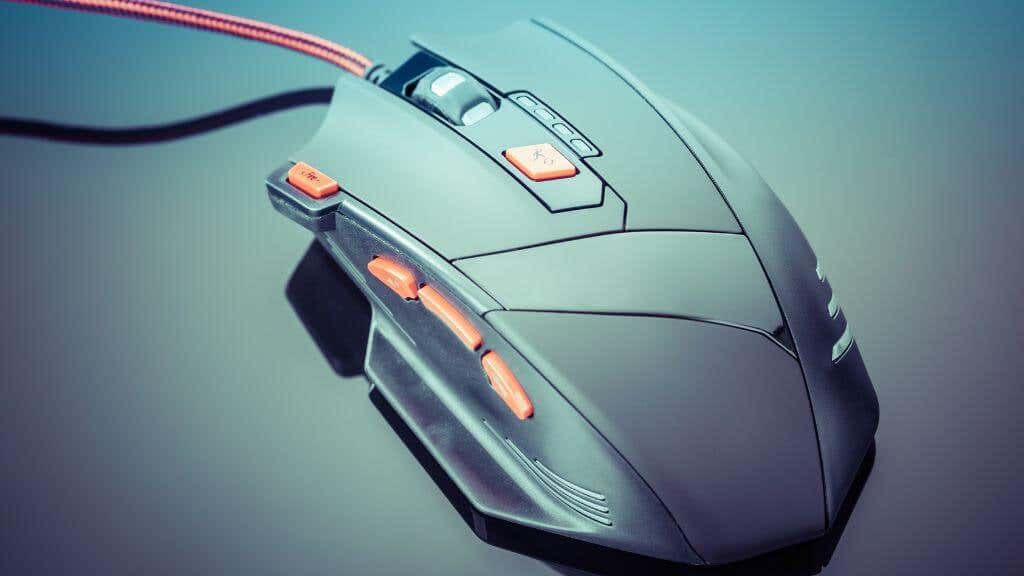
While most players will probably perform and feel just fine using wireless peripherals, especially if they use wireless peripherals designed for gaming. However, standard wireless mice and keyboards will likely have extra latency compared to using wired models, even cheap wired examples.
If you’re using a controller via Bluetooth, the same can apply. Luckily, all you have to do in most cases is connect it with a USB cable, and you’re set. As a bonus, you don’t have to worry about batteries!
Use Ethernet Instead of Wi-Fi
Network performance is a major consideration if you’re playing online games. Downloading games over Wi-Fi is fine in most cases, but when you’re playing online, the unpredictability of Wi-Fi can wreak havoc when trying to score those split-second kills in Call of Duty.
We recommend using a direct Ethernet connection instead. This is by far the fastest and most reliable type of home network connection, and in many cases, it can transform the online experience.
If your gaming PC is too far away from your router, consider investing in a mesh router system and connecting your PC to the nearest mesh unit via Ethernet. Alternatively, you can buy a Powerline Ethernet kit and connect your PC to your router using the electrical wiring in your home. This doesn’t always offer the fastest speeds, but online gaming is less about speed and more about latency, and in that department, Powerline technology usually beats Wi-Fi.
Install Windows and Games on an SSD
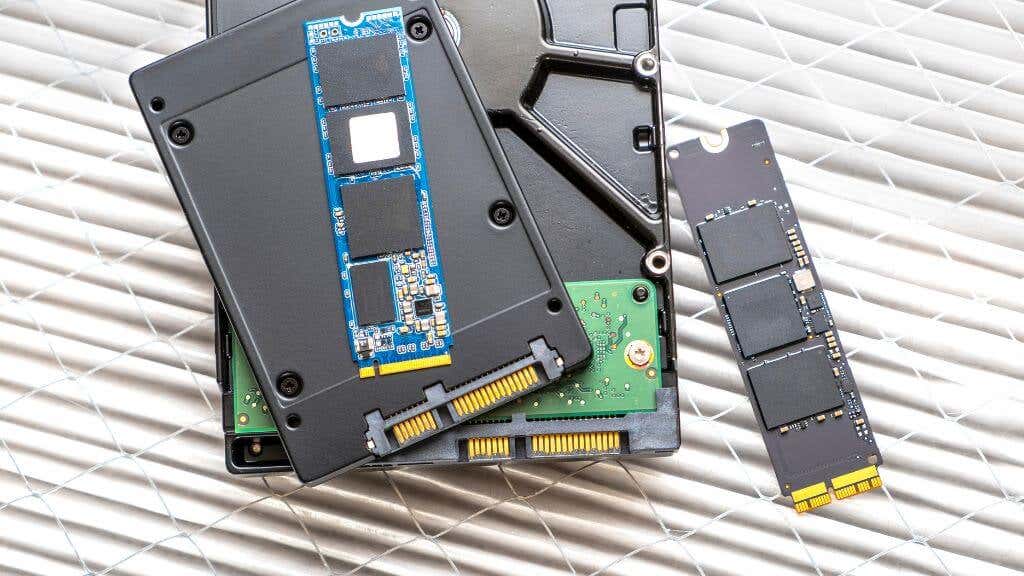
Modern games are quite bandwidth-hungry, so fast storage is becoming essential. Some modern games now require an SSD, and others strongly recommend one. There are two main types of SSD in modern Windows computers—SATA and NVME PCIe.
While SATA SSDs are much faster than mechanical hard drives, we recommend an NVMe drive or drives instead for gaming. At the very least, Windows and your most demanding games should be installed on such a drive.
Disable Wallpaper Slideshow
This last one might surprise you, but if you’ve experienced unexplained hitching and stuttering in your games, it might be your wallpaper settings.
Windows lets you use a slideshow setting to change between different wallpapers in a specified folder, at intervals you choose. Every time it makes the changes, the entire computer freezes for a split second.
Even when it happens in the background, if you have your wallpaper set to change frequently, you may be pulling your hair out as to why you’re getting this stutter in your games when the solution is as simple as changing your wallpaper to a static image or setting the slideshow interval to only change once every few hours or once a day.
These are the core tips you need to optimize your Windows 11 PC. If you want to take things further, you can also look at overclocking your CPU and GPU. If you’re still using Windows 10, you may also be interested in How to Optimize Windows 10 for Gaming.
Related Posts
Sydney Butler is a social scientist and technology fanatic who tries to understand how people and technology coexist. He has two decades of experience as a freelance computer technician and more than a decade as a technologies researcher and instructor. Sydney has been a professional technology writer for more than five years and covers topics such as VR, Gaming, Cyber security and Transhumanism. Read Sydney’s Full Bio
