Black spots marring the display of your pristine Chromebook can be quite worrying. These black spots, often called “dead pixels”, could appear for various reasons – from manufacturing defects to physical damage.
In this short guide, we’ll explore some ways to fix these dark spots and restore your laptop display to its former glory or what to do if there’s no way to repair the issue.
Identifying the Problem
Not all black spots are created equal – they could be either dead pixels or “stuck” pixels. The difference lies in their behavior, origin, and the methods needed to fix them.
Dead pixels are, as their name implies, “dead”. They are completely unresponsive and typically appear as black spots on your screen because they don’t light up when an electric current is passed through them. The cause of their demise can be traced back to hardware failures, such as manufacturing defects or physical damage.
Depending on your screen’s specific panel technology, dead pixels may paradoxically appear as white spots rather than black ones. This is because some LCD technologies let the backlight through rather than blocking it in the “off” position.
On the other hand, stuck pixels don’t change their colors in sync with the overall image displayed on the screen. Instead, they stay “stuck” on a particular color, which could sometimes appear as a black spot but usually appears as a bright-colored dot. Stuck pixels aren’t always visible, depending on the scene, because the specific stuck “subpixel”, (red, green, or blue) may be turned off in a given image.
Stuck pixels are usually caused by minor electronic glitches, which means they have a higher chance of being coaxed back into normal operation than their dead counterparts.
Hot pixels are the opposite of dead pixels. Here the pixel is getting power, but it’s also stuck, except it’s stuck at full brightness and intensity rather than having just one sub-pixel on all the time.
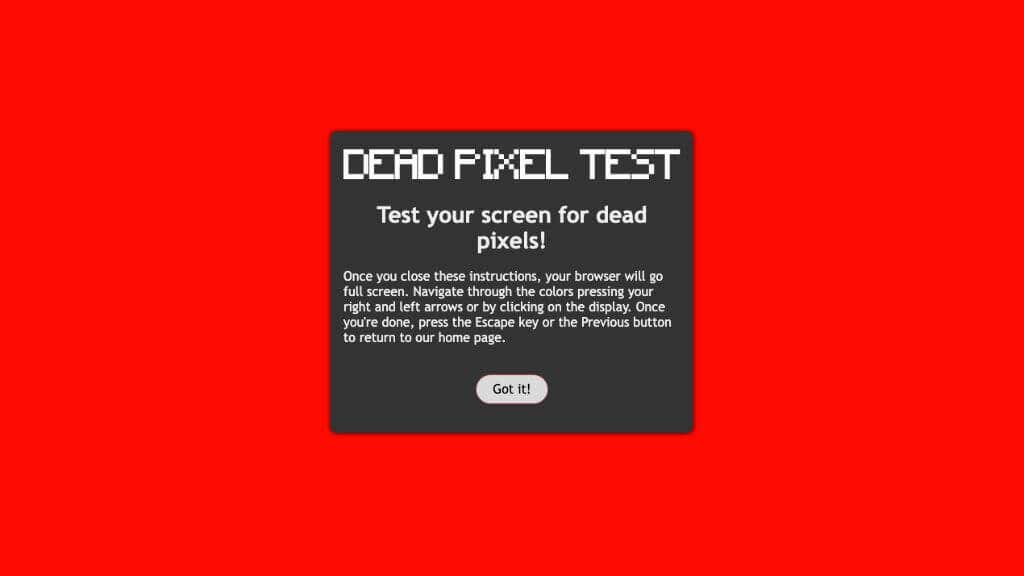
To help identify the nature of your pixel problem, you can use online tools such as deadpixeltest.org. This website will work on any device with a web browser, which includes your Chromebook.
All you have to do is set the website to full-screen mode (usually the F11 key in Chrome) and then cycle through each solid color image. Carefully look through the screen on each color preset, and note if any pixels don’t conform to the rest of the image.
If the test confirms that you have wonky pixels, it’s time to try a few practical solutions.
A Note on DIY Solutions
The first two solutions on this list are common advice you’ll find whenever dead pixels are the topic of discussion. It’s unclear if they actually work or if it just so happens that some pixels come unstuck by themselves, and people just make a false connection between the two.
Your author has personally had success with these methods, but it’s best that you know they’re pretty much “hail-mary” solutions that might actually have no real chance of working. They should, however, not damage your monitor. Just be very careful when applying any sort of pressure.
1. Soft Cloth Technique
Use a soft cloth or, preferably, a microfiber cloth to gently massage the spot where the dead or stuck pixel has reared its head.
Based on what people have to say on online forums, massaging the spot for 3-6 seconds, letting off the pressure, and then repeating it several times is the way to go.
2. Eraser Technique
The eraser technique is the same as the soft cloth technique. You’ll still use a soft cloth, but instead of your finger, use the corner of an eraser or a pencil eraser instead of your finger. The idea is that this is more precise and only applies pressure to the small area where the dead or stuck pixel is.
3. JScreenFix (and Other Apps)
JScreenFix is an app that aims to correct stuck pixels. This tool uses color cycling to stimulate these pixels back into action.
Remember, DIY solutions work best for stuck pixels. If the black dot persists, it’s likely a dead pixel that requires further steps.
There are alternative apps, such as PixelHealer, but this requires Windows. So unless you’re dual-booting ChromeOS with Windows, that’s not an option.
4. Use the Manufacturer’s Warranty
Manufacturers often cover dead pixels under warranty. Review your warranty policy if you’re dealing with a Dell, Asus, Lenovo, or HP laptop.
Read through your warranty document to understand the specifics related to pixel defects. Many manufacturers consider a certain number of dead or stuck pixels normal or only consider them a problem if they are clustered together or in the middle of the screen. If your device’s situation falls within the parameters defined by your manufacturer, you’re in luck! If not, you’ll just have to live with those janky pixels.
Once you understand your warranty, your next port of call should be the manufacturer’s customer support. Clearly describe the issue – remember, details matter. Be sure to specify that you’re dealing with a black spot, dead pixel, or stuck pixel on your Chromebook’s LCD screen. Let them know what part of the screen the pixels are and estimate how many there are. The support team will typically guide you through troubleshooting steps or have specific questions about the pixels.
If the pixel problem persists after troubleshooting, you’ll likely be directed to take your Chromebook to a nearby service center. The technicians there will evaluate your device. If the problem is indeed due to manufacturing defects or hardware failure, they will either repair the pixel issue or replace the LCD screen entirely, all under the safety blanket of your warranty.
But remember, this process may require some patience on your part. Dead or stuck pixels, while frustrating, are considered minor defects. You may need to navigate some bureaucracy or spend a bit of time without your device.
5. Professional Repair or Replacement
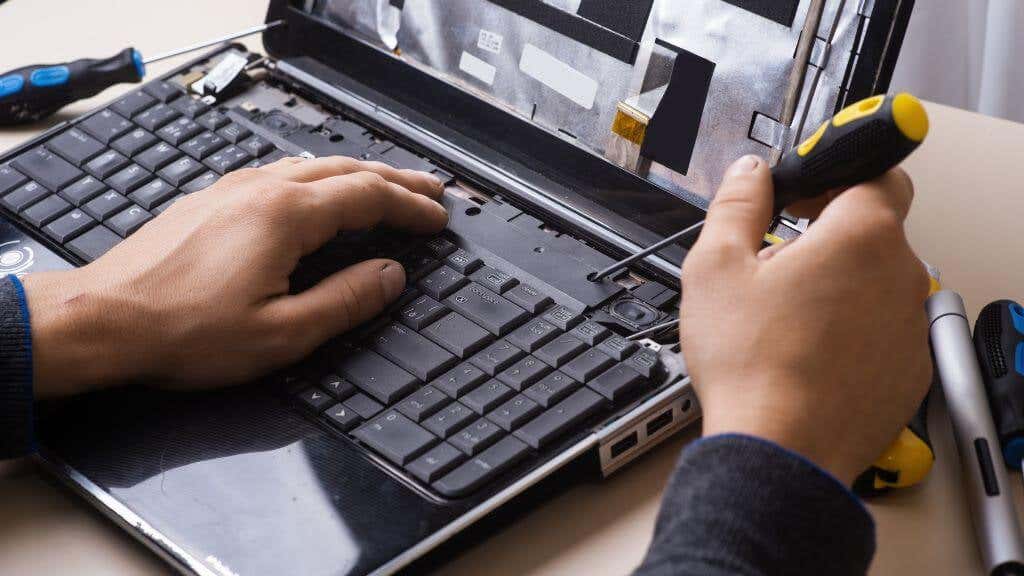
If your warranty doesn’t cover the issue or has expired, consider visiting a repair shop. Professionals will examine your laptop and decide if the LCD panel needs repairing or replacing.
Alternatively, for DIY enthusiasts, there are numerous tutorials online on screen replacement. You can order replacement screens from trusted sellers on Amazon. However, this process involves delicate components like the backlight, and mishandling can lead to further issues. Unless you’re already a hardware wizard, this job is for someone with the right tools and experience.
Prevention Is Better Than Cure
Preventing dead pixels on your Chromebook largely boil down to mindful use and routine maintenance. Here are some tips to help stave off this issue:
- Mindful Handling: Excessive pressure on your laptop screen can lead to dead pixels. Handle your device carefully, especially if it’s a touchscreen.
- Safe Storage: Extreme temperatures and humidity can affect the LCD of your laptop, leading to dead pixels. Store your laptop in a cool, dry place.
- Avoid Overheating: Overheating can cause a range of issues, including screen damage leading to dead pixels. Use your laptop on hard, flat surfaces for proper ventilation, and consider using a cooling pad if necessary.
- Running with the lid closed: While most Chromebooks don’t get hot enough for this to be an issue, for laptops with vents on the laptop’s deck or those with high-performance CPUs and GPUs, running the laptop under load with the lid closed might expose the screen to more heat than it was designed for.
- Software Updates: You can’t fix a dead pixel with a software update, but it can solve software issues that might emulate dead or stuck pixels due to broken GPU drivers or issues with how your computer renders graphics.
Incorporating these tips into your routine can significantly reduce the chances of encountering dead pixels on your Chromebook screen, but there are never any guarantees.
FAQs – Frequently Asked Questions
Dead or stuck pixels are one of those topics that generate lots of myths and confusion. Let’s end things off by clearing up a few common ones.
Can the same solutions apply to other devices?
Yes, many of the solutions discussed here can be applied to a range of devices, including your MacBook, Samsung laptop, or iPhone. Basically, anything with an LCD screen. If your device uses an OLED panel, the underlying technology is different, so the same fixes won’t all apply.
Can a BIOS update fix the problem?
While updating the BIOS can solve various hardware problems, it’s highly unlikely to fix dead pixels. These are often hardware issues that require physical intervention or screen replacement. Only upgrade your BIOS if the problem you’re experiencing is directly addressed in the BIOS patch notes. BIOS upgrades carry a small risk of bricking your device, so it’s not worth doing on a whim.
What’s the expected lifespan of an LCD monitor?
The average lifespan of an LCD monitor varies, but it’s generally around 30,000 to 60,000 hours. However, the lifespan of a specific panel depends on whether it has problems from the factory, whether it was used in extreme conditions, or just plain bad luck.
Can a stuck pixel go away on its own?
Stuck pixels can come and go. LCD panels are incredibly complex devices, and there are millions and millions of pixels on your screen, So it’s not that rare for a pixel or two to malfunction and then go back to normal.
It may never malfunction again, or this could be the start of a pattern leading to permanent issues.
Is it worth replacing my Chromebook screen due to dead pixels?
This decision largely depends on the extent of the problem and your tolerance for dead pixels. If you have a single dead pixel that doesn’t bother you much, you might ignore it. However, a replacement might be worth considering if you have multiple dead pixels or if they’re in prominent places on the screen. Consider the screen replacement cost and compare it to the price of a new device to make a sensible decision.
While black spots on your Chromebook can be a bummer, they are not the end of the world. With careful assessment and the right approach, you can restore your laptop display to its unblemished state or at least confirm if you need a new one.
Related Posts
Sydney Butler is a social scientist and technology fanatic who tries to understand how people and technology coexist. He has two decades of experience as a freelance computer technician and more than a decade as a technologies researcher and instructor. Sydney has been a professional technology writer for more than five years and covers topics such as VR, Gaming, Cyber security and Transhumanism. Read Sydney’s Full Bio
