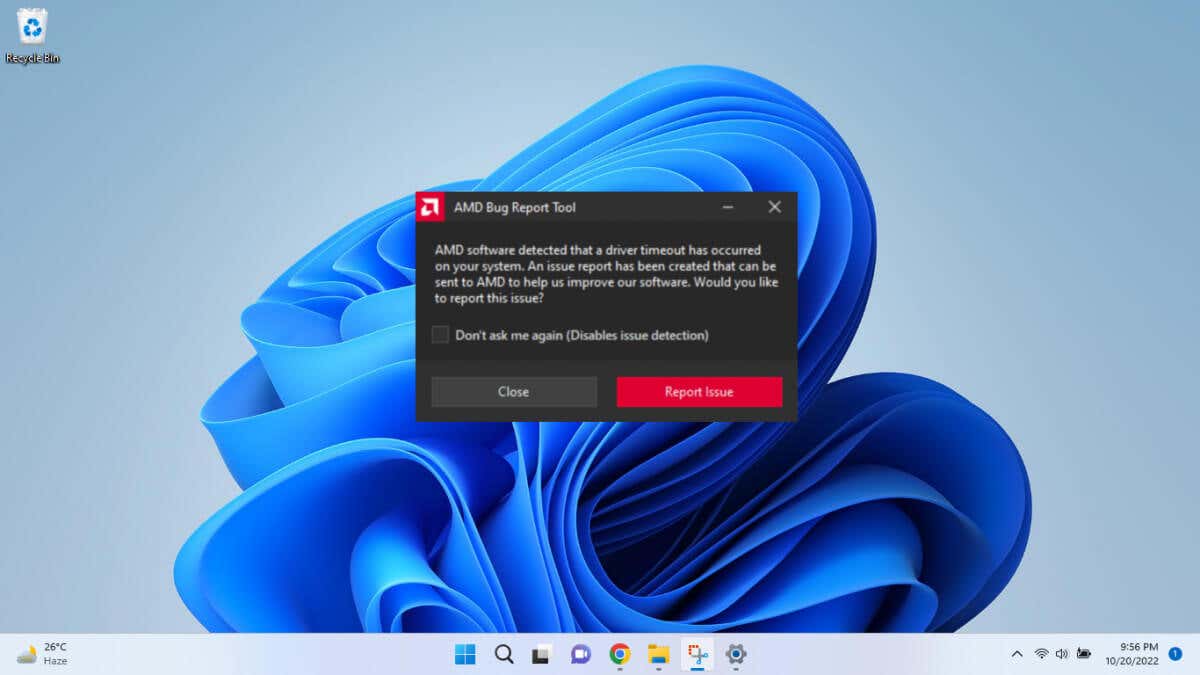
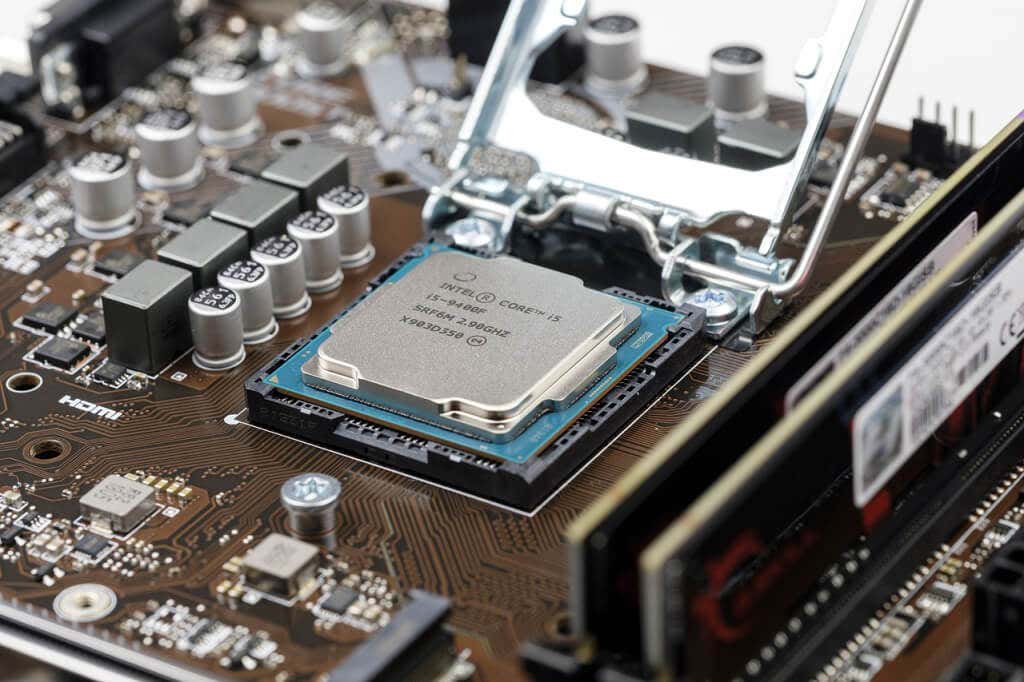
Driver timeout is a fancy way of saying that Windows can no longer communicate with your AMD graphic card’s driver. Depending on why this is happening, there are different ways of solving the issue.
A hardware failure is beyond any simple fix, but the culprit is usually a configuration issue. A faulty Windows update, corrupted system files, or even overheating can trigger this error. Let’s go over all of these potential problems and their fixes.
Fix 1: Update the Graphic Drivers
The first thing to do when dealing with any sort of driver issue is to update the driver. Nine times out of ten, that does the job.
And the AMD driver timeout issue is specifically one created by incompatible drivers. Sometimes it is the operating system that is outdated, but we will get to that later.
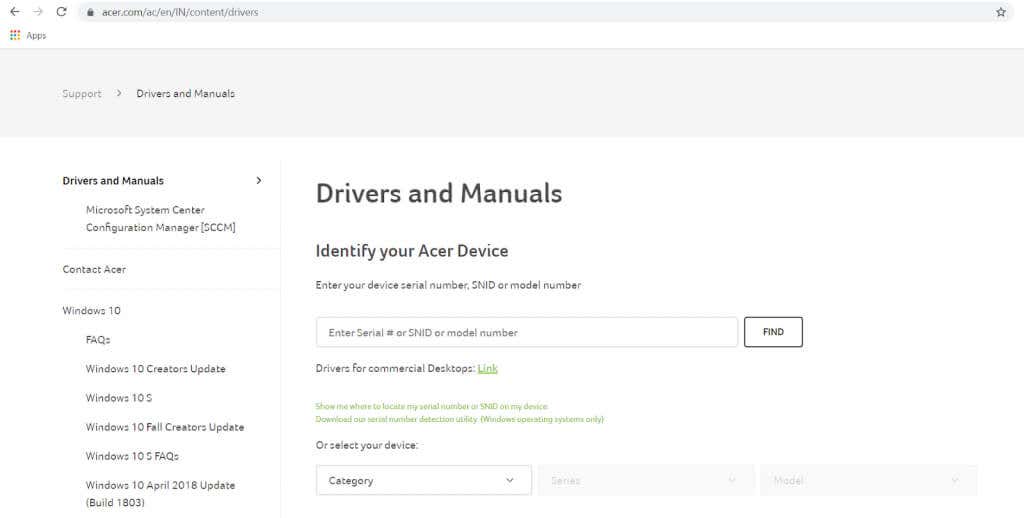
- To get the latest drivers for your AMD graphics card, you should head to the manufacturer’s website. You’ll find the drivers on AMD’s own site, or if you have a laptop, on the site of the laptop brand as well.
- As the driver versions differ from system to system, you will need to enter the model number of the laptop or the GPU to locate the correct drivers.
- The laptop websites will give you a complete list of all compatible drivers, including VGA drivers for your graphic cards. There will be separate packages for the integrated and discrete GPUs if you have them both.
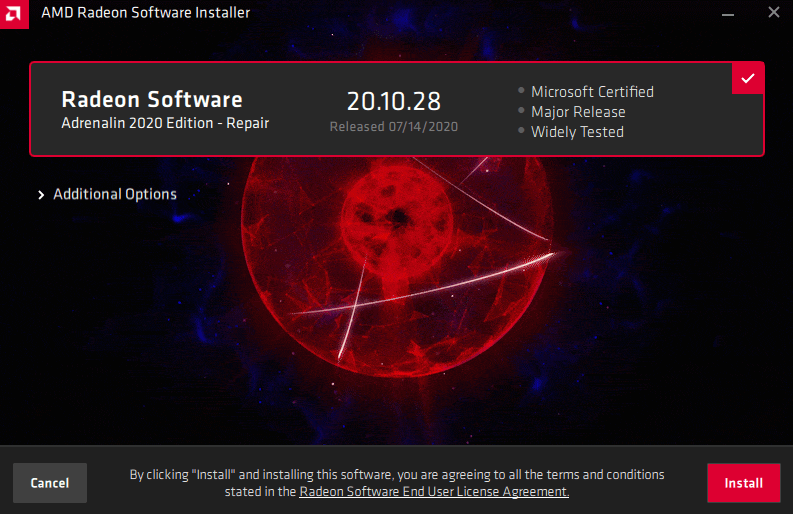
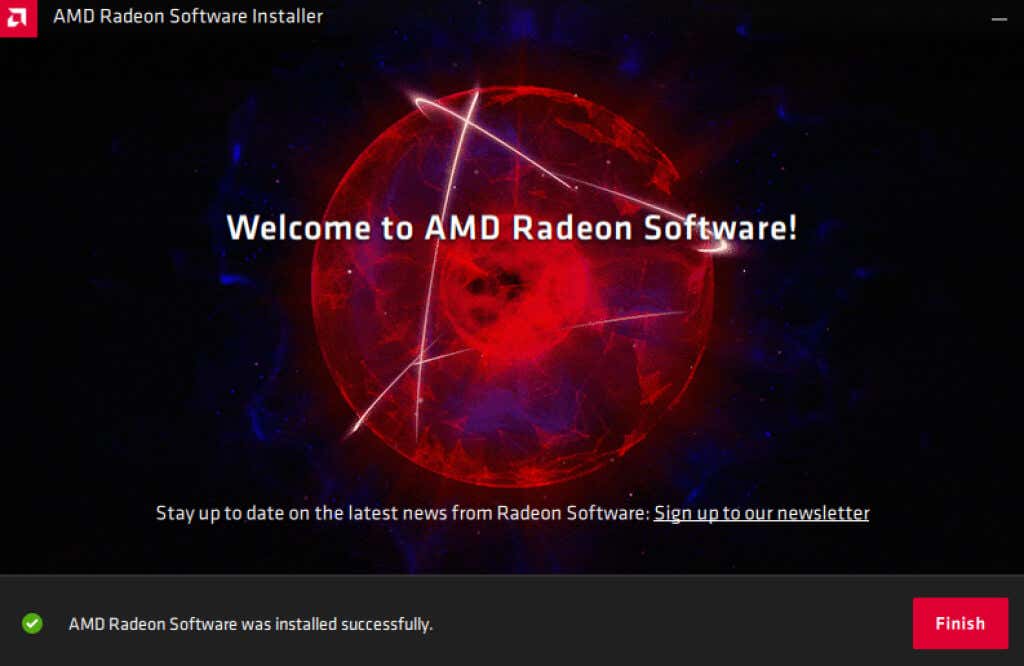
- Download and run the VGA driver package after extracting its contents. And don’t worry about getting it wrong – the installer will automatically check your system’s hardware for compatibility.
- Once everything matches up, you’ll be presented with the Install button.
- The screen will sometimes flicker during the installation, so don’t panic if you see a black screen. The setup will inform you when the installation is complete.
Fix 2: Update Windows
When the AMD driver is working correctly, the problem might instead lie with the OS. And fixing that is usually just a matter of installing the latest Windows updates.
We know that installing a Windows Update is another of those magic pills offered as a solution to anything wrong with your computer, but it usually works.
Often, it is a faulty Windows Update creating the problem in the first place, since Microsoft issues bug patches in subsequent releases. You can also try rolling back the problematic update, but that’s just a temporary solution (though we still discuss this in the next section).
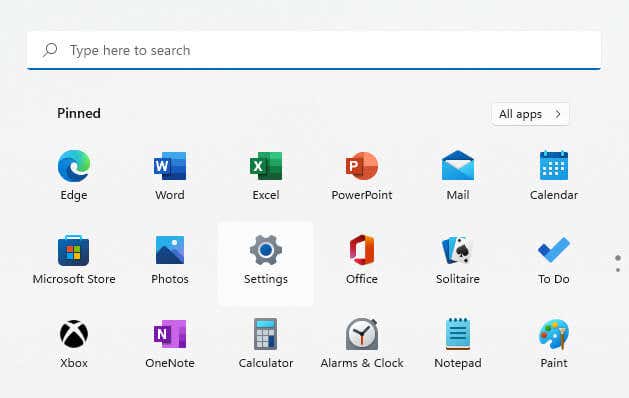
- To install the latest Windows updates, open Settings by searching for it or clicking on the gear icon in the Start menu.
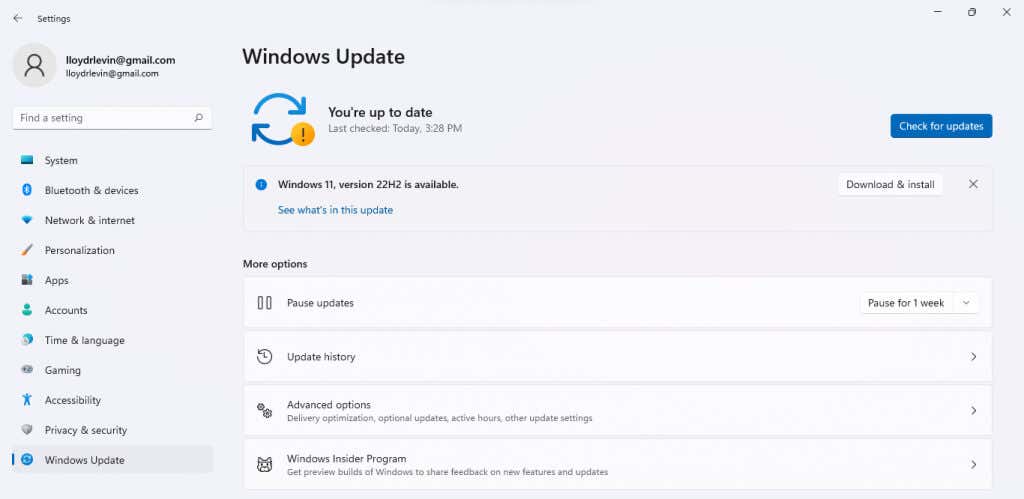
- Scroll down to the Windows Update tab (the last on the list) and select Check for updates button.
- This will display any available updates, along with a Download now button to download and install the update. Just select this option and Windows will take care of the rest.
Fix 3: Uninstall Windows Update
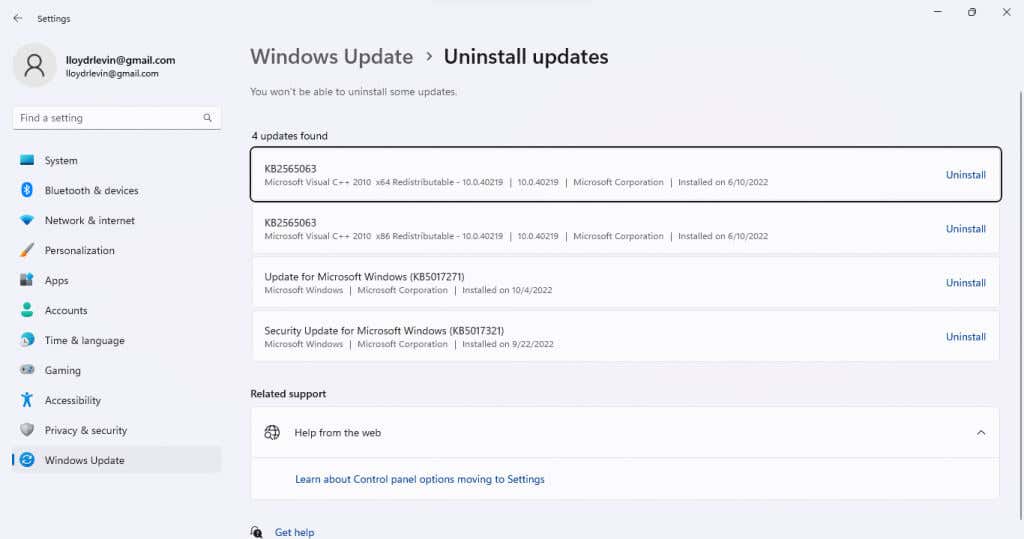
Since the AMD driver timeout is often caused by a bugged Windows Update, it can also be resolved by simply uninstalling the update. It is a good stop-gap measure until the next update comes out and actually fixes the problem.
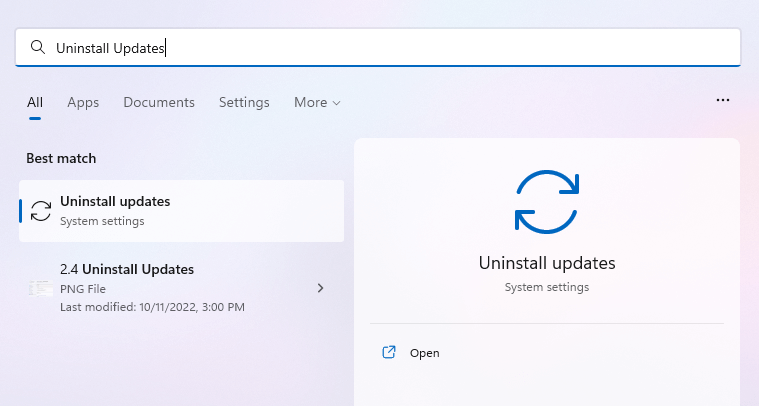
- On Windows 11, you remove updates from a section of the settings. Just search for Uninstall Updates in the Start Menu to locate it.
- In Windows 10 or earlier, open the Control Panel > Programs. Then select View installed updates from under the Programs and Features category.
- Either way, you’ll get a list of installed Windows updates on your computer sorted by the date. If the problem started recently, uninstall the latest update on this list.
Fix 4: Repair Corrupted System Files
Missing updates aren’t the only reason Windows might be unable to properly communicate with AMD drivers. Corrupted system files can cause such weird glitches as well.
Fortunately, you don’t have to reinstall your OS to fix this issue – command line utilities like SFC can easily repair damaged system files.
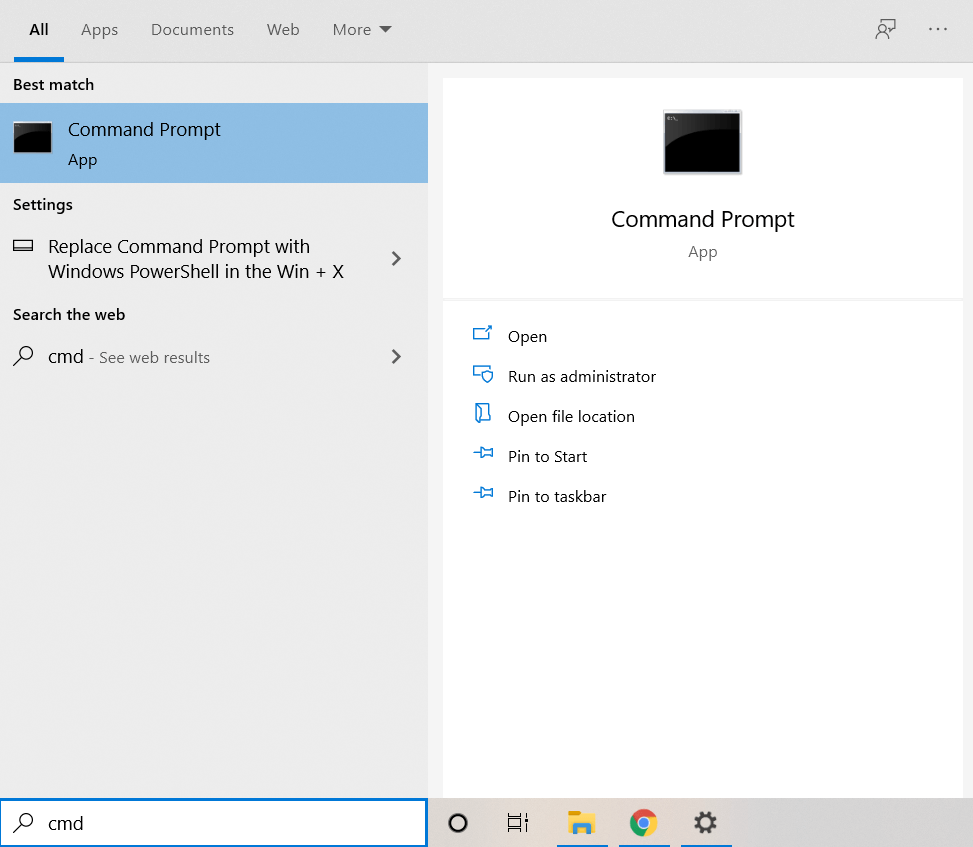
- To run the SFC command, open Command Prompt. Search for it by typing “cmd” in the Start Menu and select Run as Administrator.
- The System File Checker (SFC) is often paired with a DISM scan to ensure there are no errors due to a corrupted system image. All you need is to run the DISM command first:
Dism /Online /Cleanup-Image /RestoreHealth
- DISM will now download a fresh version of the system image from Microsoft, using it to repair any inconsistencies for the local backup.
- Once DISM is done, enter sfc /scannow to repair your Windows installation.
- The scan can take a while, as SFC will verify the integrity of every system file and replace any missing or corrupted data.
Fix 5: Update BIOS
We have now exhausted the realm of simple software fixes, and are getting into more technical territory. And the first step is to update the BIOS.
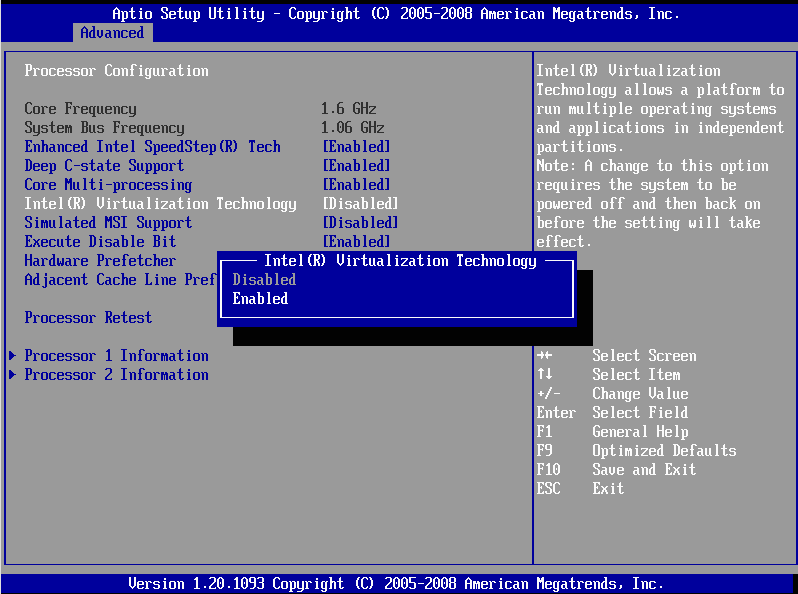
The BIOS version that comes preinstalled on your motherboard doesn’t usually require updates. But the AMD driver timeout bug is known to be caused by outdated BIOS – or incorrect BIOS settings – and can often be fixed with an update.
Before you go installing a new BIOS version though, boot into the BIOS and take a look at its settings. Some motherboards have a 4G decoding feature, which gives the GPU access to more memory.
Fix 6: Disable Overclocking
Overclocking your processor – or your GPU – can boost performance beyond the stated limits. But in absence of proper cooling, it can lead to critical failures as well.
Of course, this isn’t something that comes enabled by default, so you can skip this one if you haven’t overclocked your system. But if you have, it might be a good idea to disable it.
Now depending on how you achieved the overclocking, the process to reverse it is going to differ. A GPU can be overclocked from the BIOS, a third-party utility, or AMD’s own driver settings. Just restore the settings to default, and your GPU will work normally again.
Fix 7: Prevent Overheating
Overheating is a major problem with gaming laptops, which often come with poor thermals and ineffective cooling. Even good systems can eventually start heating up due to clogged fans and blocked vents.
The thing with overheating is that the symptoms aren’t clear to spot. The computer works fine up to a certain point, and then just abruptly cuts power, creating weird crashes.
Check the temperature of the GPU during heavy loads with a dedicated utility, and take precautions if you find the temperatures rising over 90℃. Cleaning up dust is a good solution, along with getting a cooling pad for laptops.
Reapplying thermal paste is incredibly useful as well, especially if the graphics card is on the older side. Many guides will also recommend undervolting the GPU, but that’s just a workaround – you’re better off addressing the thermals directly.
Fix 8: Tweak Settings for Performance
If cleaning up the vents and reapplying thermal paste doesn’t solve the problem, you can try reducing the load on your GPU instead. By optimizing visual settings for performance rather than quality, even an aging graphics card can work smoothly.
Apart from the visual settings of individual video games, there are a lot of settings that affect graphics performance in Windows itself. From the power plan to visual effects or the monitor refresh rate, there’s no lack of potential optimizations.
Then there are AMD Radeon features like FreeSync and Virtual Super Resolution that put a huge drain on the GPU. While these only come enabled on the latest graphics cards capable of handling the stress, disabling them might give you an edge.
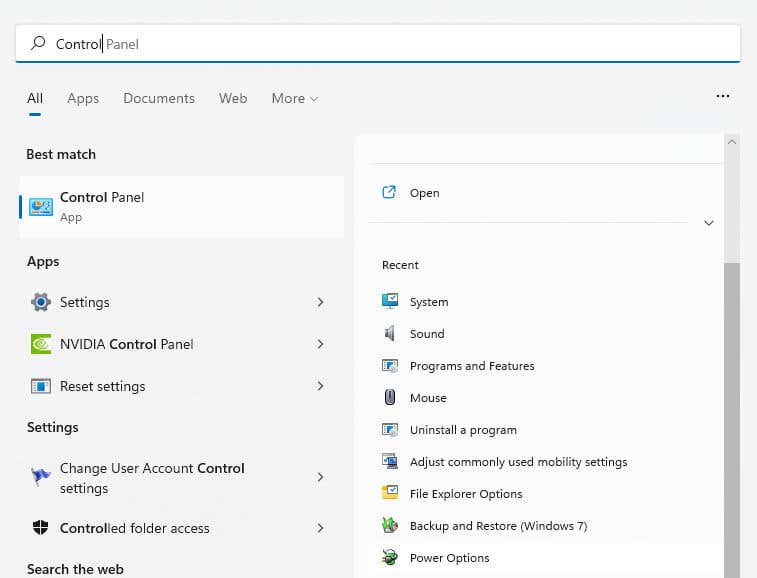
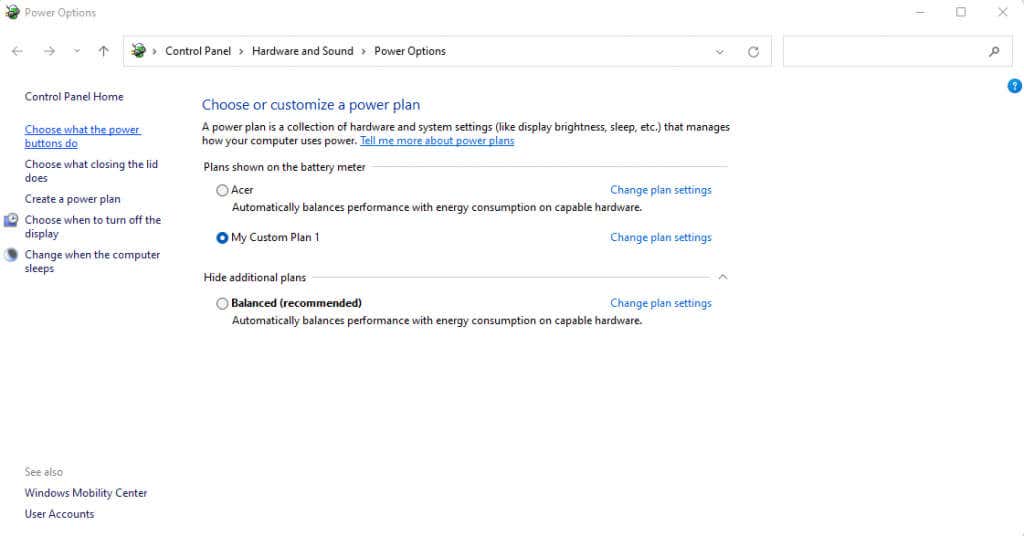
- If you’re using a laptop, the first thing you need to ensure is that the Power Plan is set to favor performance over battery savings. To do this, navigate to Power Options within the Control Panel. In Windows 11, you can also search for the Control Panel and open Power Options directly from the result.
- The default is usually set to Balanced, which prioritizes power saving and performance equally. We want to set it to High Performance, or a custom plan that can do the same thing.
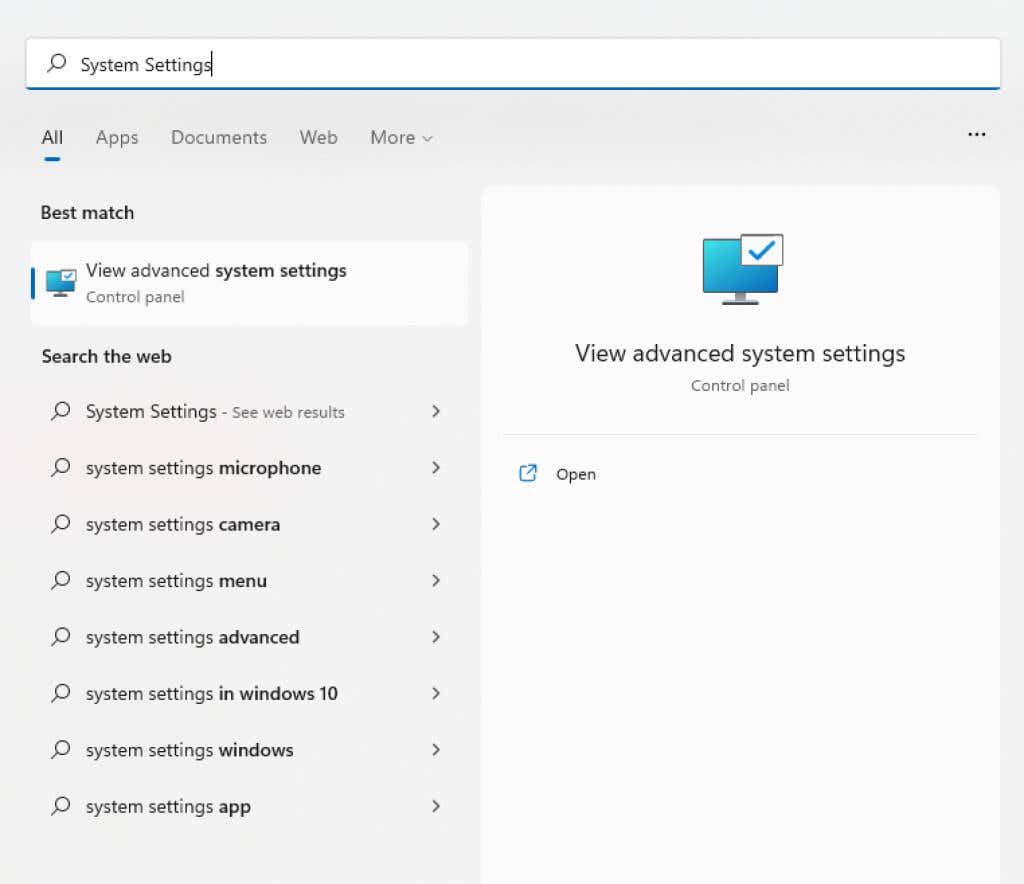
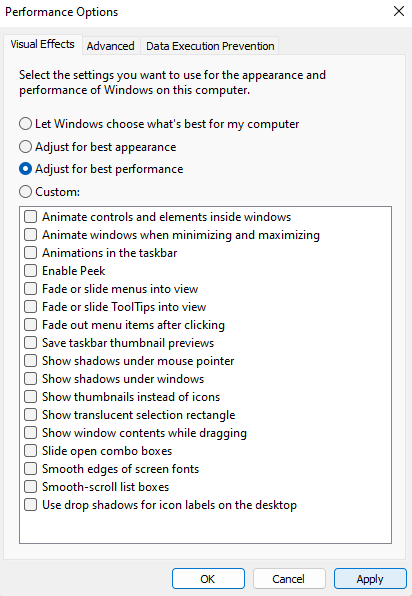
- Our next stop is Visual Effects. This consists of all the animation or advanced rendering performed for the Windows UI itself, and can be the source of a timeout error outside of gaming. To adjust this parameter, search for System Settings in the Start Menu.
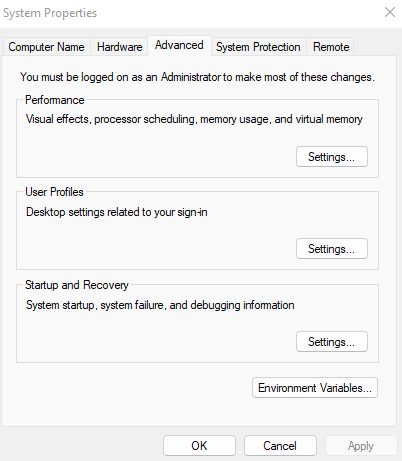
- This opens System Properties, containing many hidden Windows settings. Under the Advanced tab, you’ll find the Performance section. Click on its Settings button.
- Finally, we have found the Visual Effects window. Select the Adjust for best performance radio button to instantly disable most of the options.
These adjustments will reduce the load on your GPU, hopefully letting it function without any interruptions. In case you have an advanced rig with a high-end monitor and powerful graphics, reducing the refresh rate to 60Hz and deactivating features like FreeSync can also help.
Fix 9: Change the Hardware Configuration
Often, making a hardware change can precipitate an AMD driver timeout error. In other cases, it can fix it.
Things like adding new RAM modules or installing an SSD drive can affect the power available to the graphics card. Usually, the device will be able to roll with the punches, but occasionally it’s unable to adjust.
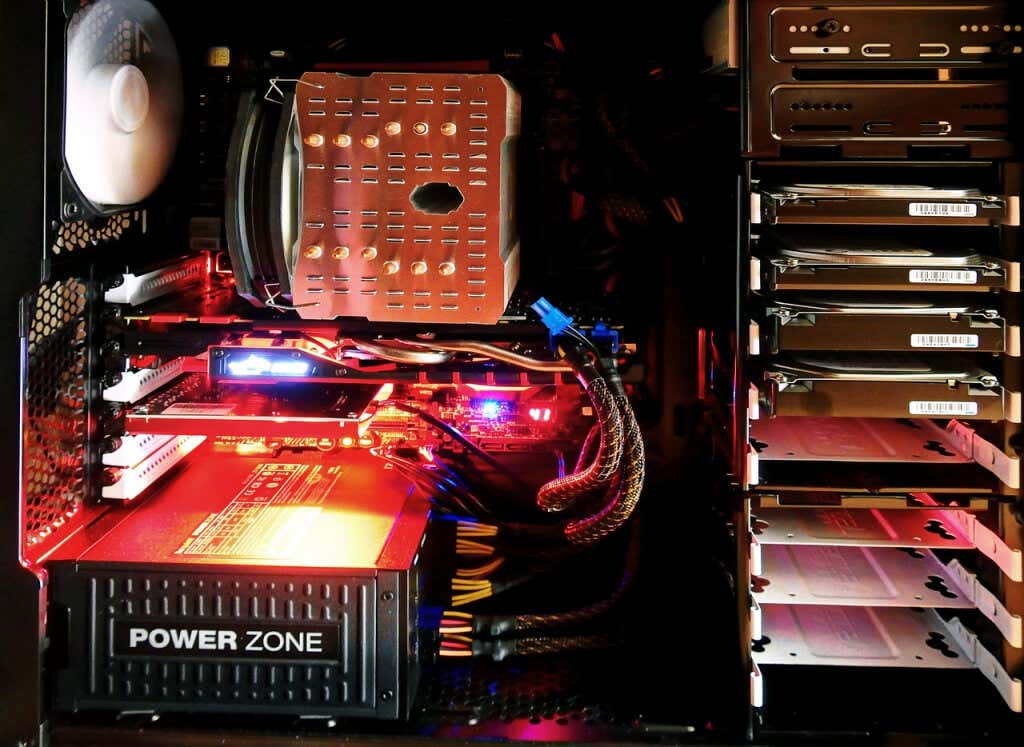
In these cases, switching PCI-E slots or simply reinstalling the card can solve the problem. Though you should only do this if you’re familiar with making hardware changes to your computer.
What Is the Best Way to Fix the AMD Driver Timeout Error in Windows?
Updates are all you need to fix an AMD driver timeout most of the time. This means updating the graphics drivers as well as Windows itself.
Another common reason for getting this error is outdated BIOS or corrupted system files. For this, you need to update the BIOS to its latest version and run an SFC scan to repair the Windows installation.
If all these methods fail to fix your problem, you’re dealing with a hardware issue. Overheating is the usual culprit, so cleaning up the fans and reapplying thermal paste can do the trick. You may also want to look into adjusting settings for performance, and perhaps even changing the hardware configuration of your PC.
Related Posts
- Preparing for Windows 10 End of Support: Upgrading to Windows 11
- How to Fix a “This file does not have an app associated with it” Error on Windows
- How to Fix an Update Error 0x800705b4 on Windows
- How to Resolve “A JavaScript error occured in the main process” Error on Windows
- How to Fix the Network Discovery Is Turned Off Error on Windows
Levin Roy is a software engineer who loves writing about technology. Whether it is Windows tips-and-tricks or in-depth guides about application development, Levin uses his practical experience and technical skills to create articles that can help solve tricky problems. Read Levin’s Full Bio
